Well i finally decided to make a work log, and it will inevitably be fairly boring since this thing is a my DD, so dont expect too many updates.
The history of this car:
My parents bought this car brand new in 1995 and put about 30K on it before i got my driver license and took over the payments on it, and I have been driving it ever since. I know this car inside and out and it has always been super reliable which is why I never got rid of it, plus after it was paid off I did not want another payment. Fast forward to now and here it sits with a blown engine and 267K miles on it, not bad for the 1.9L engine huh?
Below are a few pics of the car, some old some new
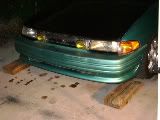
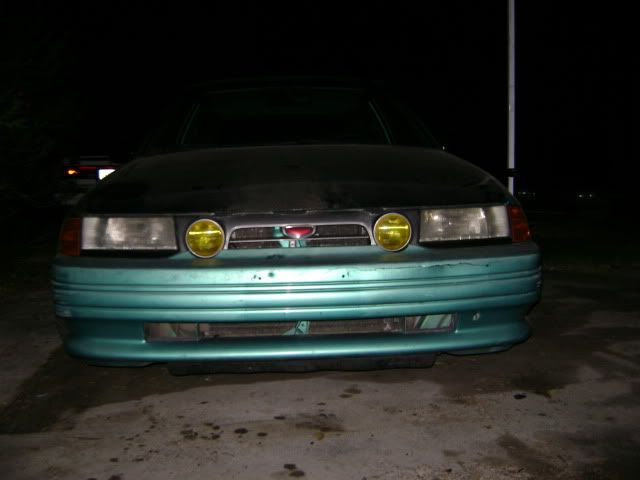
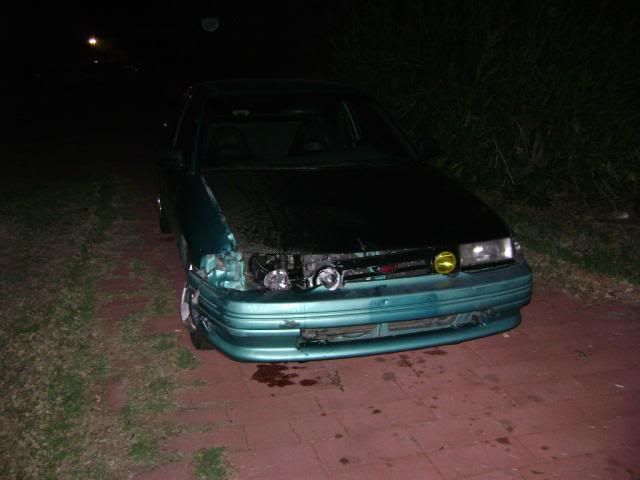
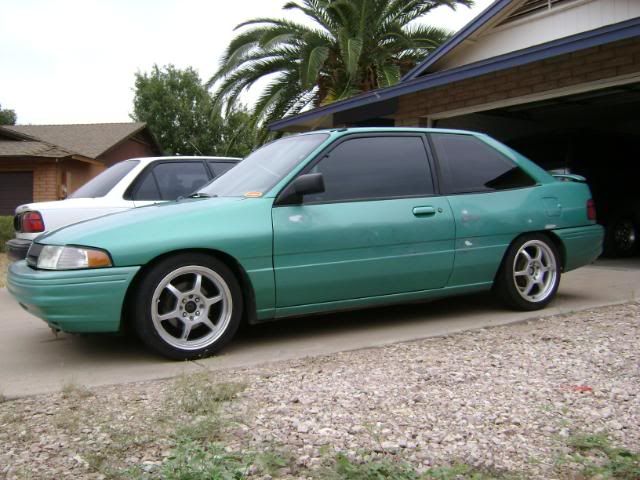
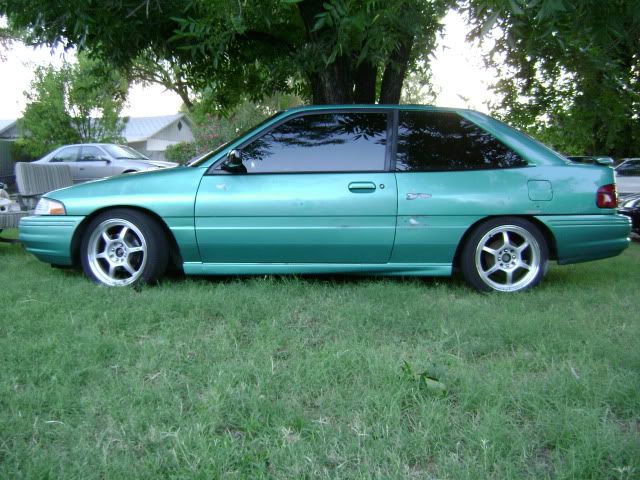
Exterior:
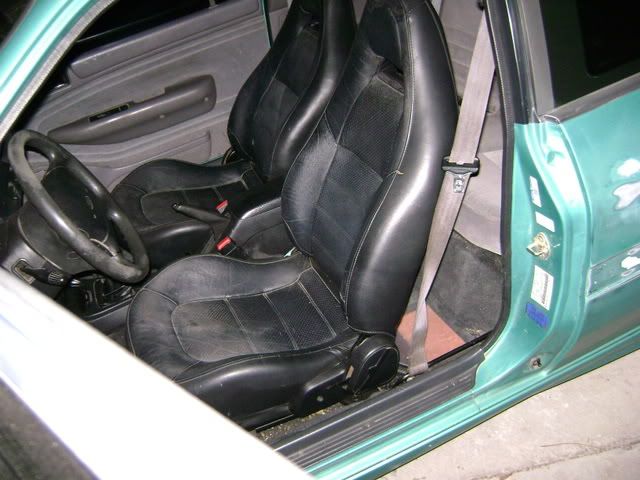
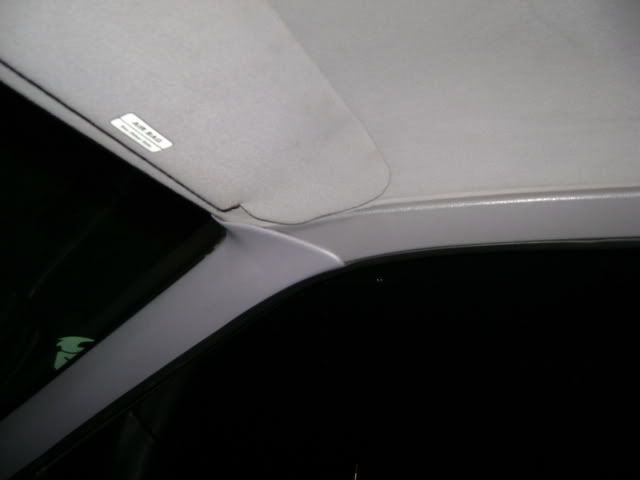
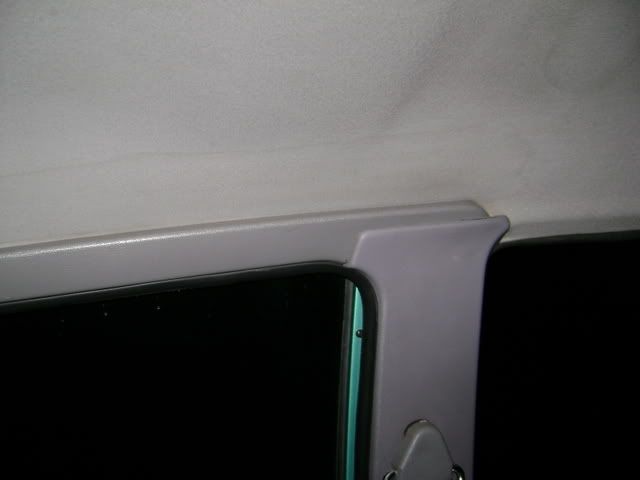
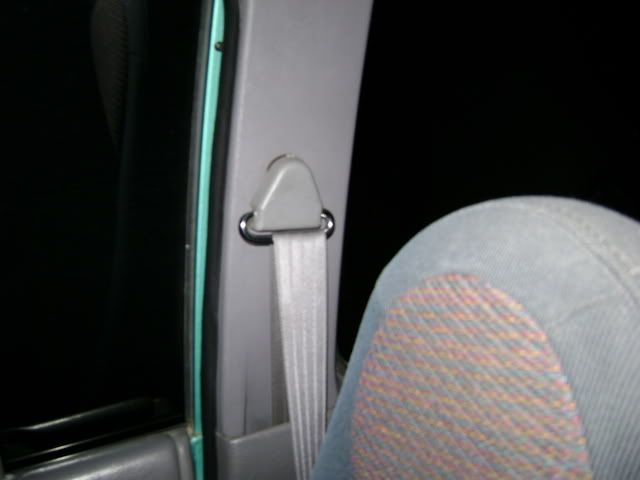
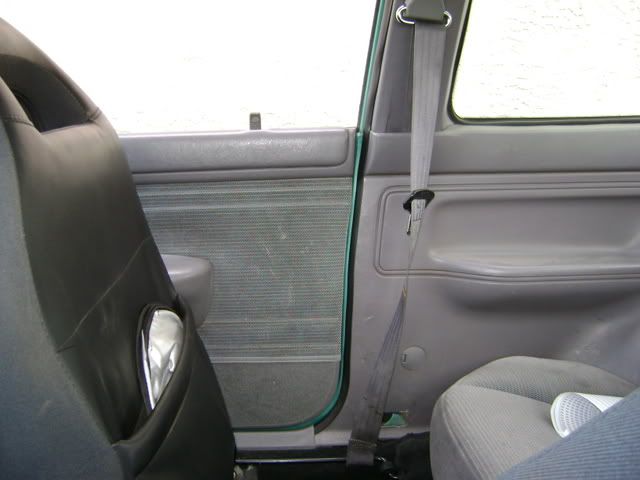
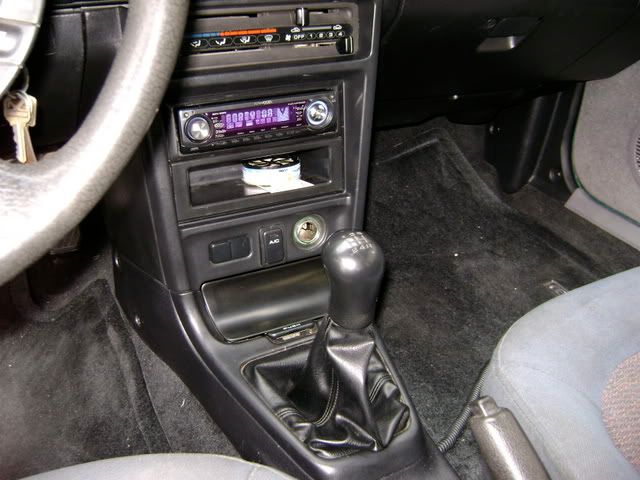
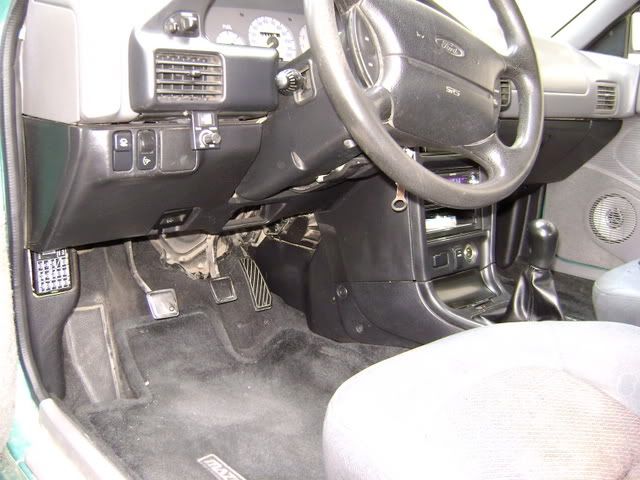
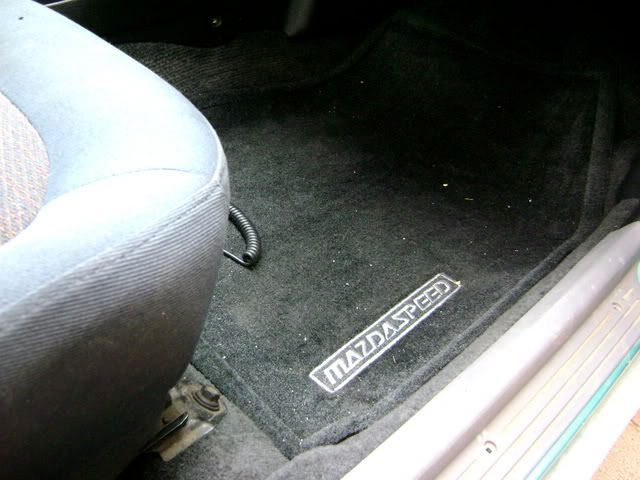
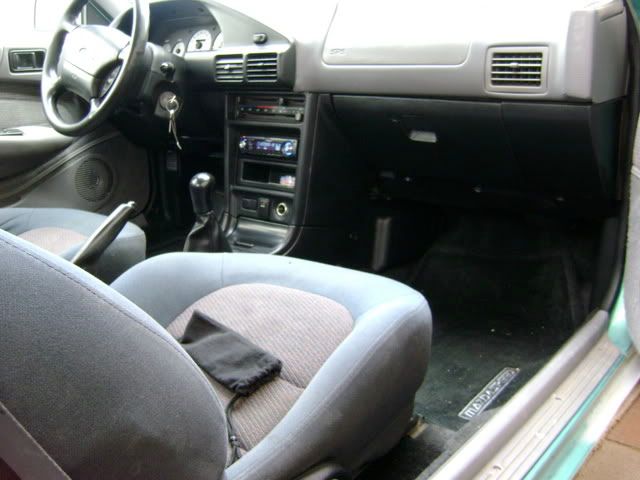
Interior:
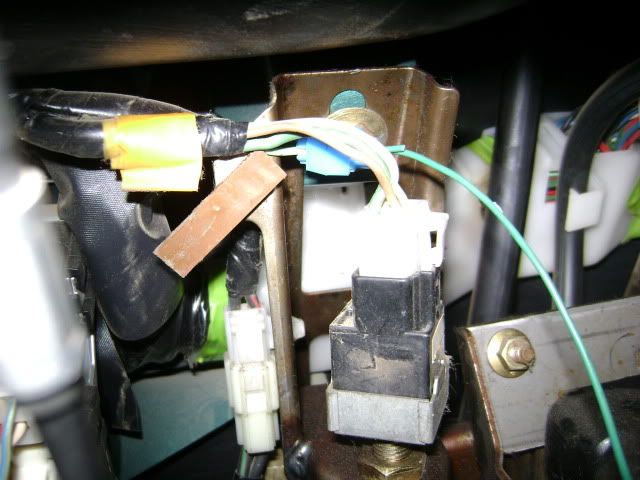
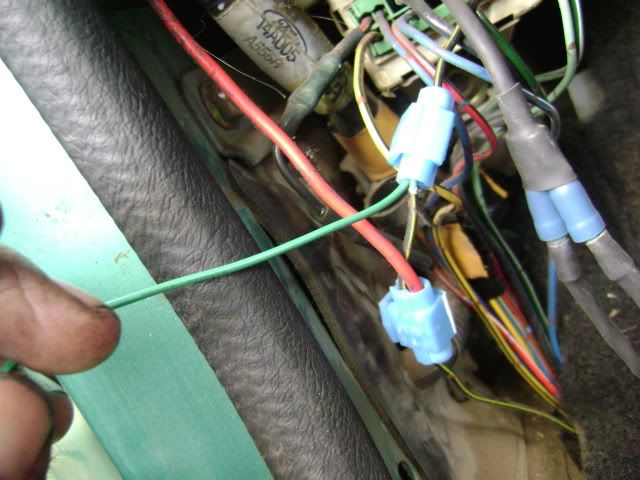
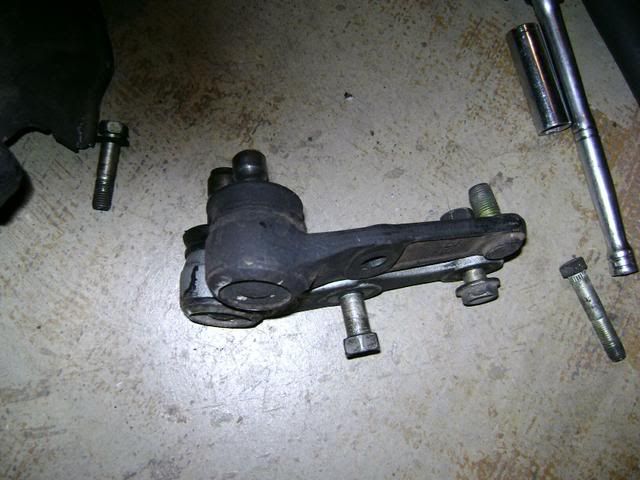
Suspension/Steering/Brakes:
Engine/Transmission:
The history of this car:
My parents bought this car brand new in 1995 and put about 30K on it before i got my driver license and took over the payments on it, and I have been driving it ever since. I know this car inside and out and it has always been super reliable which is why I never got rid of it, plus after it was paid off I did not want another payment. Fast forward to now and here it sits with a blown engine and 267K miles on it, not bad for the 1.9L engine huh?
Below are a few pics of the car, some old some new
Mods/upgrades:
Exterior:
- EGT side skirts, front and rear bumpers. Front bumper has molding removed and holes shaved
- Early style taillights painted all red
- Piercemotorsports carbon fiber hood and hatch, no spoiler.
- Solarwing
- Wet arm wiper conversion using GM wiper squirters since the carbon hood does not have the holes for the stock ones
- Protege power mirrors
- LED third brake light circuit board mounted in OE housing from a Jeep Wrangler
Interior:
- Complete Black MX3 lower dash, center console, double stack rear console, carpet, front leather seats, and many small misc trim items
- Mercury Tracer dash bezel with storage pocket
- Canadian manual seat belts
- Real leather shift boot and different shift knob.
- ZXTuner ZX2, 2 pillar gauge pod. this only works because i have manual belts.
- New Ford OE leather wrap steering wheel
- BJ protege Mazdaspeed floormats
- Prosport oil pressure, coolant temp, vacuum, and volt gauges
- Viper keyless entry
Suspension/Steering/Brakes:
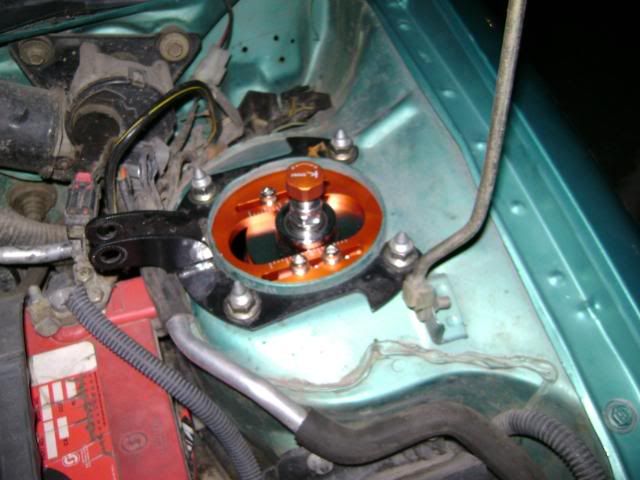
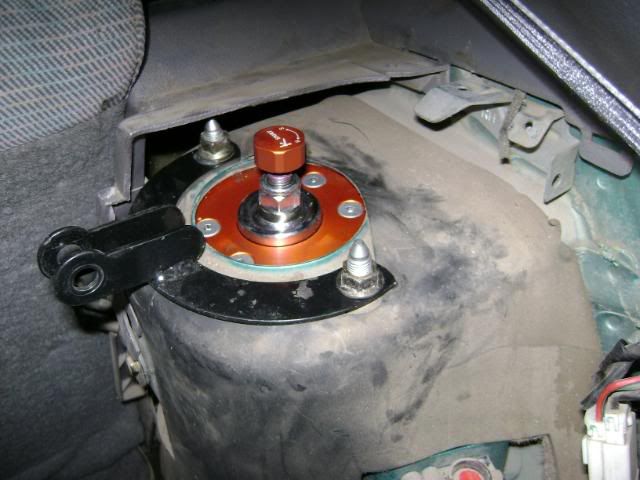
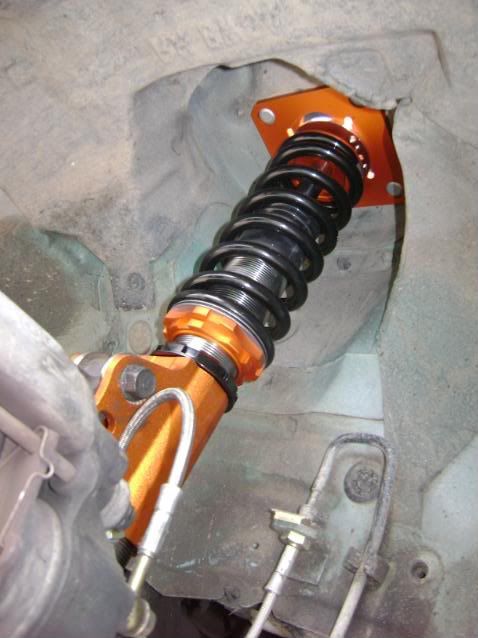
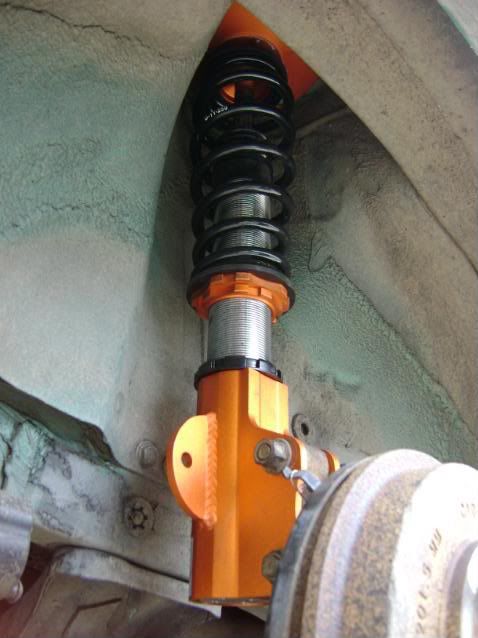
- K-sport control pro coilovers with Advanced camber/castor front plates
- Full ES poly bushing set
- Rear ZXTuner 22mm swaybar
- Front slotted rotors with Goodridge braided lines
- Rear Miata sport suspension slotted rotors, M-tuned Miata sport suspension caliper brackets, braided lines
- Depowered rack with poly rack bushings
- 205/45-16 tires on Enkei OR-52 wheels
- Piercemotorsports front roadrace control arms
- Piercemotorsports rear crossmember, rear TTL's, front MX3 TTL's with custom machined ES bushings, and custom swaybar droplinks
- Piercemotorsport front and rear strut tower bars with triangulation in the rear
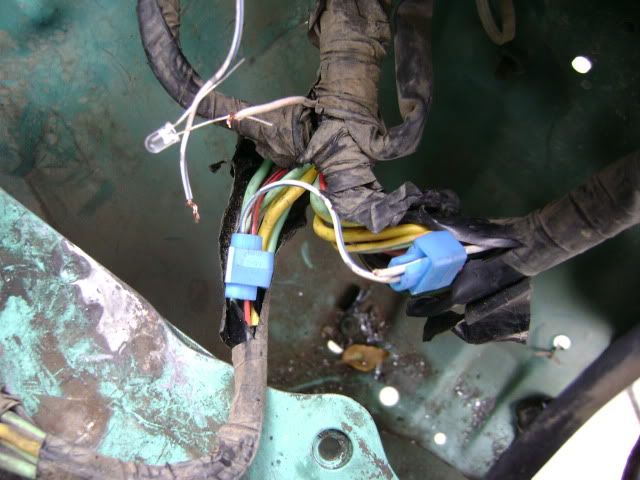
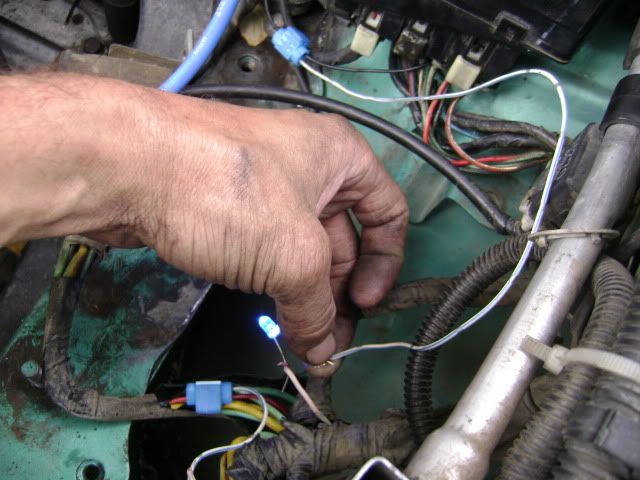
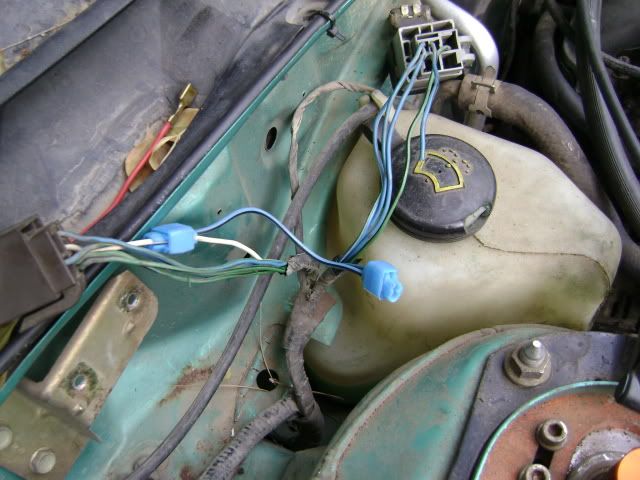
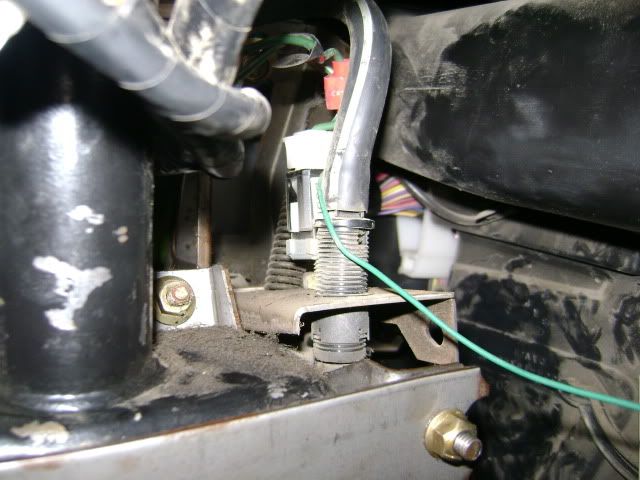
Engine/Transmission:
- KY clutch organic/kevlar clutch
- 626 5th gear swap
- poly stabilizer rod bushing, and ZXTuner STS shifter
- McMaster Carr bronze shifter bushings
- BP engine swap, with the following mods:
- Kia BP cut upper intake, bored throttle body, GTX injectors, SMSP header with 3" exhaust, Rebuilt head with port work and shaved .006".
- Bored .5mm over (.020") with Miata 10:1 pistons, block decked .006", balanced rods and weight matched pistons.
- B8 SOHC crankshaft, Fidanza Miata Flywheel, Custom intake tube with modified stock air box and modified H-box, OBX thermal intake gasket
 pm if interested
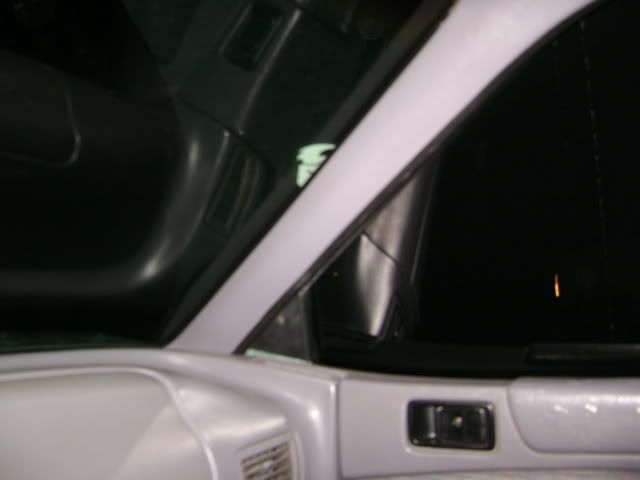


Comment