Quick question for you Kev; when replacing your VCG, would you use a bit of silicone sealant at the corners, or would you install dry? The instructions for this particular gasket said to seat it dry, with no adhesives or sealants, but I have read conflicting opinions on this around the interwebz. I'd like to hear yours.
-
-
Honestly, I haven't done mine yet and I probably should. I don't remember what the Hayne's manual says, either.Comment
-
Installed the Corksport brass shifter bushings this morning. Shift feel is majorly improved, but I was only able to use two of the four bushings. The bolt at the transmission end was too large to use with the new bushings, but it was also large enough that there wasn't much play there to begin with.
I also found that I'm not just missing my clutch fork dust boot, but I'm missing one of the five bolts that holds the casing together.
This guy:

It just isn't there. It looks like someone changed the clutch, but only put four of the bolts back in.
There is also a fluid leak of unknown origin. It is either brake fluid, or motor oil. It's hard to tell at this point because it's very gradual, and most of it burns off on the exhaust. The underside of the car has an oily film from it burning off, and it is coating pretty much everything from the bellhousing, back to the shifter.
All fluid levels appear to be normal as of right now, but were all changed and/or topped up in the last week.
I'll keep a close eye on it and see which fluid starts to get low.Comment
-
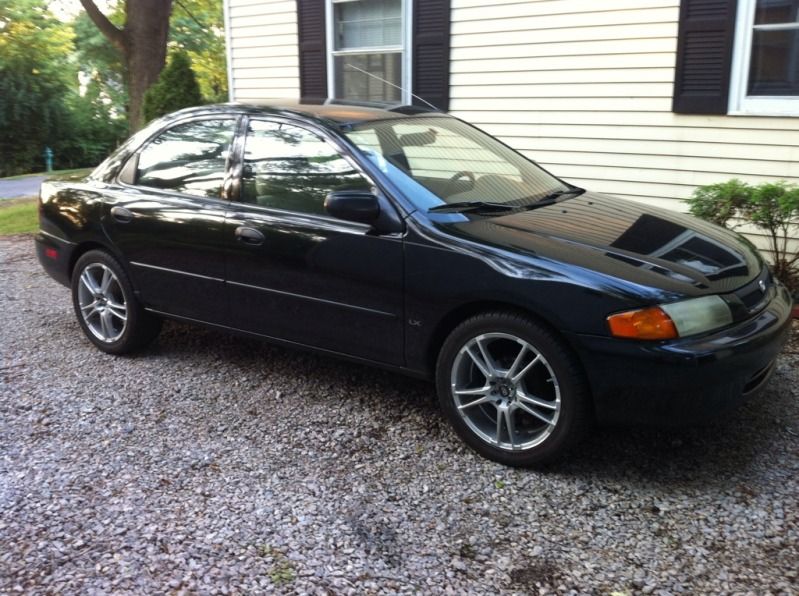
Installed a a temporary set of 17's with good Bridgestone rubber on them. The rears barely clear the lower spring perch, and they look ridiculous on this car IMO, but the tires are good and they'll work for now.
Comment
-
I think 17" is too big. I say no larger than 16" for any long term use. I have a set of 15" Miata wheels waiting to get some minor repairs and tires put on. Doubt that's happening anytime soon, though.Comment
-
Agreed. Permanent wheels will be 15's.Comment
-
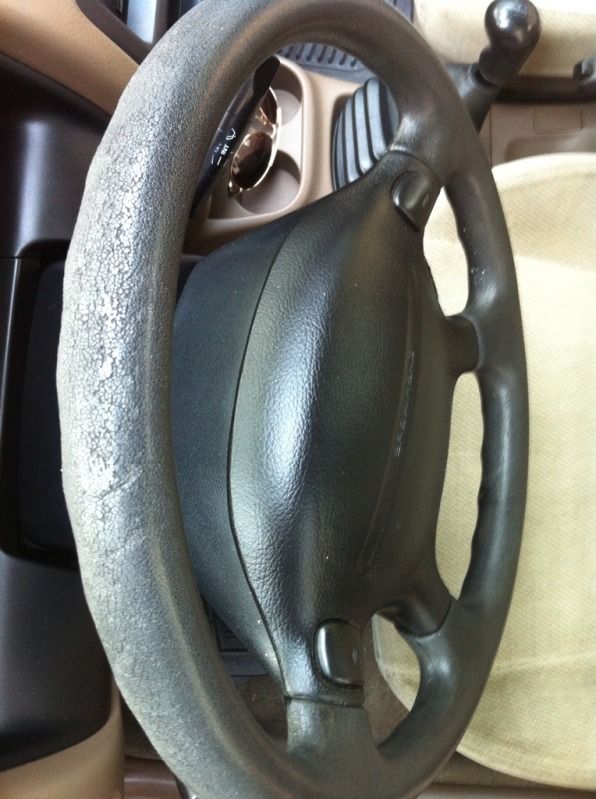
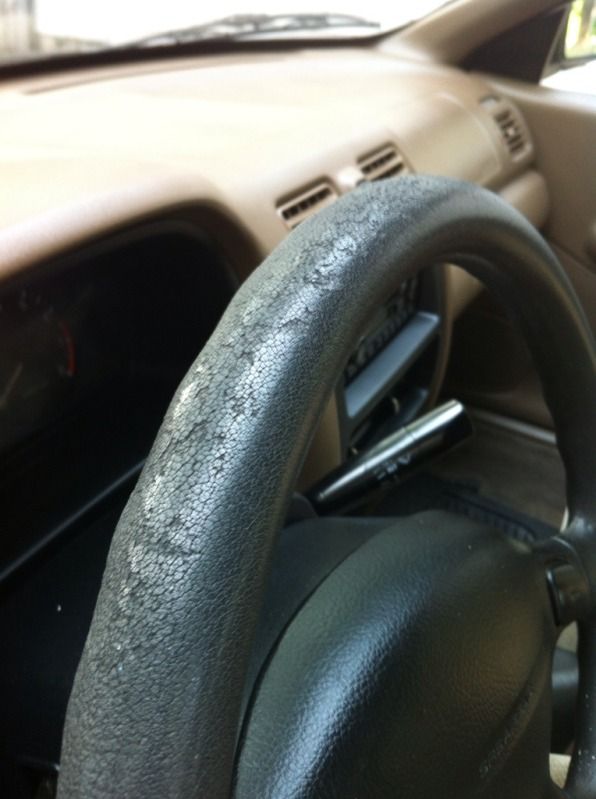
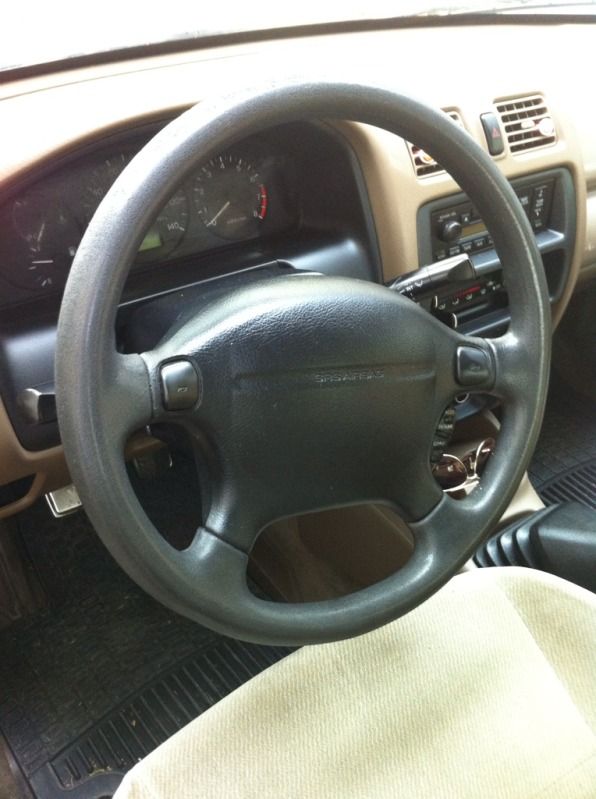
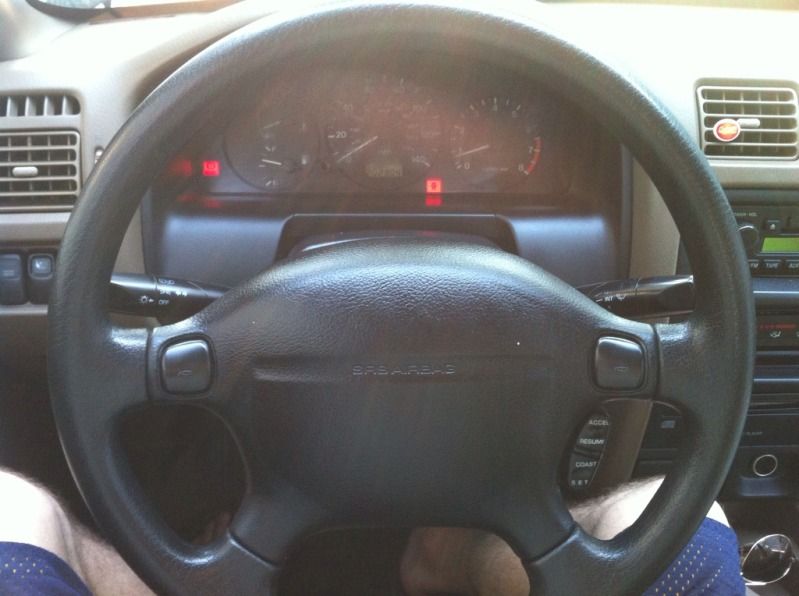
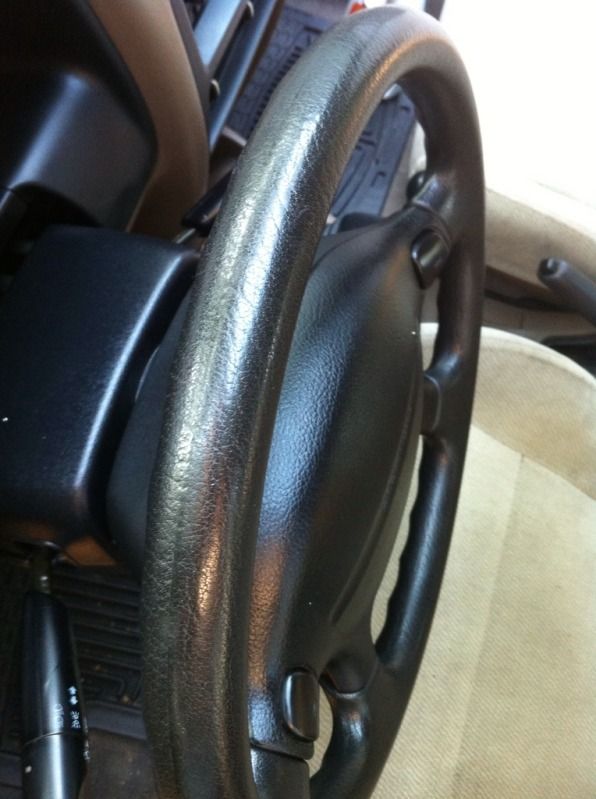
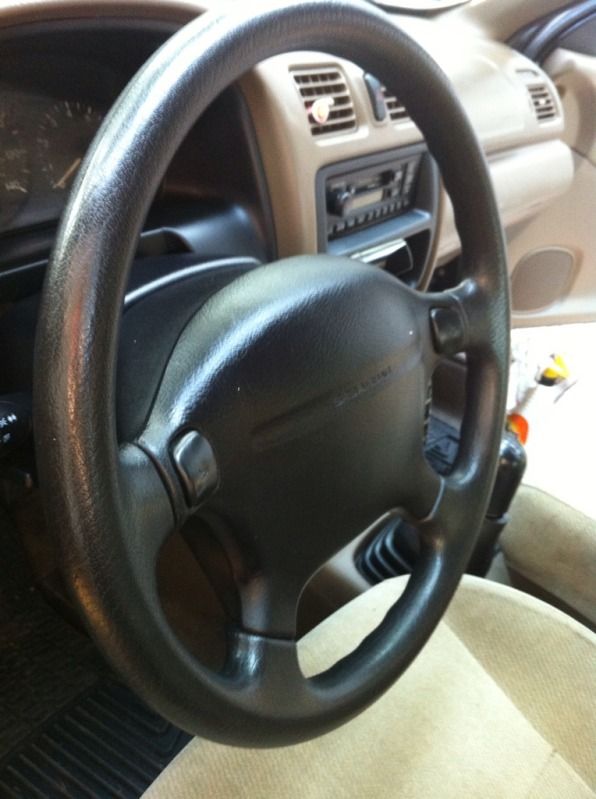
Swapped in a steering wheel from a '97 626. I had to do some slight modification to get it to fit.
-I kept the cruise control from the 626 wheel, but swapped plugs with the cruise form the Protege. Both are two pin plugs, but the one form the 626 had a dummy slot on it.
-There are two nubs on either side of the aluminum frame in the 626 wheel. I had to use side-cuts to trim those off because they interfered with the mounting brackets on the protege air bag.
-I thought the air bag plugs would be the same size, and thus fit inside the steering wheel housing. Not so. the male plug on the Protege is much larger than on the 626, even though both use the same connectors. I ended up having to trim a small piece of plastic out of the housing, around the square hole in the back side. I needed that extra space to jam the air bag plugs into the small space behind the air bag itself.
All in all, it's major improvement.
Before:
After:
Comment
-
The old wheel had the twisty top syndrome, wasn't even black any more, and no matter what I did, it smelled like cigarettes.
Comment
-
Looks like you're giving this thing some good TLC! Keep it up. What are you eventual goals for it?Comment
-
Thanks Ace! I treat all my cars with TLC. This one is no exception. I'm basically working at restoring it is much as possible right now. Eventually, I'd like to upgrade the suspension a bit and fit a nice set 0f 15" wheels/tires. That's about it really. I don't think I'll go too overboard on this one, but then again, you never know when the mod bug will strike.Originally posted by Ace View PostComment
-
With something as clean as that, I wouldn't go too far with it. My car, on the other hand, is a rusted, creaking, clunking pos so I don't mind having to cut it apart and whatever else when I finally start what I want to do.Comment
-
Oh no, I wouldn't go so far as cutting it apart, lol. I'm a more a fan of the clean OEM plus and JDM styles. Here's a couple pics of my other car, if that gives you an idea what direction I'd take with the BHA.Originally posted by irishkev90 View Post
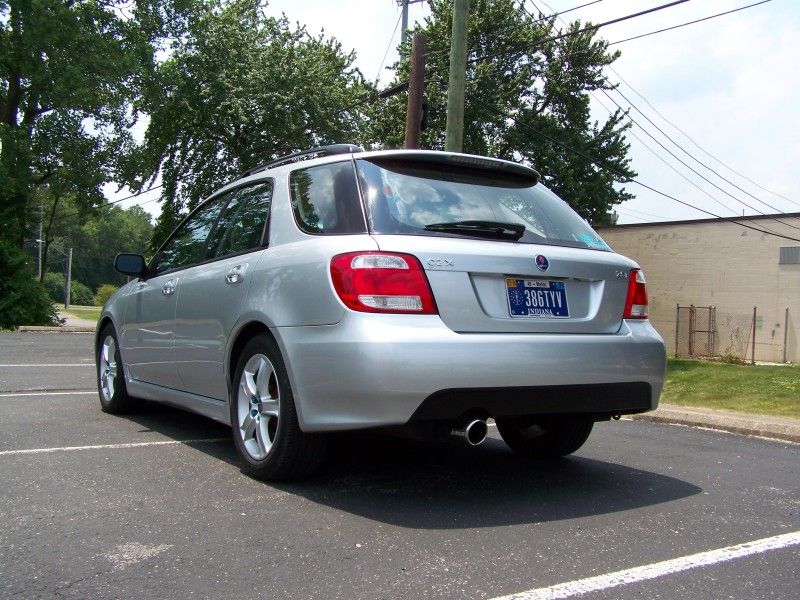
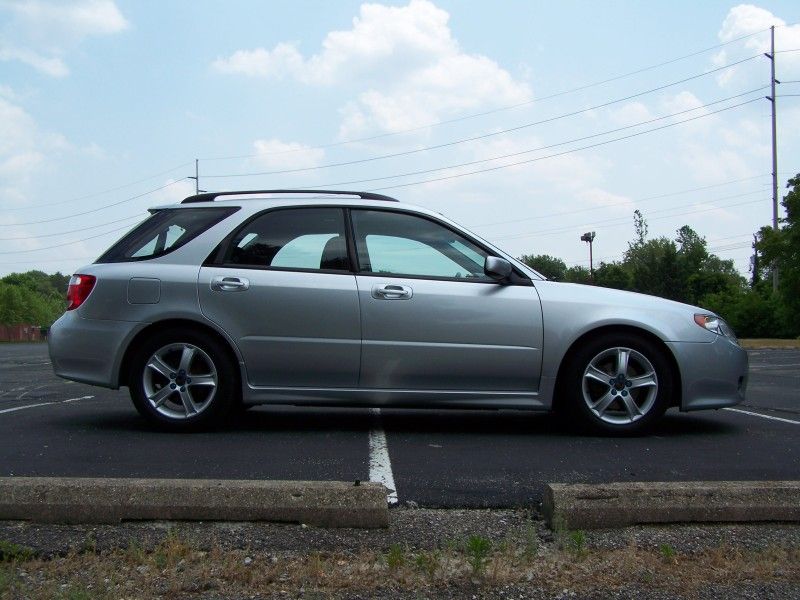
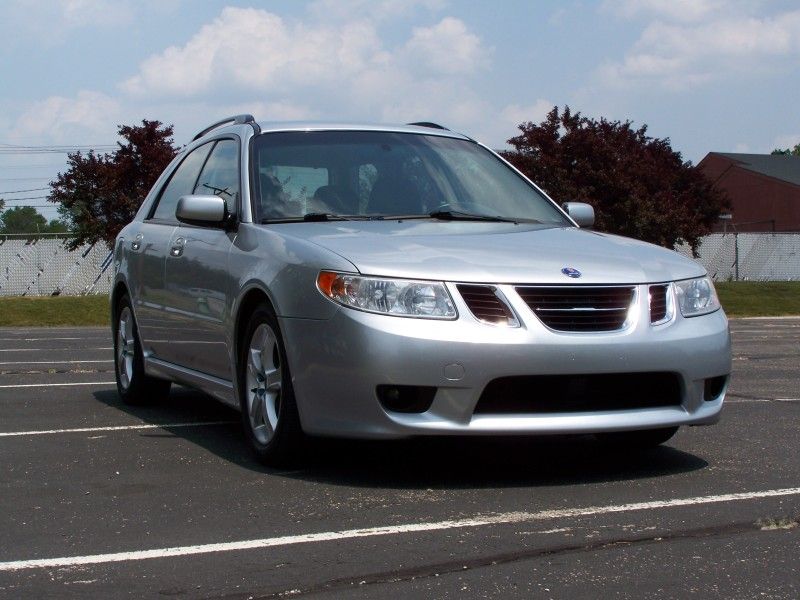
At first glance, it looks pretty plain. But I've actually got a ton of mods in this car. I just prefer a clean, simple, functional, OEM style.
Comment
-
Saab? Might want to hold on to that. Could be a collectors item someday, Haha. Looks real nice, though. I'm not too familiar with them so it all looks stock to me. Which is a compliment
Comment
-
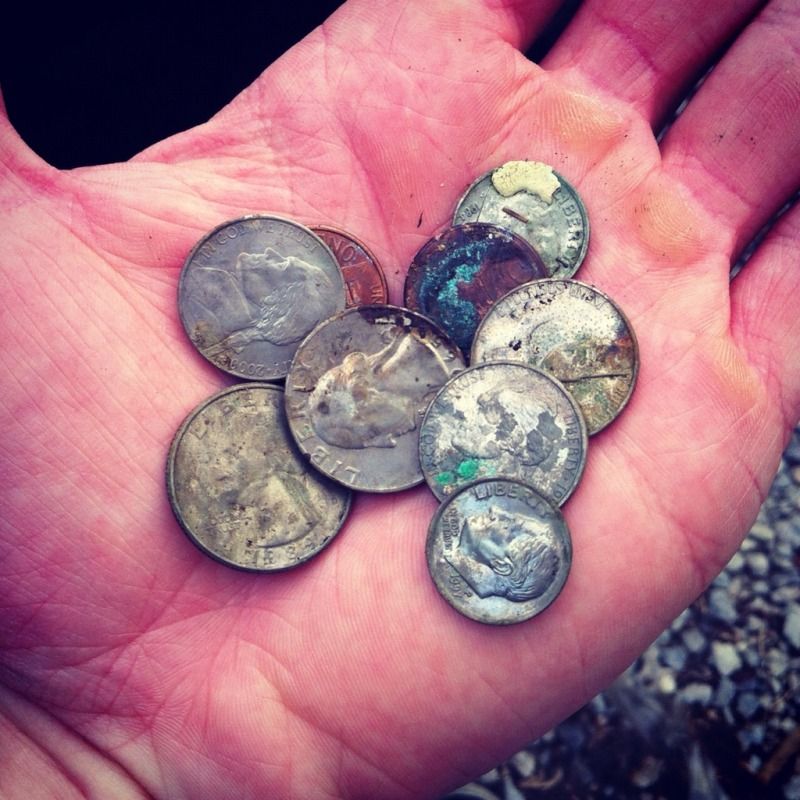
I took the Protege for 500 mile round trip this weekend with zero issues. Everything went better than expected, and I averaged around 38 miles per gallon. When I got back home, I decided I'd do some more intensive cleaning. I pulled the back seat out and vacuumed out some of the accumulated trash. Here is what was waiting for me:
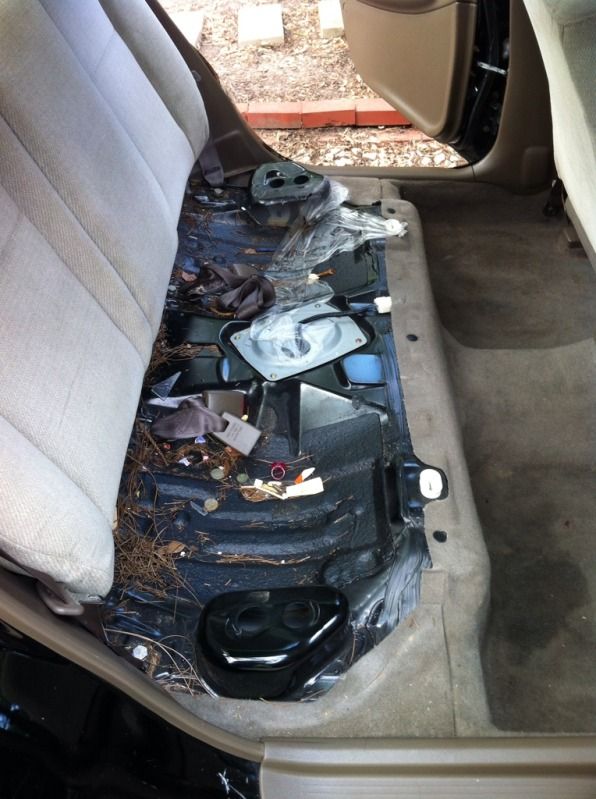

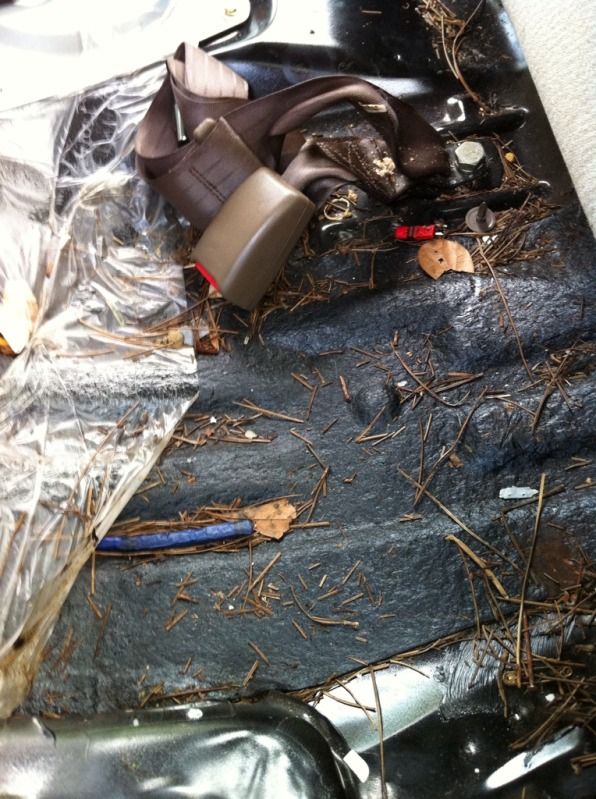
I found a ton of change under there:
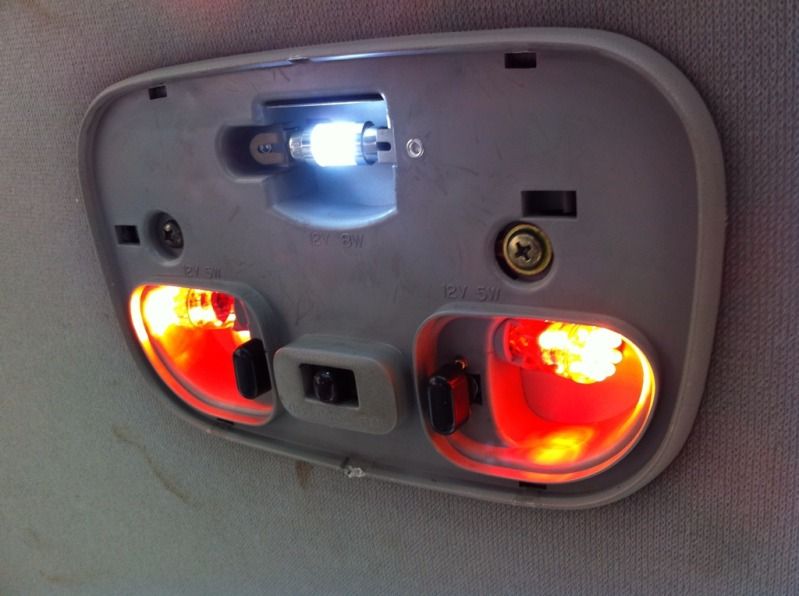
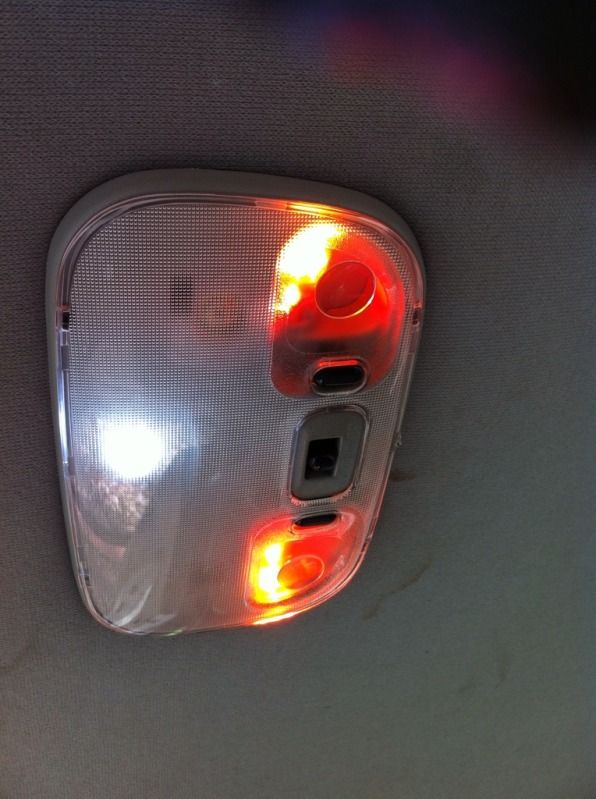
On my trip I discovered that the courtesy light and one of the map lights was non-op.
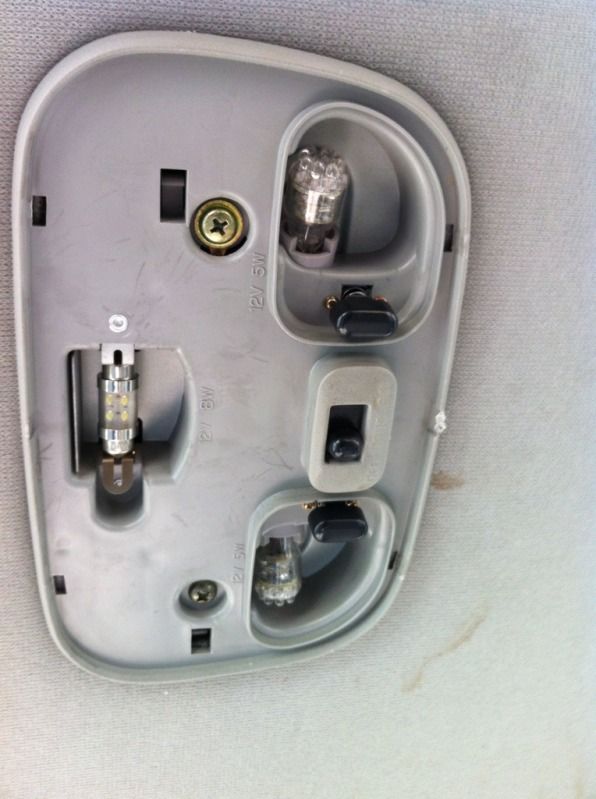
I had some spare amber LED's I decided to use for the map lights, and a super white for the courtesy lamp.
I also bent back the bracket that holds the center console in place and found some new screws to fasten it together. The PO apparently ripped it out without removing the screws on either side first.
Oh, and I have two new axles on the way.Comment
-
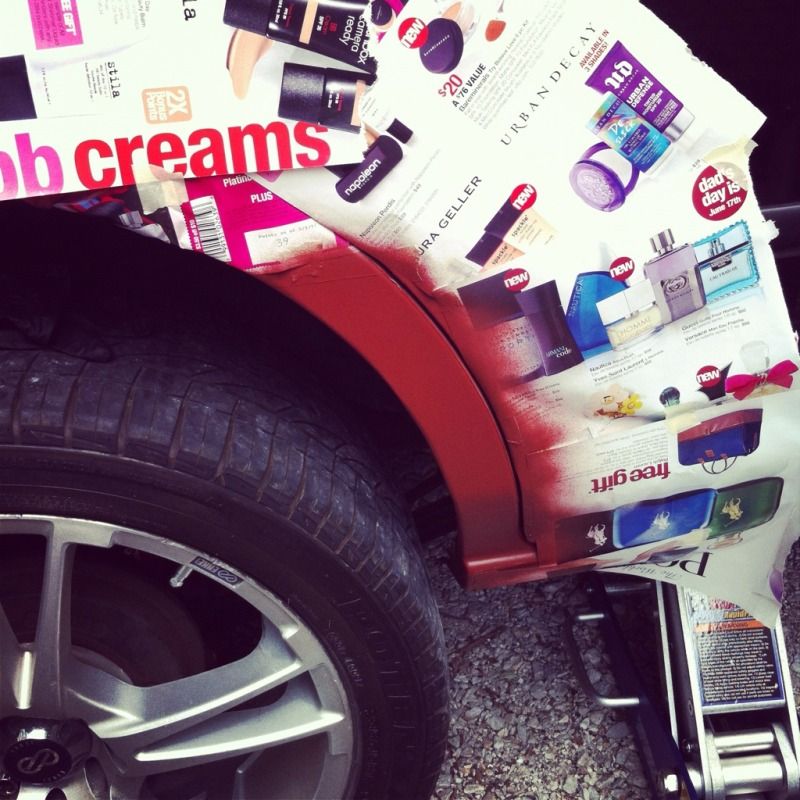
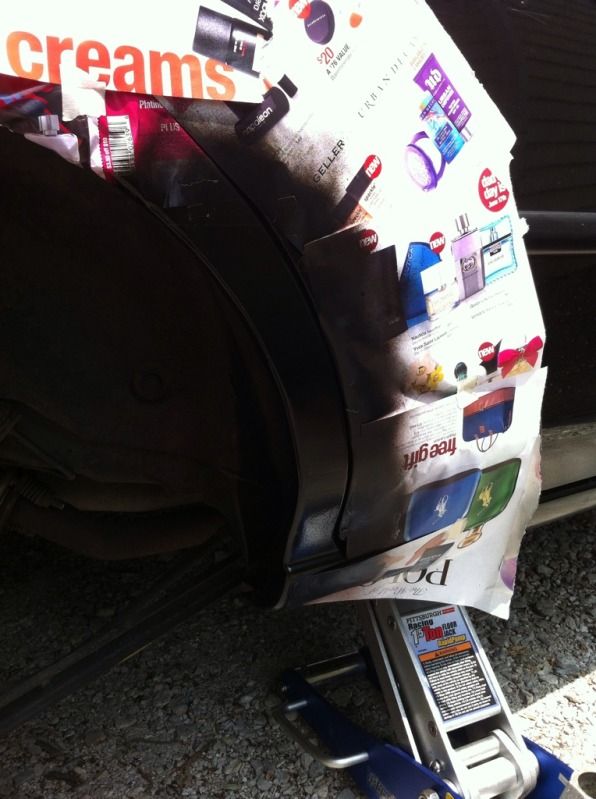
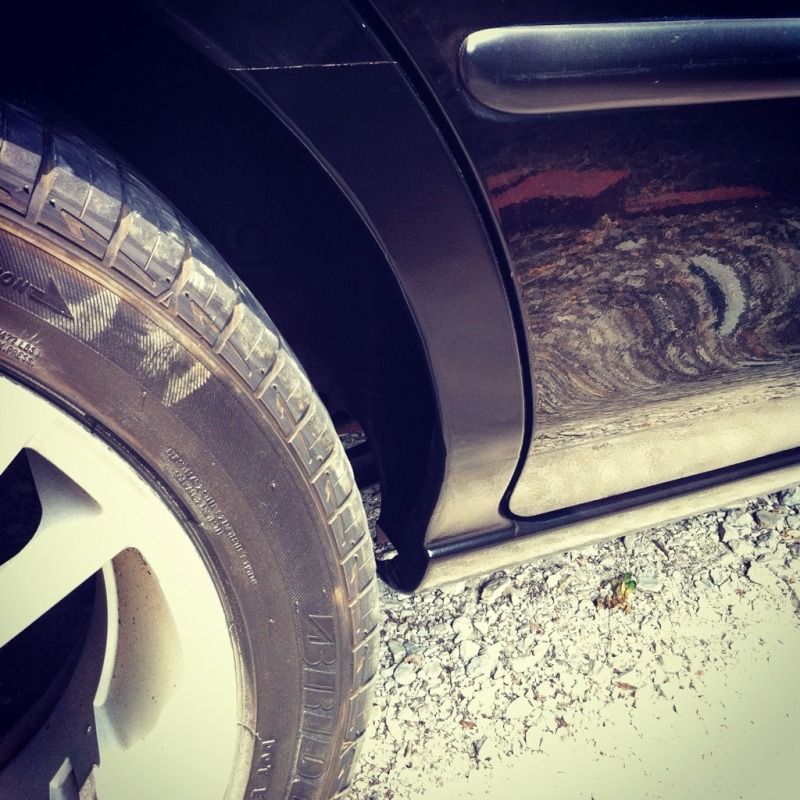
Spent some time this weekend repairing the one spot of rust on the car. I stripped, sanded, primed, and painted about an eight inch by two inch section on the lower right rear fender. It doesn't look too bad, considering this is only my second or third time ever delving into body work.
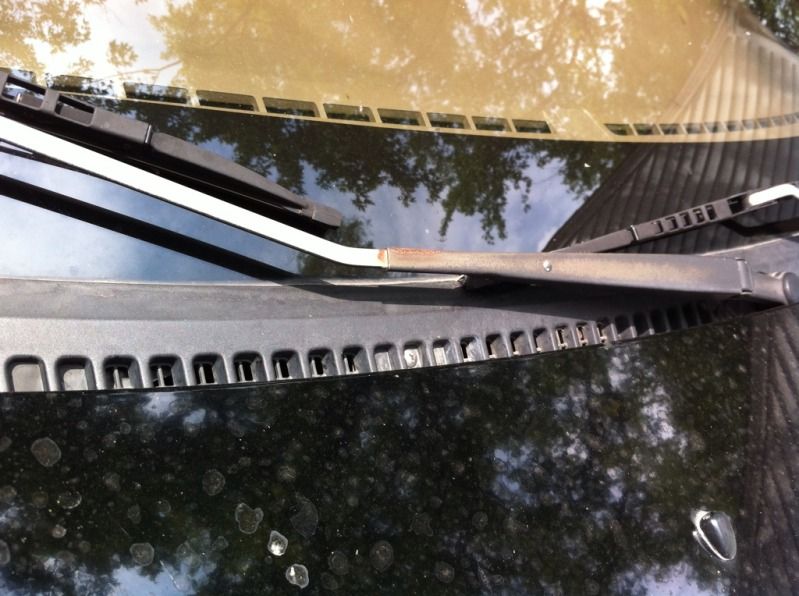
I had some paint left over, so I touched up the sad looking wiper arms too.

Comment

Comment