Thanks guys. I enjoy documenting the stuff I do to help others learn.
-
-
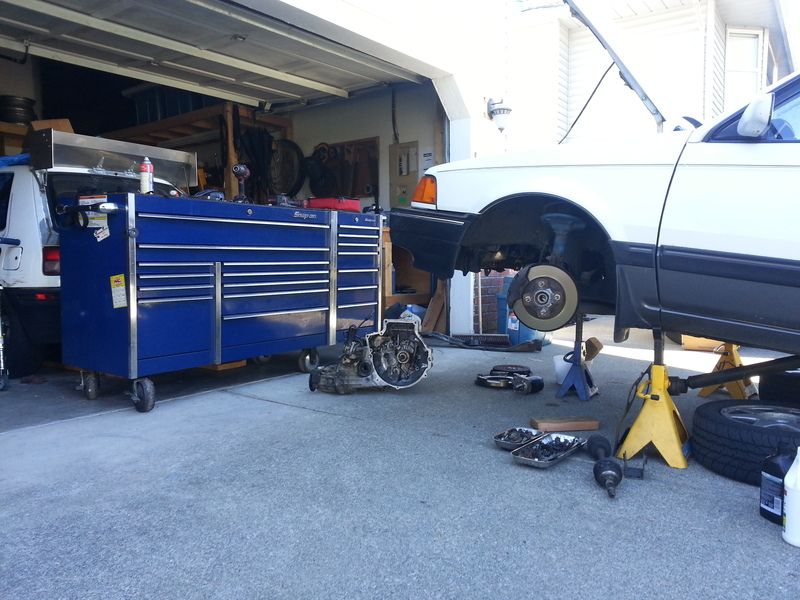
Well I have had sometime this week to work on the GTX. The starter had been giving me some trouble when the car was hot and slowly it had been getting worse. If anyone has looked at the placement of the starter on a GTX you'll know its a pain to get at. Pulling the transmission is about the easiest way to get at it.. Since my transmission has issues with 3rd gear I figured why not finish the rebuild.
I didn't take many pictures but pulling the transmission is pretty straight forward. I had it out in about an hour. I sent the starter of to be rebuilt and got to tearing down the transmission.
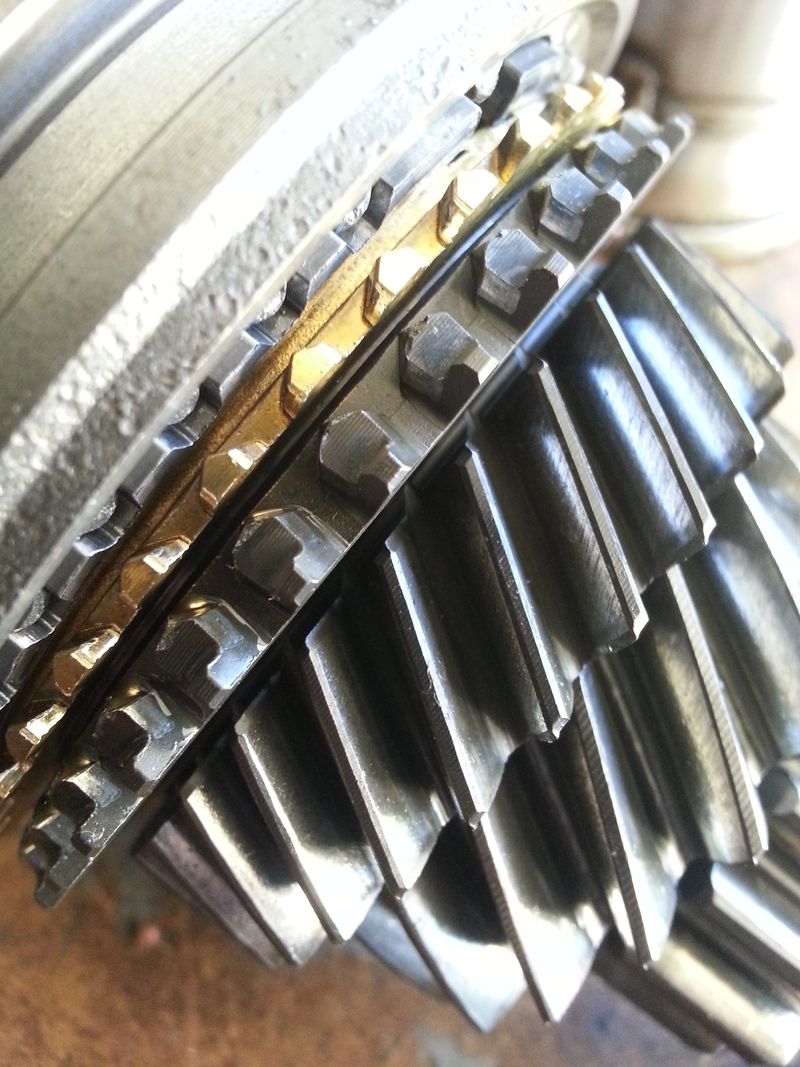
Yep 3rd gear is shot..
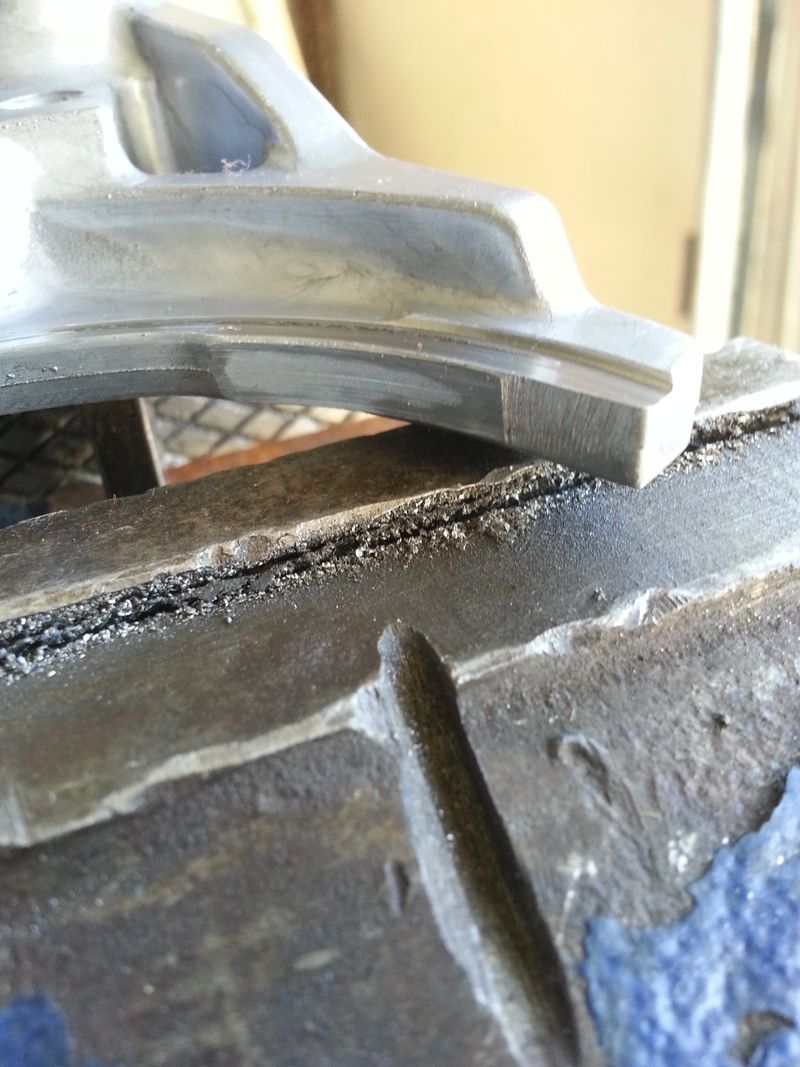
So was the 3/4 shift fork.. Shift fork wear like this usually due to cable alignment issues or people who rest their hands on shifter and preload the shift linkage while cruising..
I was thankful the center diff in this transmission was good. I have posted pictures before of GTX center diff torn down. Its pretty easy to do. If someone wants to know how I can take pictures of the broken one I have and show the steps to tearing it down.
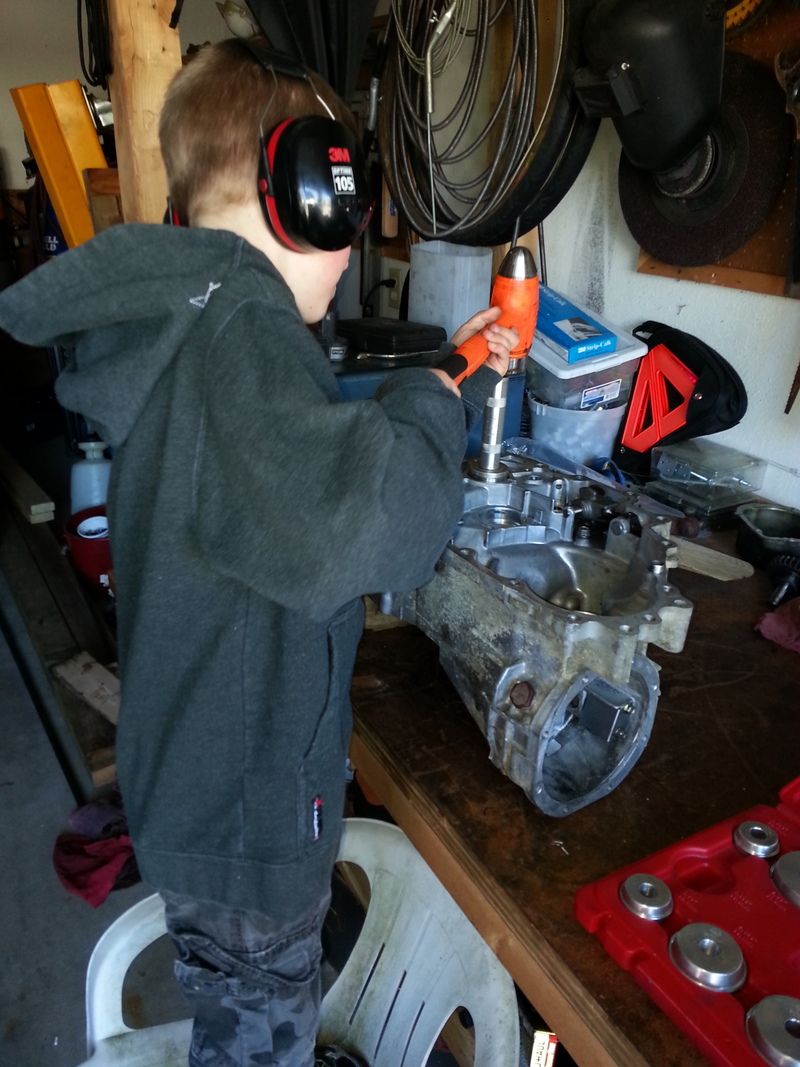
My son gave me a hand this weekend putting the transmission back together.. New bearings, mx3 input shaft, mx3 close ratio 3rd/4th, new 3/4 shift fork... Pretty much a completely new transmission.
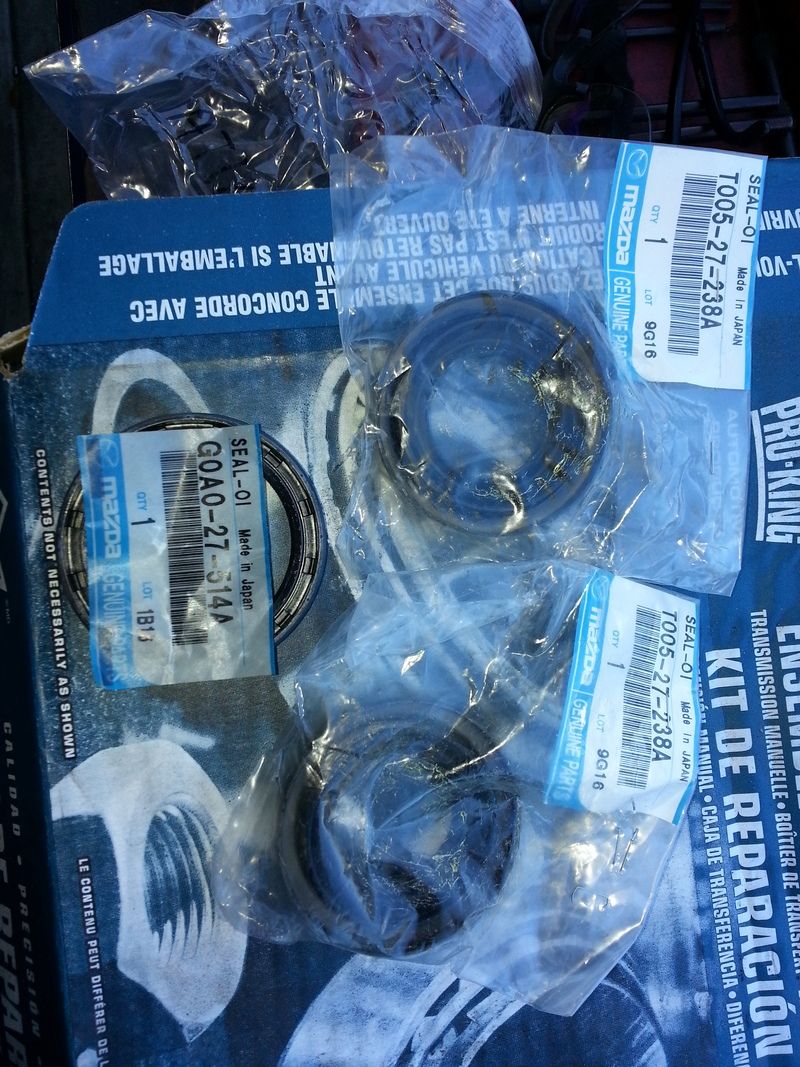
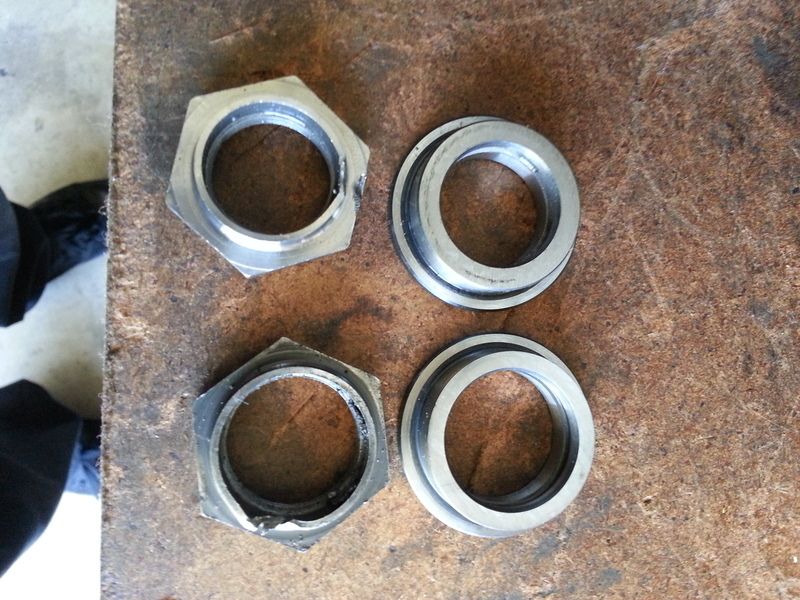
The rebuild kit I bought came with new Mazda OEM seals. part numbers for the axle seals and the seal between the transfer unit and the transmission.
Once thing to note... With the change in the input shaft I had to change the nut and collar up by 5th gear.. The GTX and MX3 shaft are different widths.. The gears them selves can be interchanged though..
Time to install.. Flywheel was resurfaced, clutch still looked pretty new from when the last owner installed it. rebuilt starter, new transmission.
Couple hours later and ready for a road test.. Yes thats a BG GTX in the back ground... Its a parts car I'll eventually use for a drive line swap...
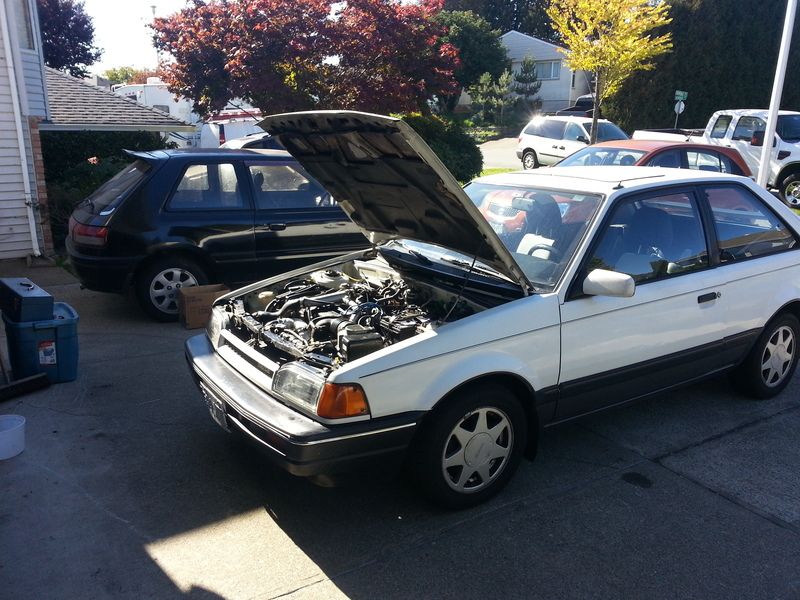
I drove the car about 50 - 60km's today after I finished it... The transmission worked great.. I always found the shift into 3rd gear left the car feeling like it was out of the power band... With the new 3rd and 4th the car feels much more peppy in around town driving... Its nice not having to double clutch down shift into 3rd now..Comment
-
This looks amazing! Adam, how much would you charge to put together a rebuild kit with what you did here with the close ratio gearing? Or atleast make a list of what is needed?
Cant wait to get my GTX!Mazda
1988 Black 323 GT
DOHC 16 VALVE TURBO
2013 Velocity Red Mica Mazdaspeed3Comment
-
Hey Kyle, I am not sure what it would cost to put together a "kit" to do this. Where you can source a lot of the parts will determine a lot of your costs..
As for list, it can vary a fair bit.. There is a number of ways to do this.. I could try and put a list together, but I think my thread here and my past threads should give someone enough info to be able to get threw this build..Comment
-
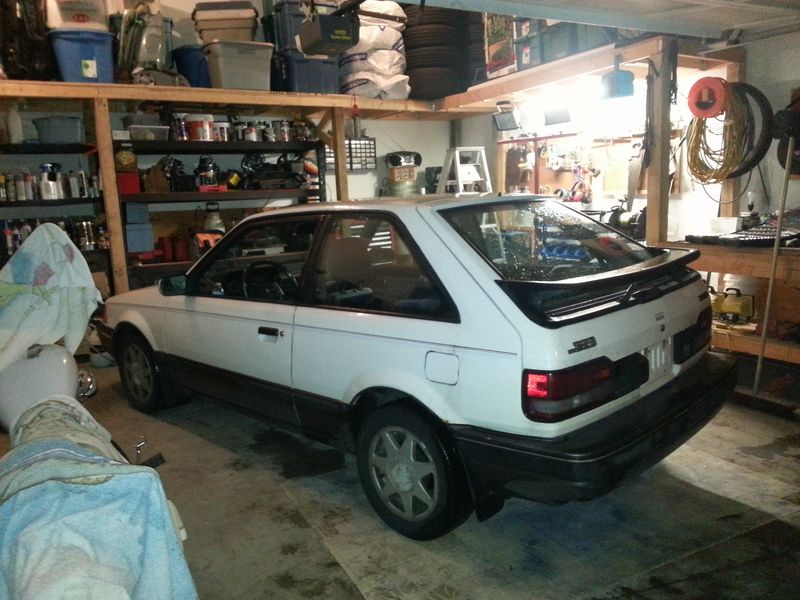
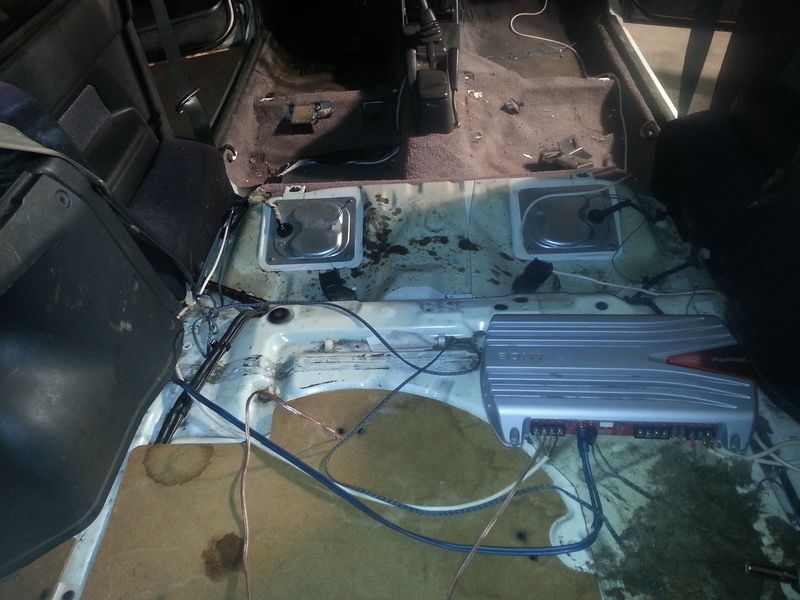
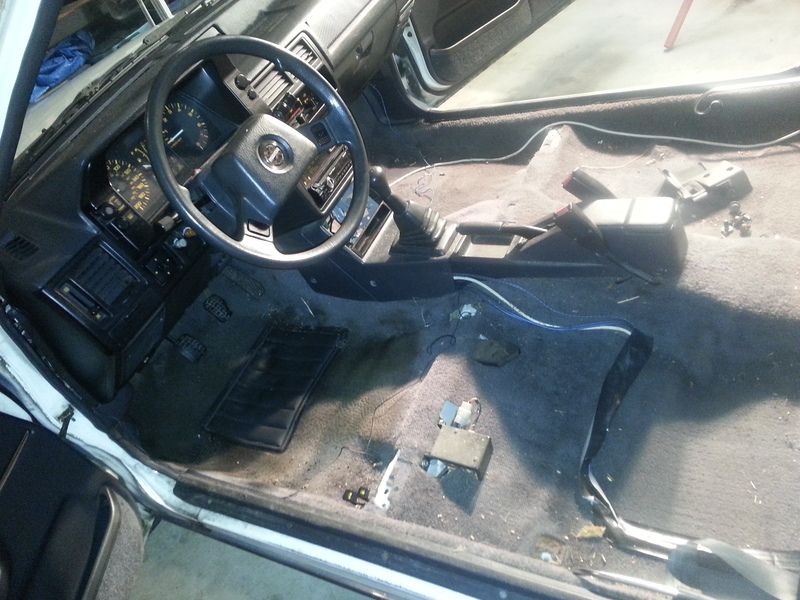
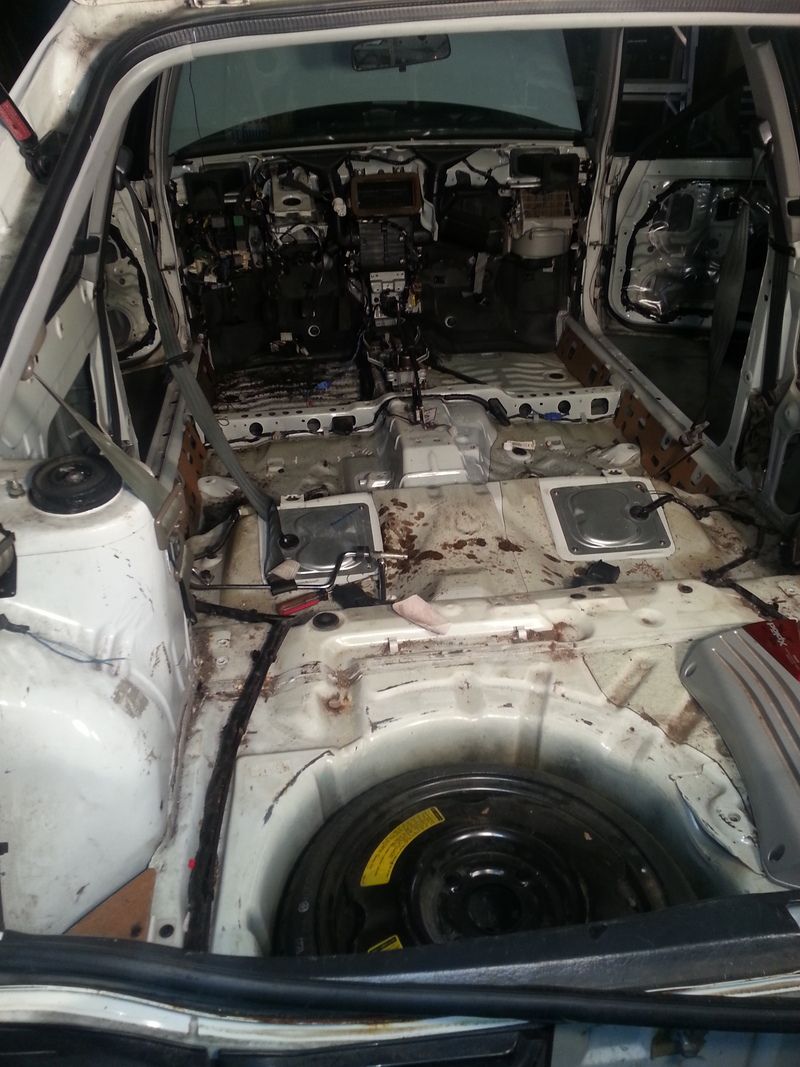
Well its that time again.... I spent some time cleaning the garage and getting the race car running so that I could use it as a daily driver.. The GTX made its way into the garage for an interior restoration/make over..
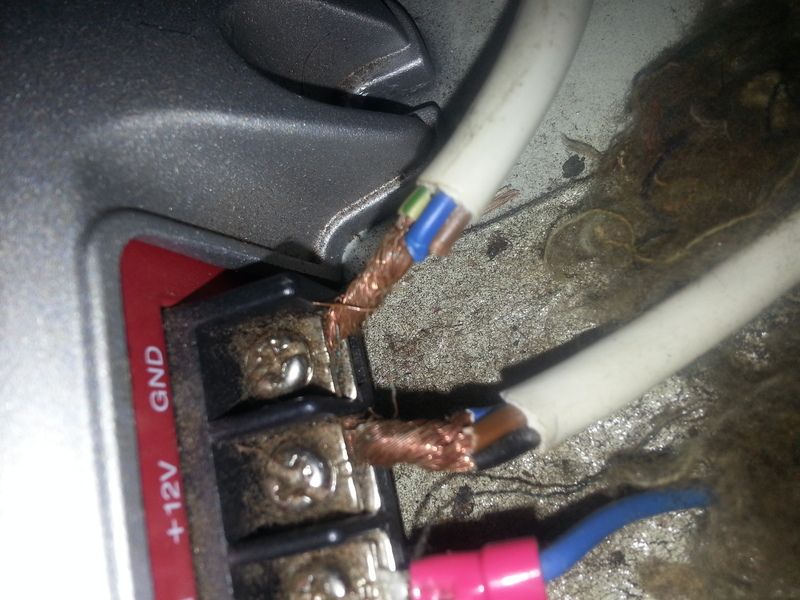
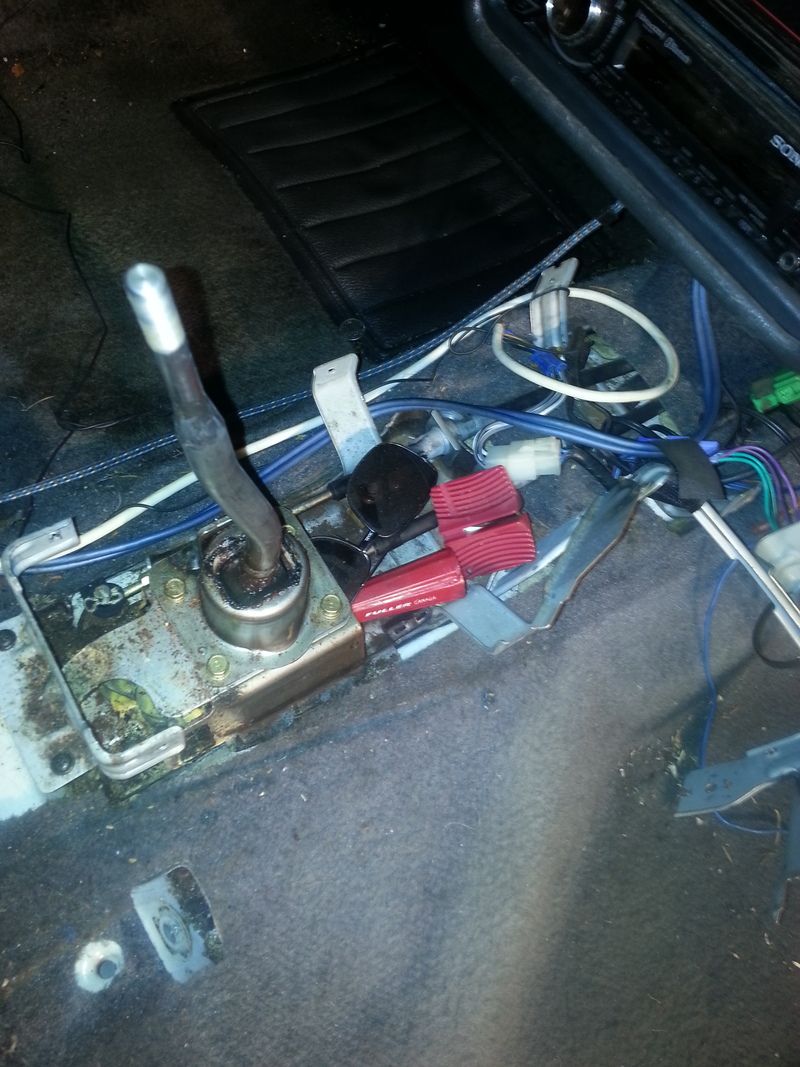
Time to tear her down..One of the previous owners handy work wiring in the stereo.. yep its ugly..
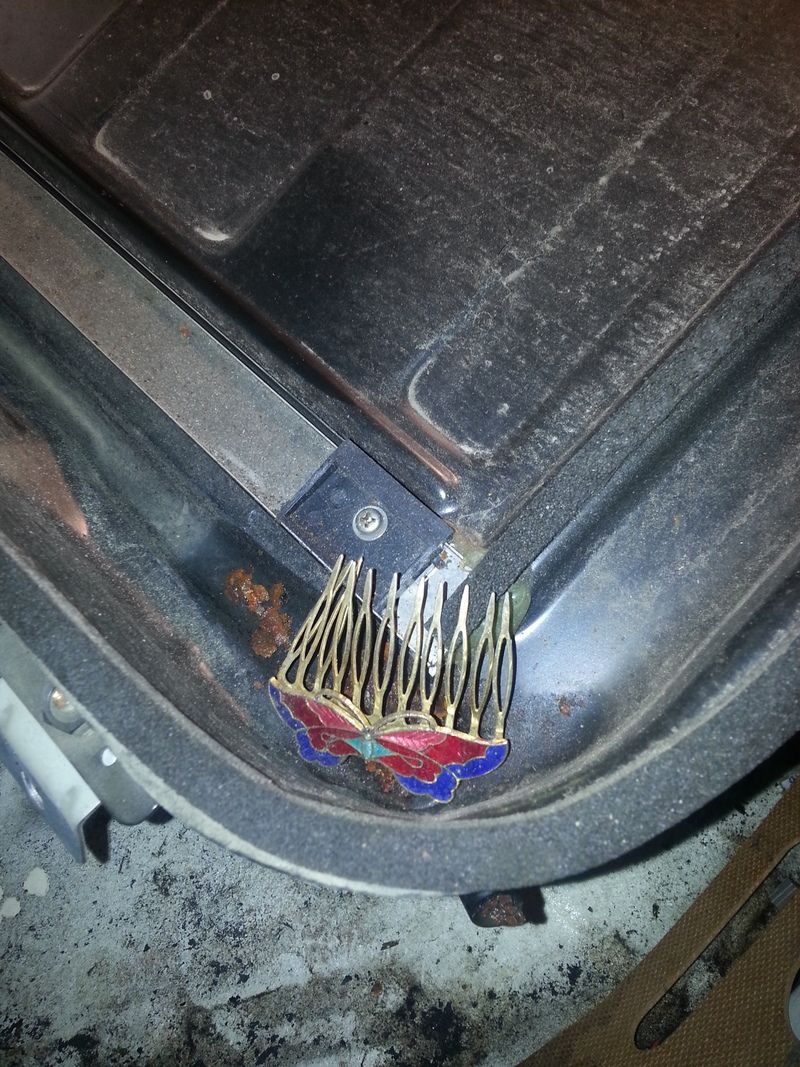
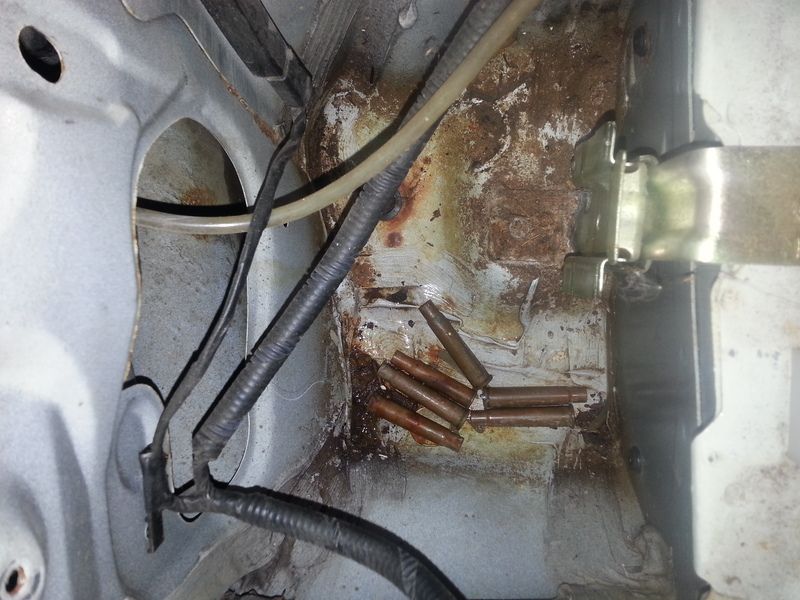
Its amazing some of the fun things you find when tearing a car apart.. In the case some 30-30 shells under the rear washer reservoir, some glasses and a knife sharpener? wedged in the shifter assembly.. Even a hair clip in the sun roof..
Comment
-
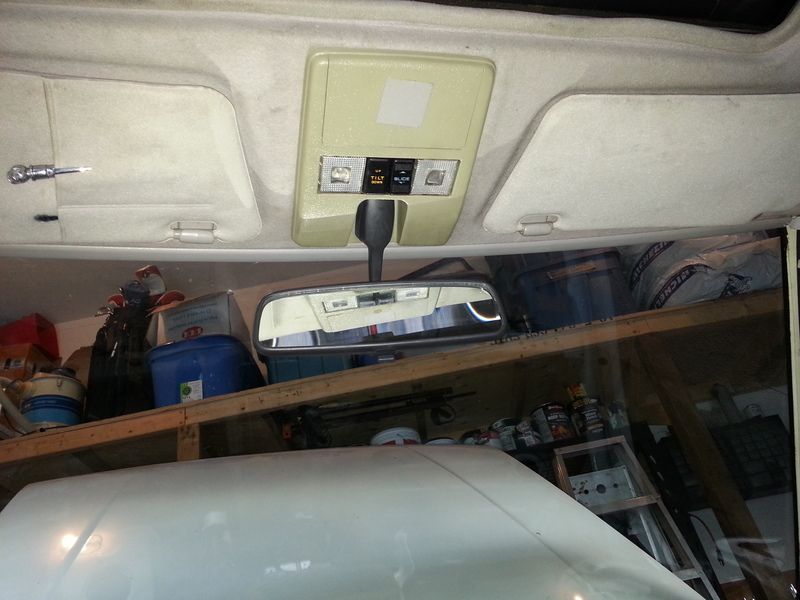
First order of business.. Power glass moon roof swap... This was very straight forward.. Unbolt the old sun roof.. Bolt in the new one.. Unplug the old wiring for the over head lights and plug in the new wiring.... All done...

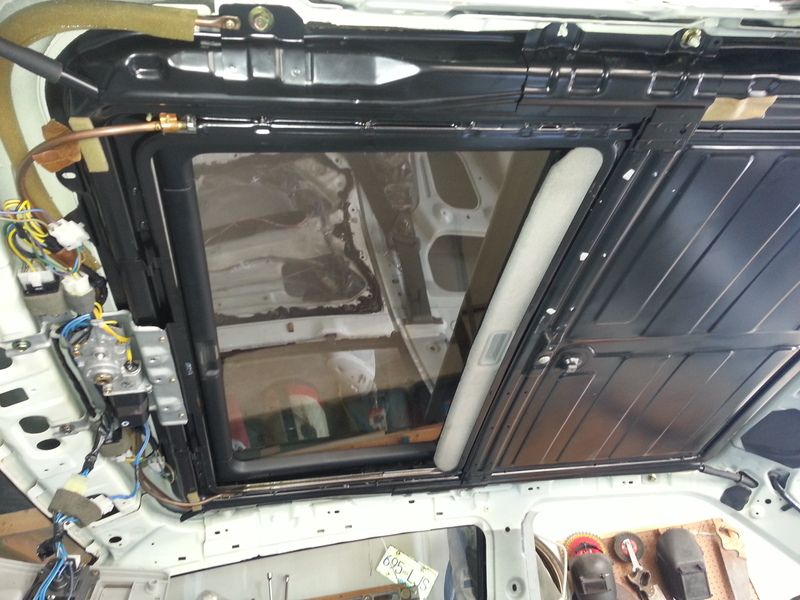
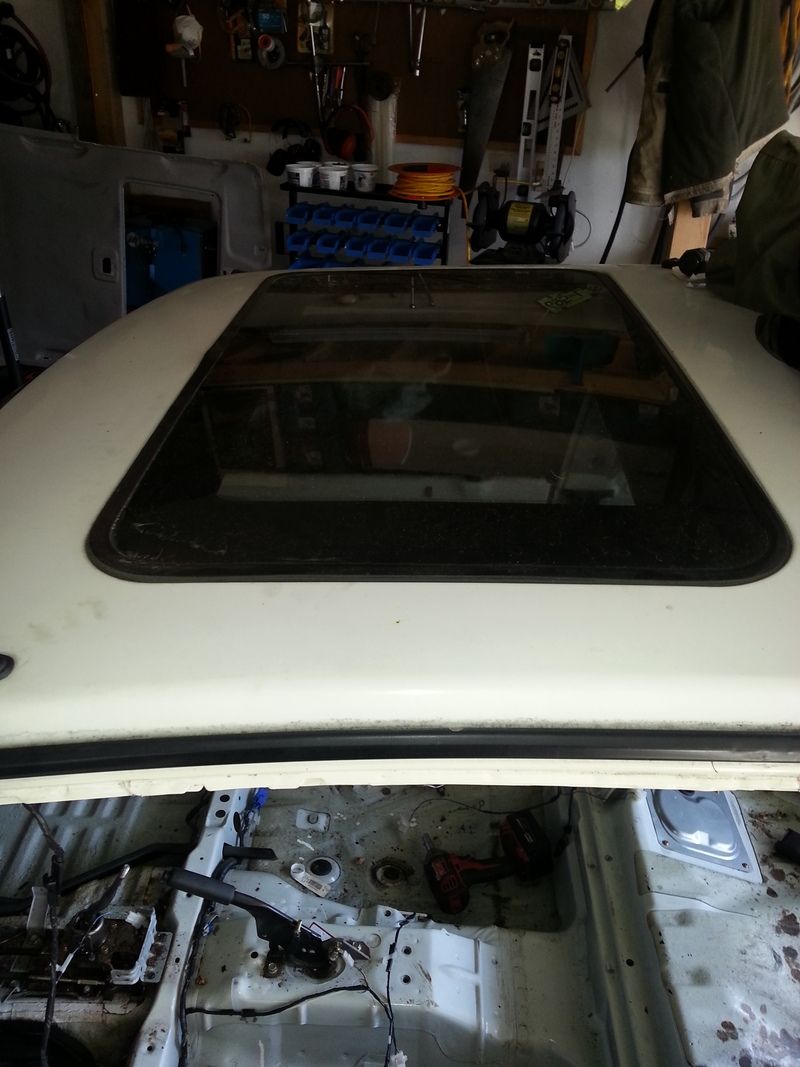
No more hand crank..
Comment
-
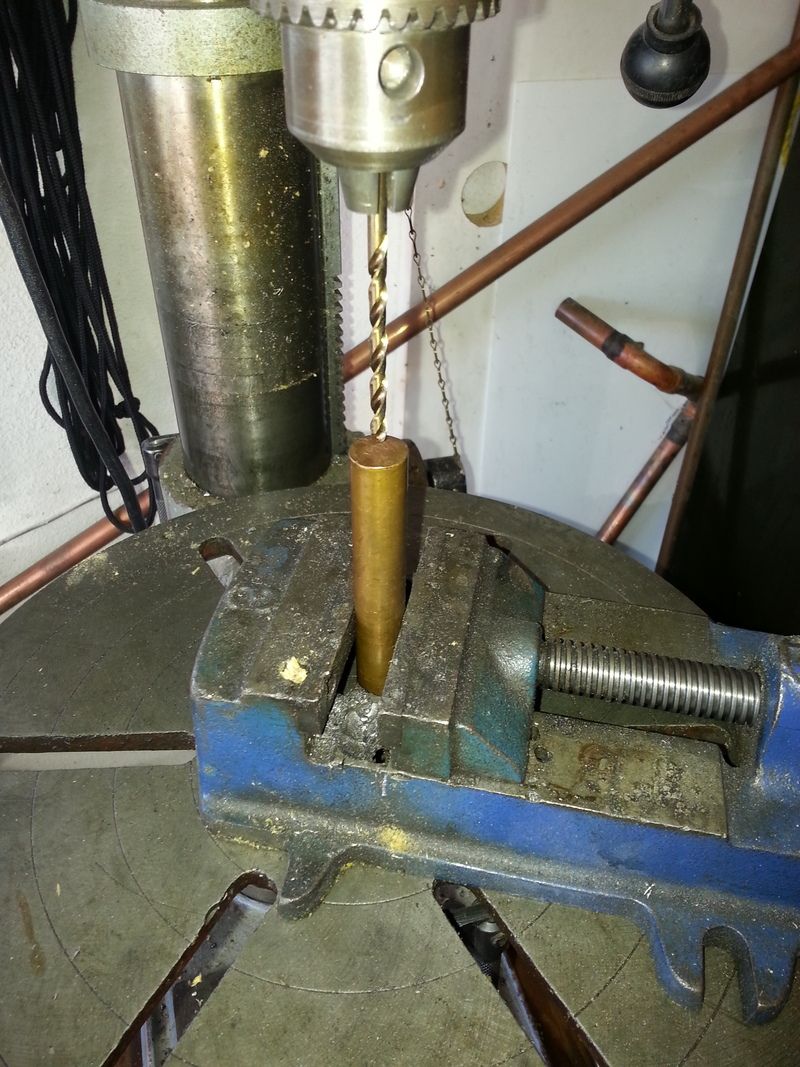
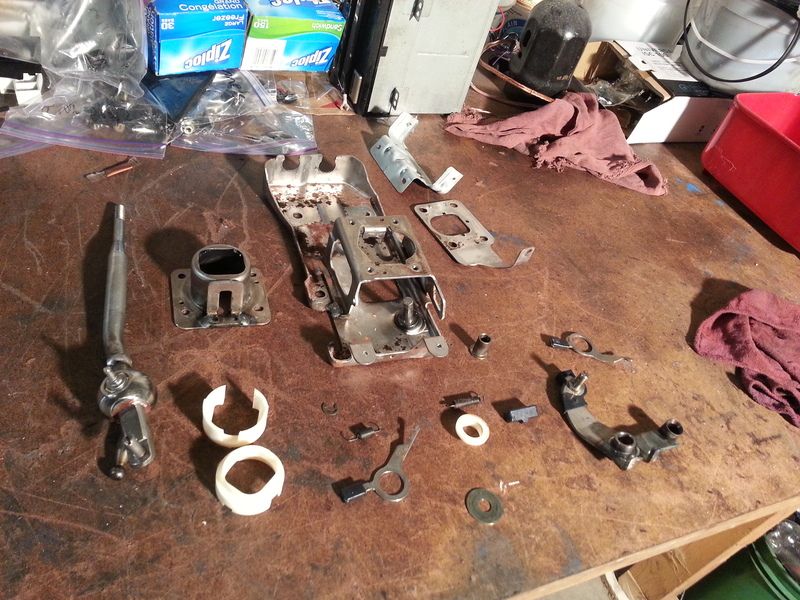
Next order of business.. Fixing the sloppy shifter... I found this little alignment bushing busted allowing the shifter to twist causing some of the slop.. The rest of the slop was the lack of plastic bushings in the shift cable eyelets..

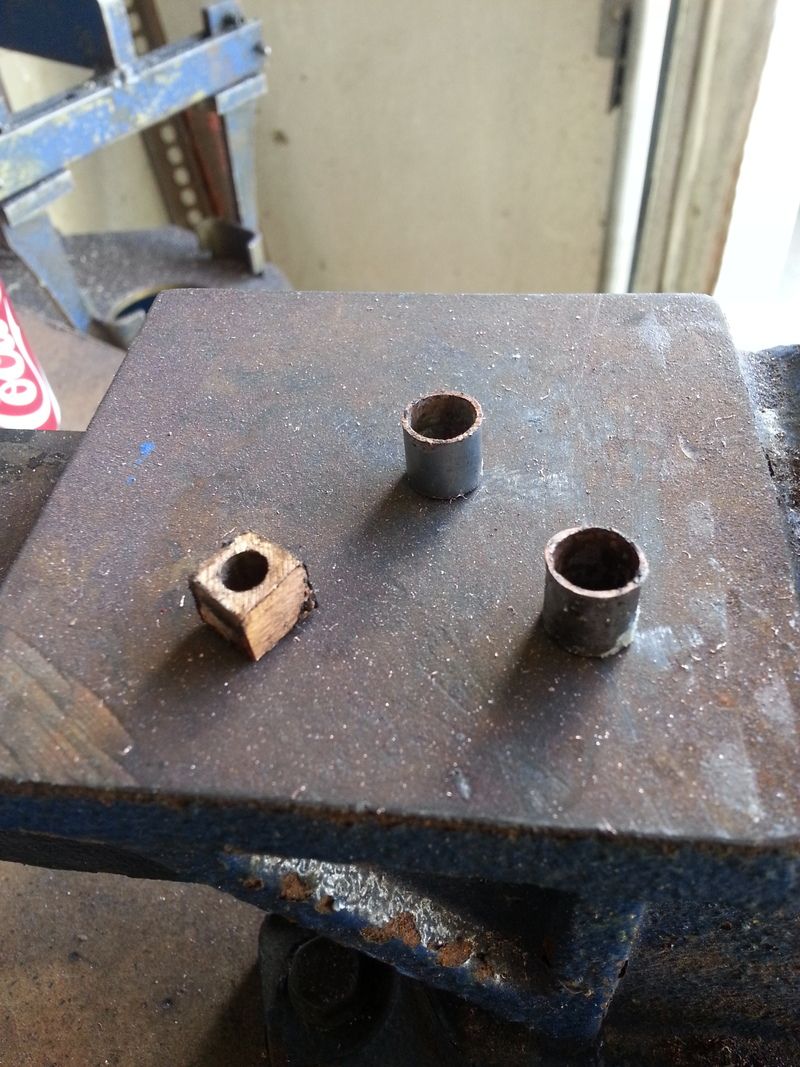
An old brass drift gave up some of its material for me to make the alignment bushing.. It took some time to drill it out, then slowly grind off material till I had it the right size..
Next up was bushings for the shift cables.. Well it just so happened the toilet had all its internals replaced the morning before.. The copper water tubes just so happened to be the right size to fit perfectly as bushings.. 2 cuts later, problem solved..
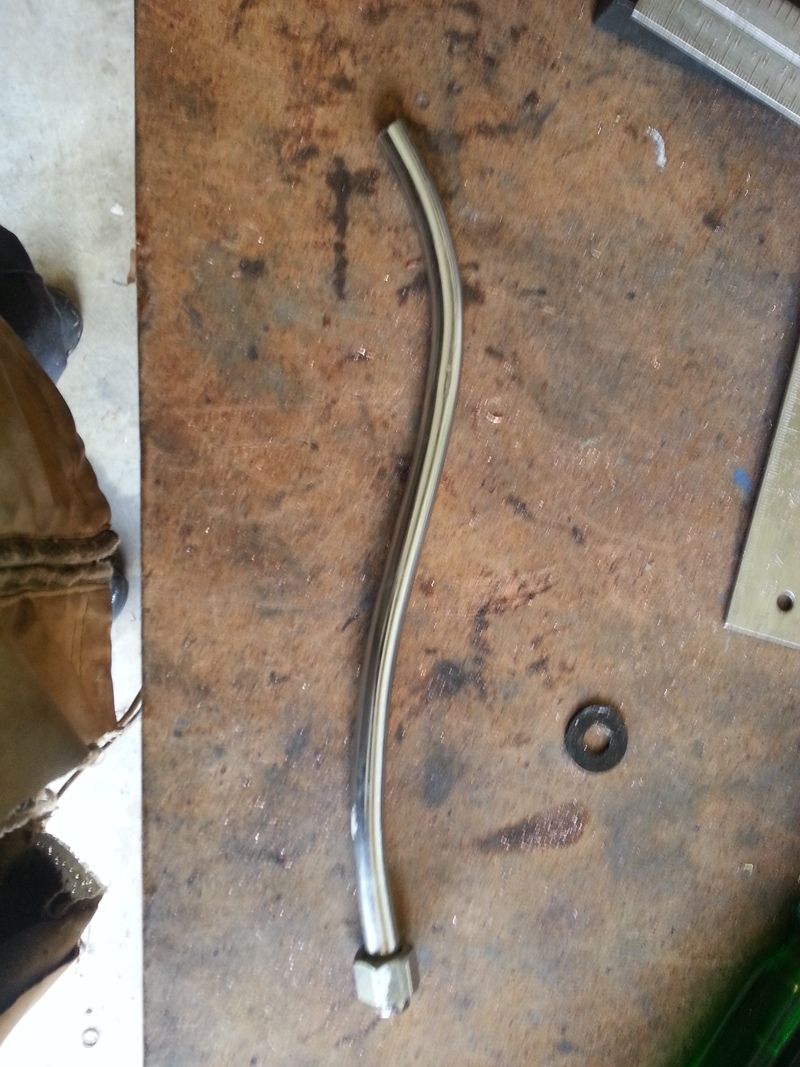
After a couple hours I was left with this..
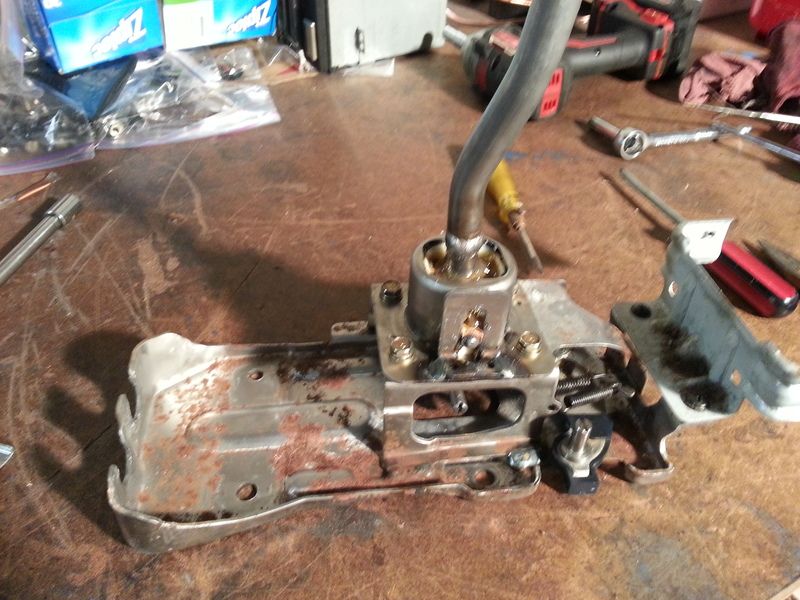
Since I had the shifter out I figured I would take it all apart and regrease it all..
ready to install..
Comment
-
Now do the short shifter mod. Add 1" spacer under the ball mount then cut and weld in 1" to the 2 cable mount ends.Comment
-
I second this. It's easy to do and shifting is soo much better.Originally posted by azgtx View PostComment
-
Wait what. Maybe my brain is fried but can you show me a photo of what and where to cut. I've for a spare shifter to modify.Originally posted by azgtx View PostComment
-
2 pieces of 1" bar stock or tubing the width of the shifter frame under the ball mount..drill holes and add longer bolts. This lifts the fulcrum point. Take the shift lever and cut the 2 arms at the bottom just above the cable attachments, you will need to add 1" TOTAL LENGTH to them to match the lift on the top. Best to grind to a point each cut end and add stock (also bevel each end) and have room to add the weld. Reassemble and enjoy shift throws in the range of 3" shorter. I do not have pics and sorry do not have the ambition to tear into my cars at the moment but this is a very positive modification for sure.Comment
-
that is super helpful and now makes sense. Thank you for the more detailed description, I can now picture it better and gives me a better understanding of where to start.Originally posted by azgtx View Post
Thank you clay, sorry to derail your postLast edited by Wildfire0310; 03-30-2016, 06:37 AM.Comment
-
Really jealous of your lack of rust!!Comment
-
humm... interesting idea on the short throw... I'll see how things go.. My time line is kinda short so I don't think I can go back now.. Might be an idea for when I do the BPT swap I have for the car..Comment
-
Then you will be using a BG shifter ideally.Comment


Comment