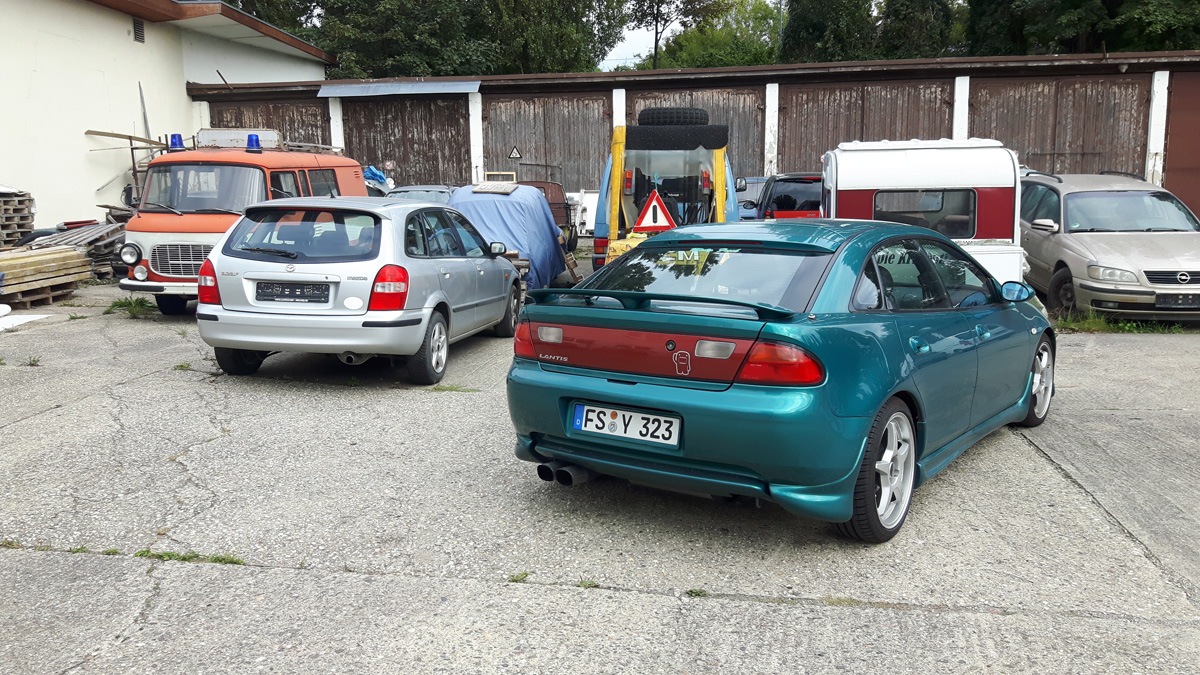
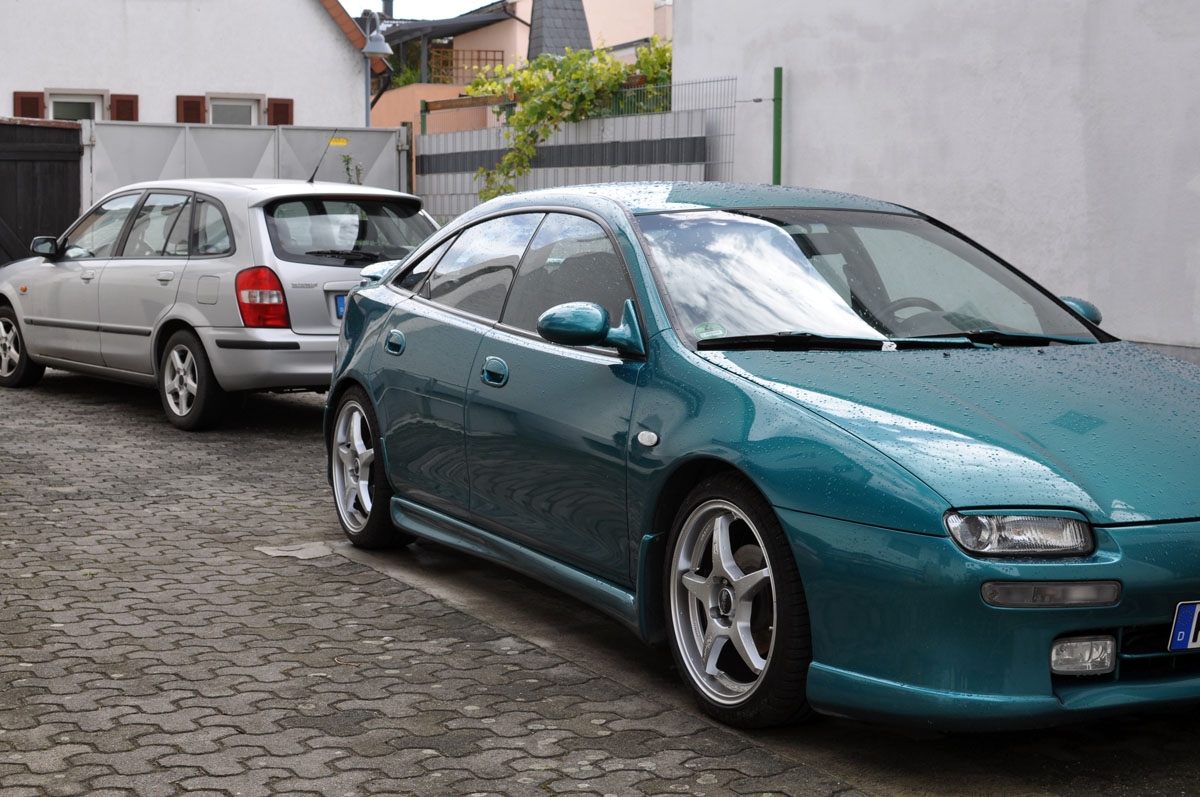
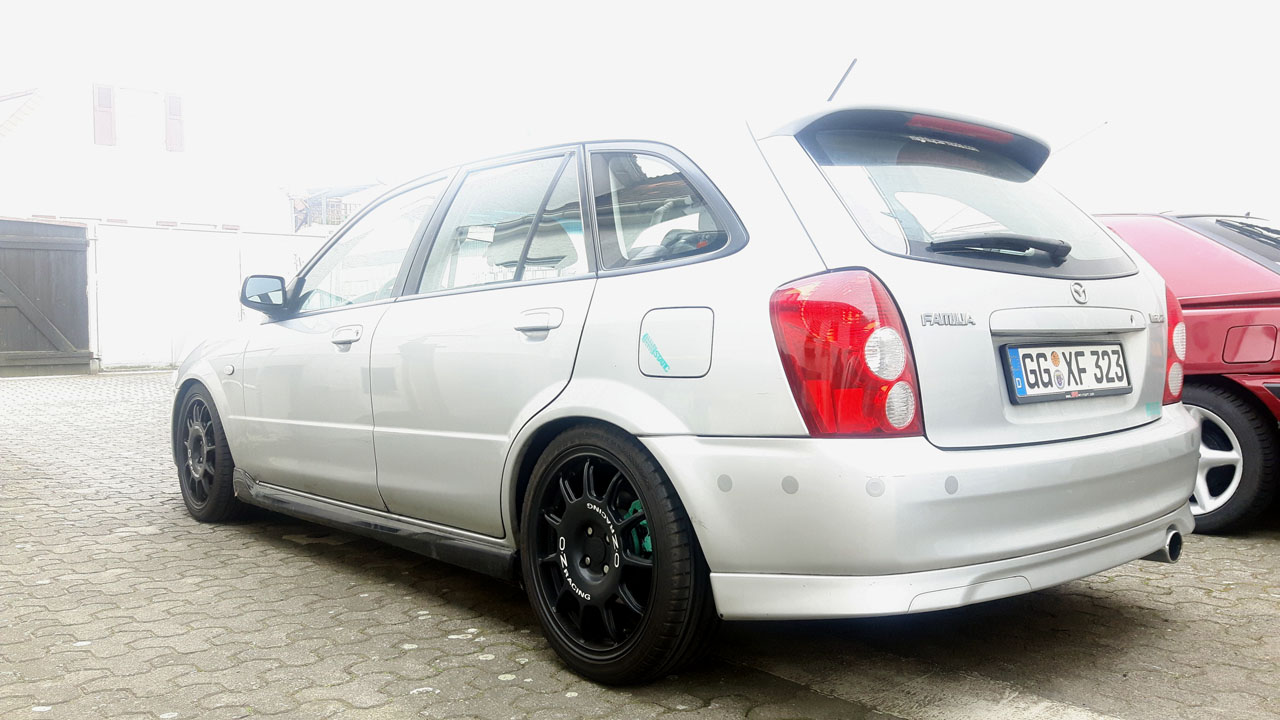
I thought I might as well show my daily here that I bought last year as a write off. Got it for two reasons: I wanted a pre '01 BJ because of bad rust issues with later years and specifically a '00 Sportive since it came with the JDM Sport20 interieur. With that in mind I looked around for about a year one and off, and this was the best one I could find in terms of rust issues.
Why a BJ in 2017? (the following section is C&P, hence slightly redundant).
Well, I needed a new daily for commute and transport of the offspring as well as the occasional movement of building material.
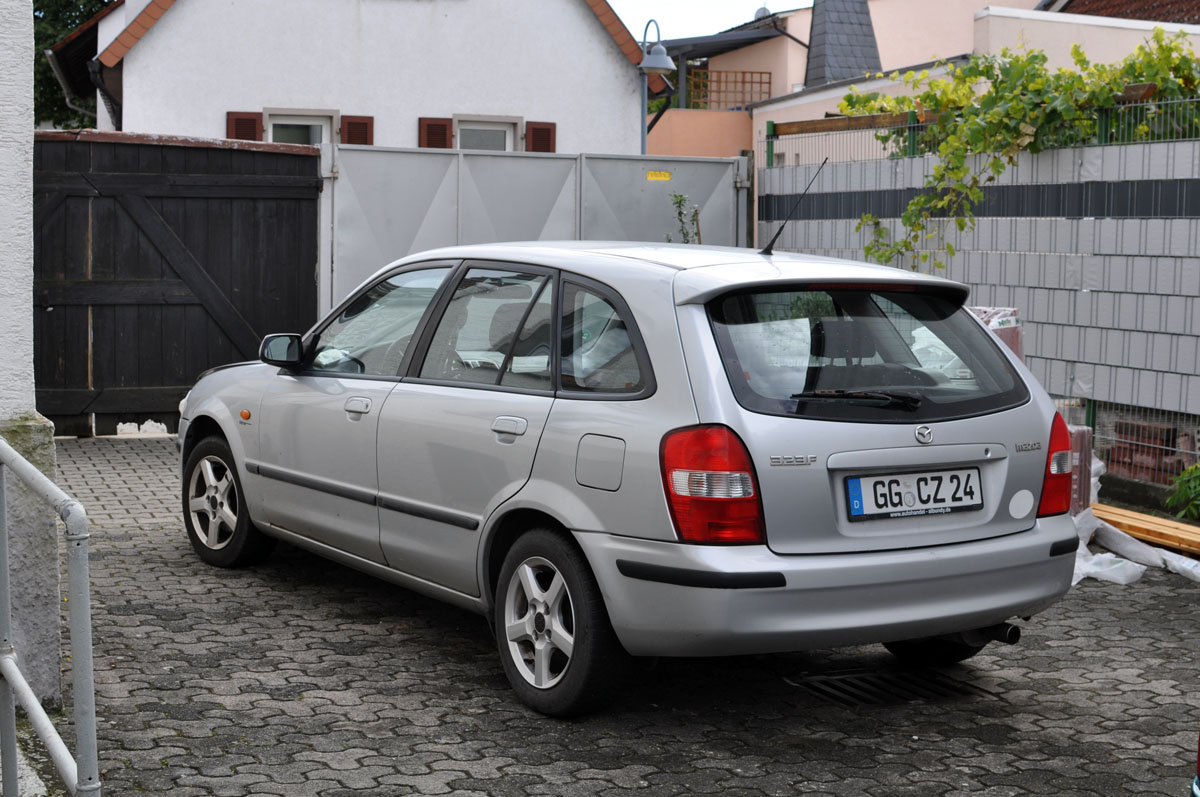
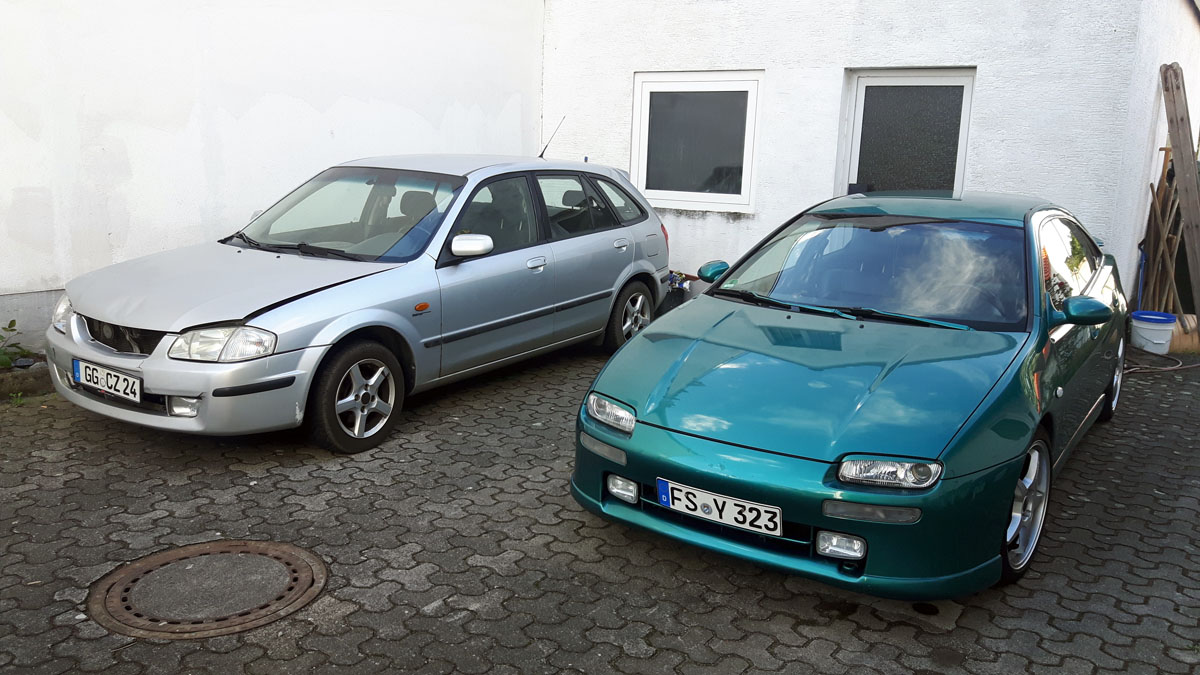
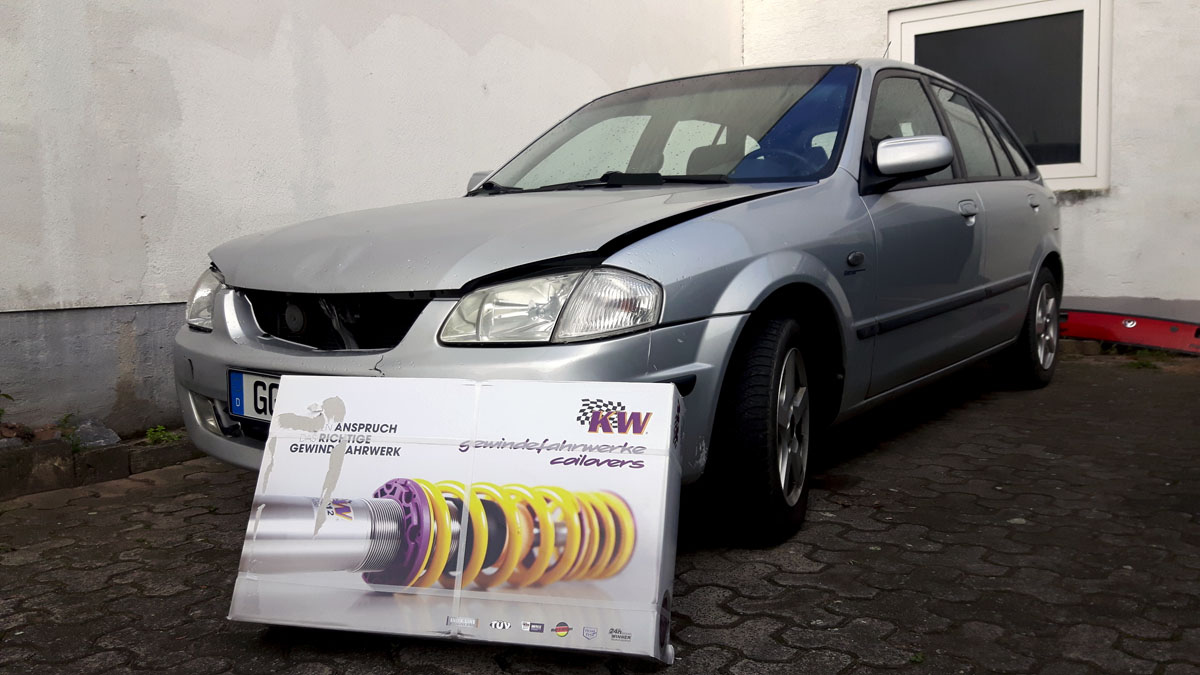
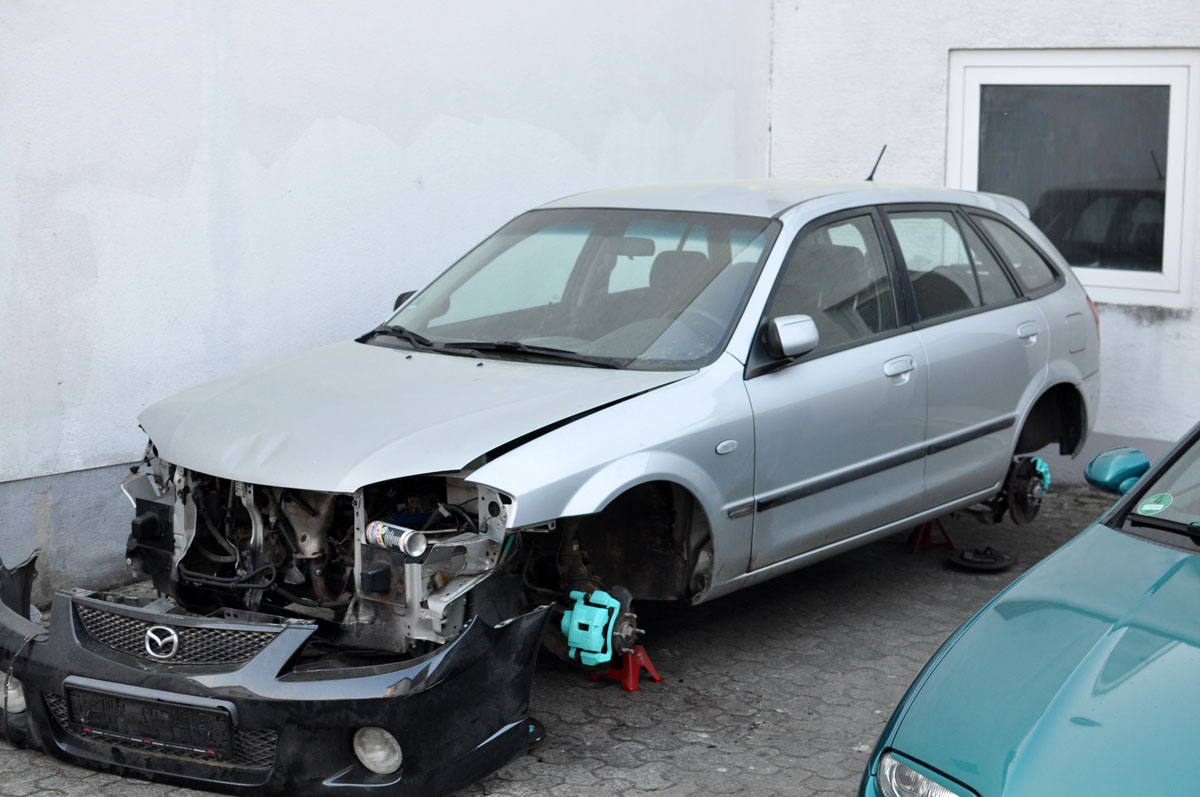
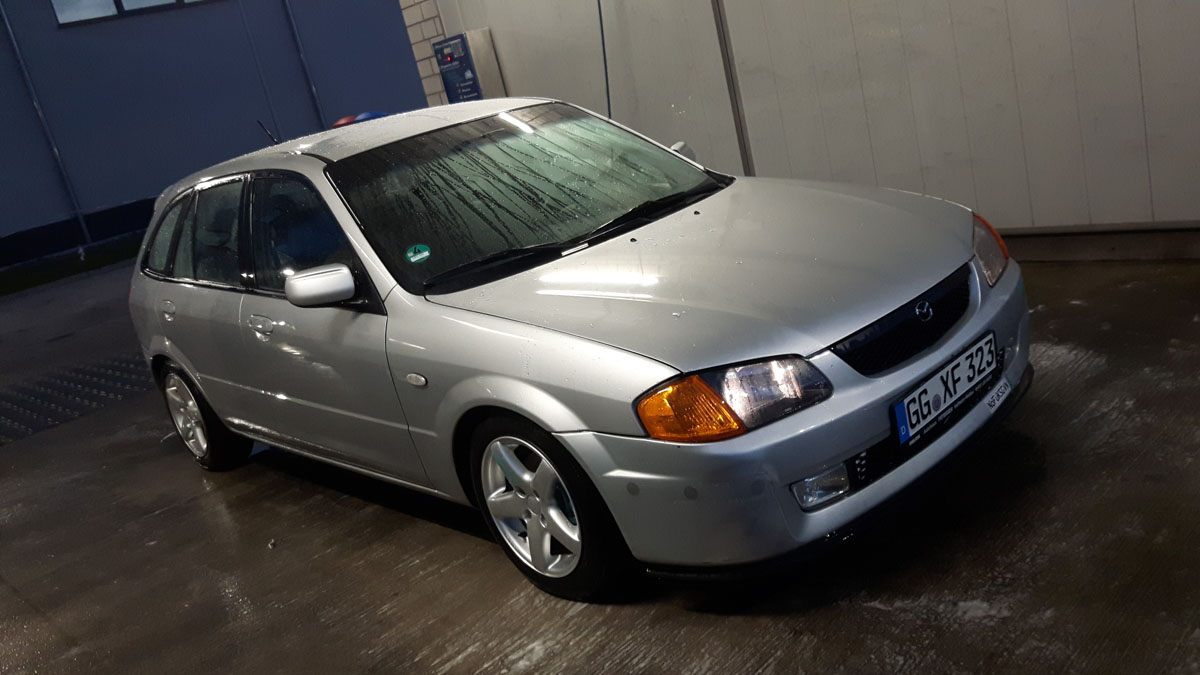
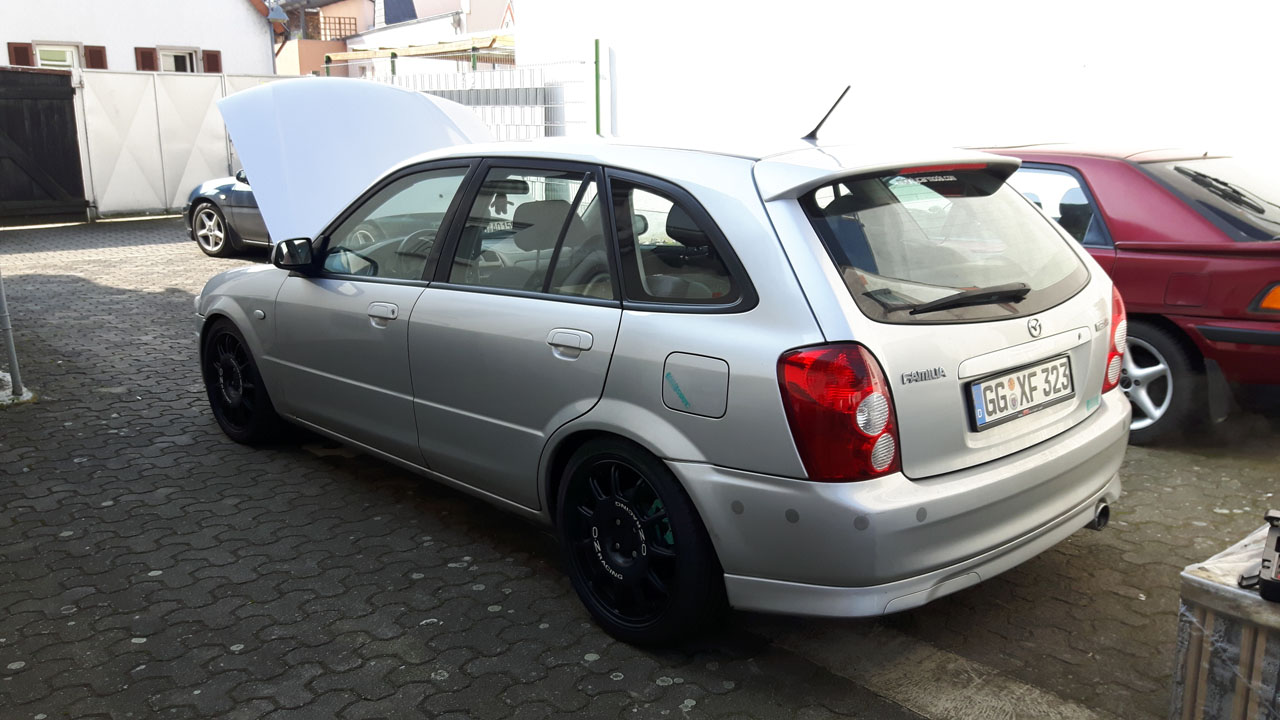
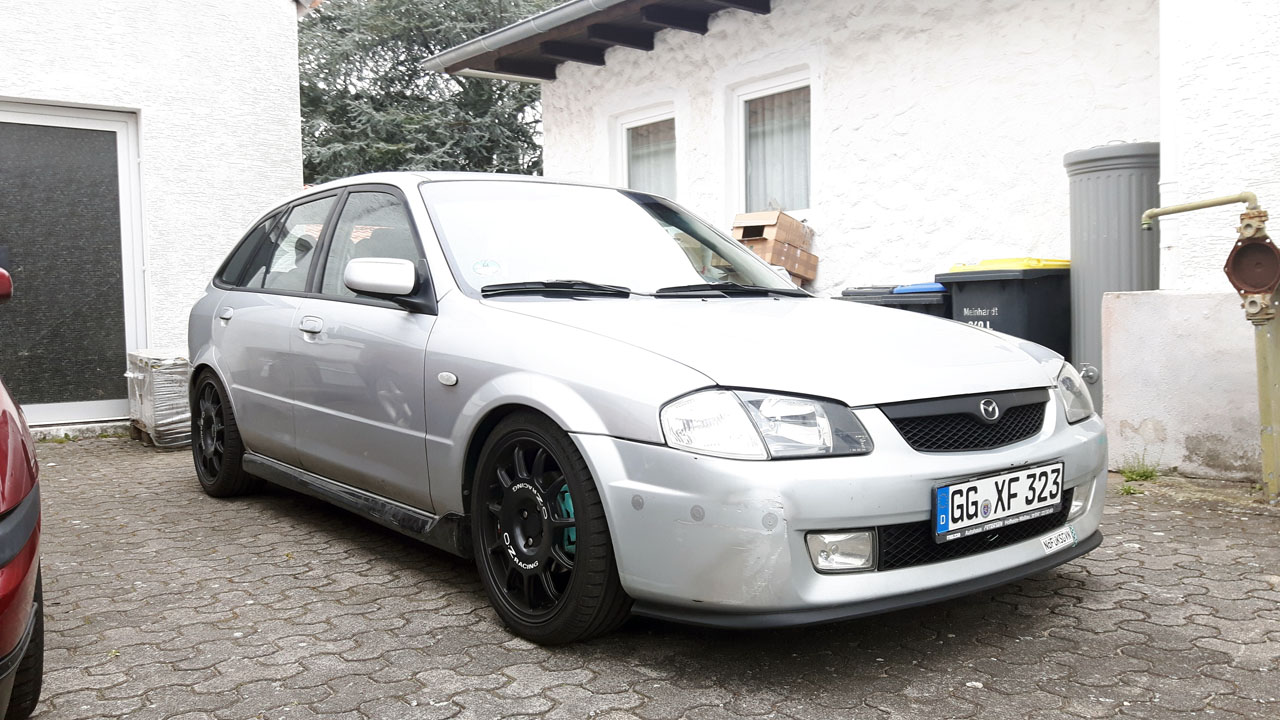
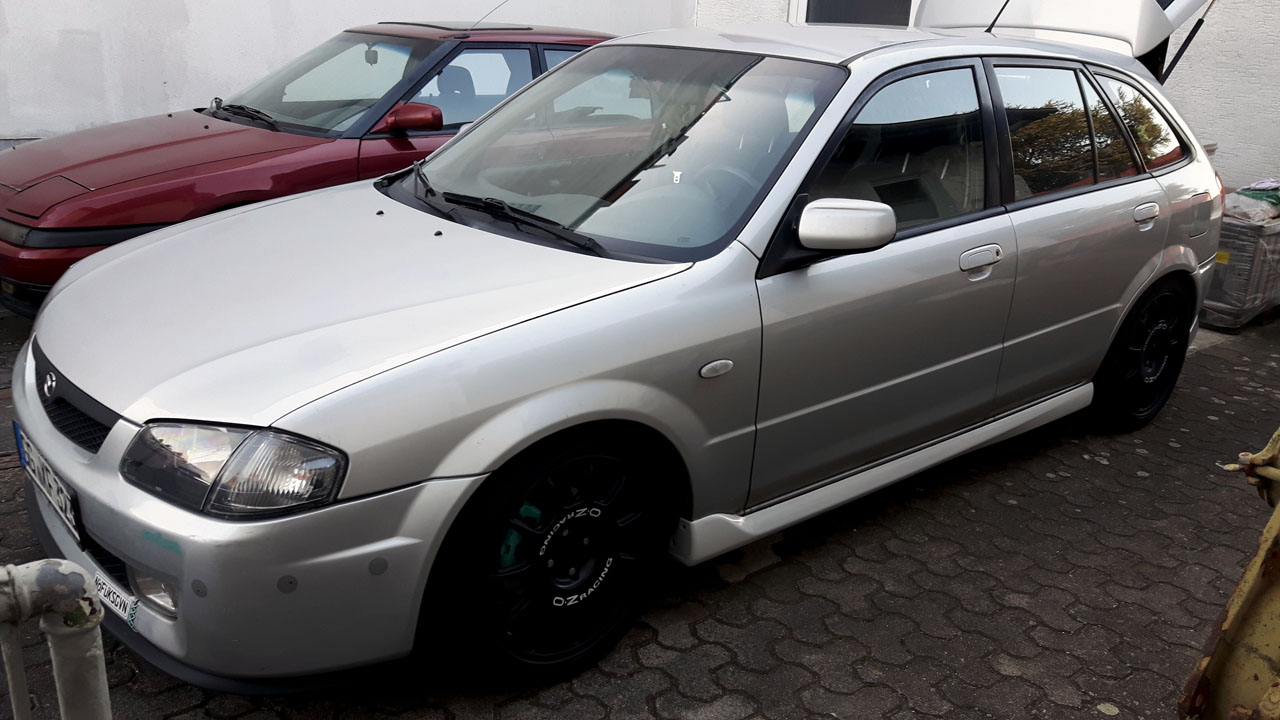
After buying and selling two Xedos 6 V6s last year (yes, I desperately wanted a V6 in my life), I decided I'd go for the practical compact kinda hot kinda hatch that is the 323F BJ Sportive. I chose the 2000 model year because it combined the JDM interieur with a less rusty shell than the later years. Still, it took me months to track down a suitably candidate and actually the best I could come up with was silver (omg) a beat up unloved thing of ugliness which I acquired for the sum of 250€. I stress again, this was the best i could find including all offers up to 4000€.
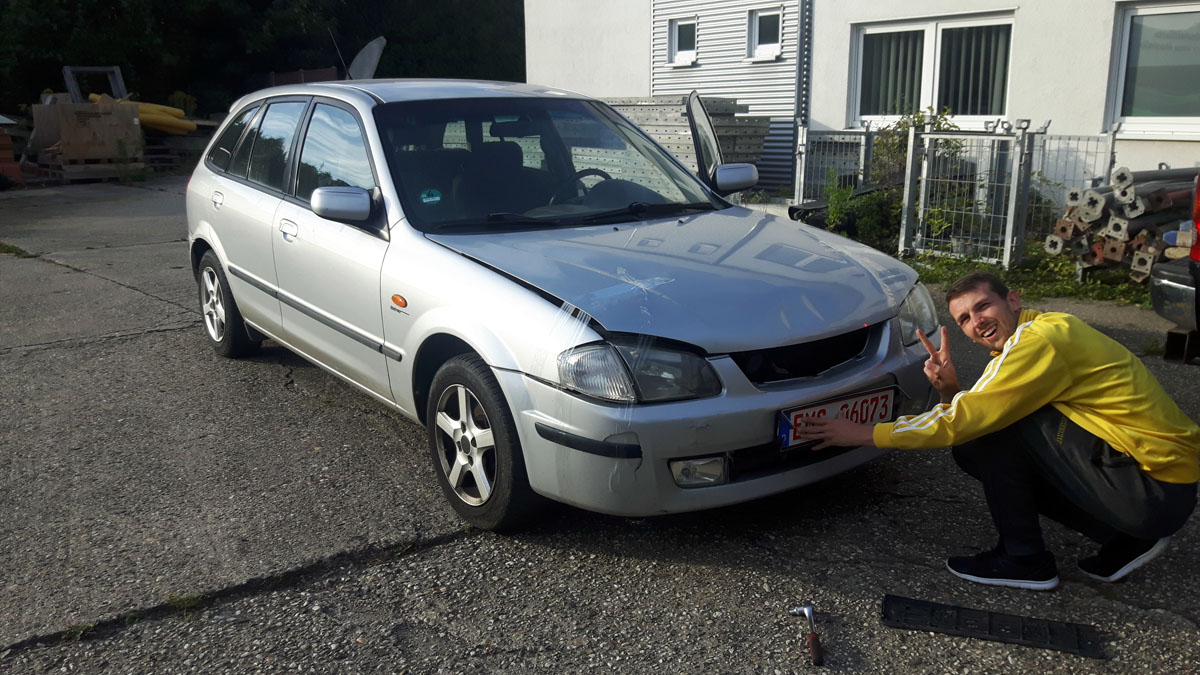
Oh, i should mention that I had to travel about 200 miles one way (twice actually, so a total of 800) to buy it and bring it home two weeks later. Makes sense, right?
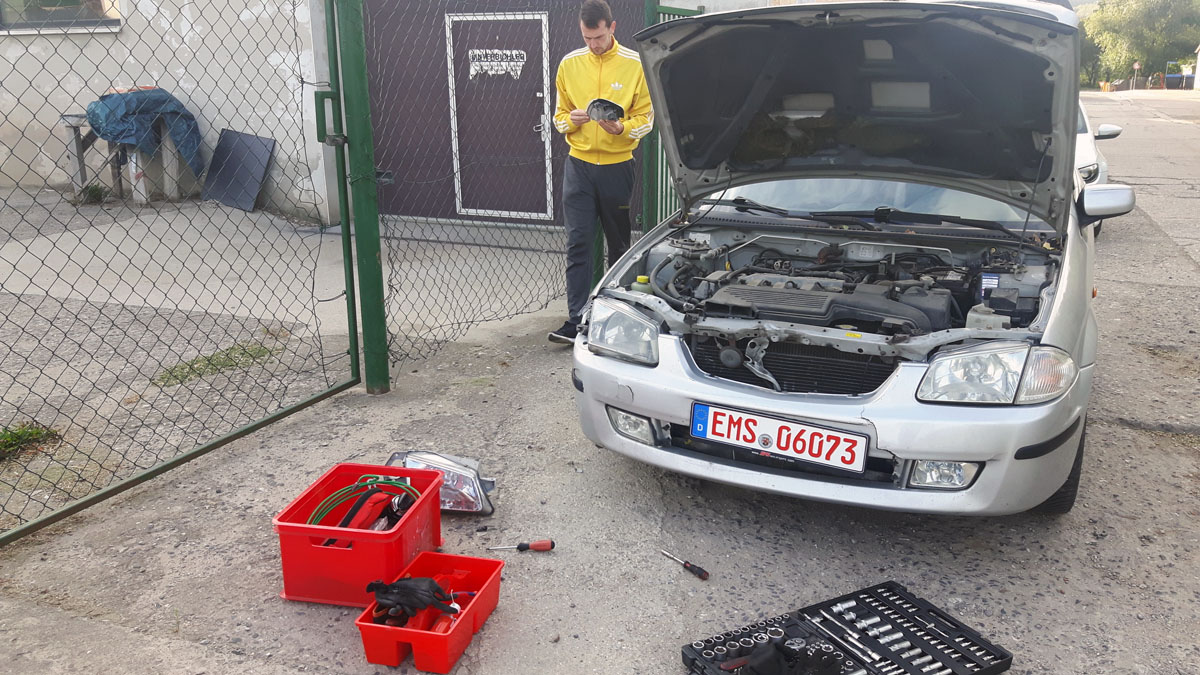
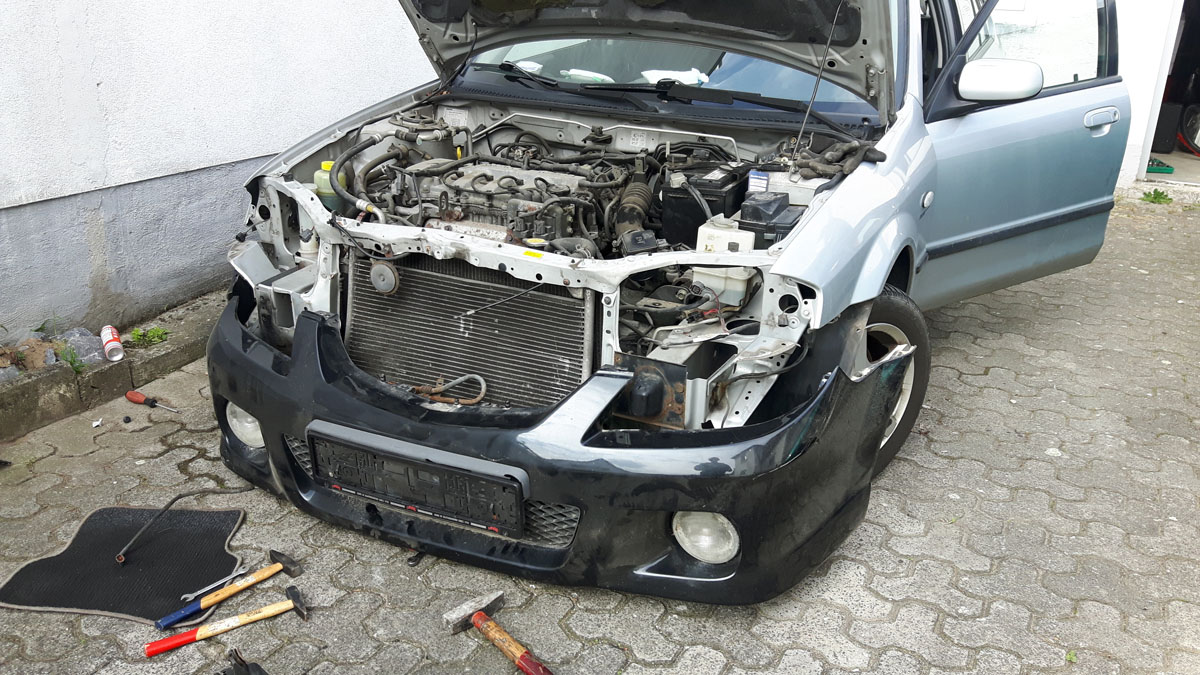
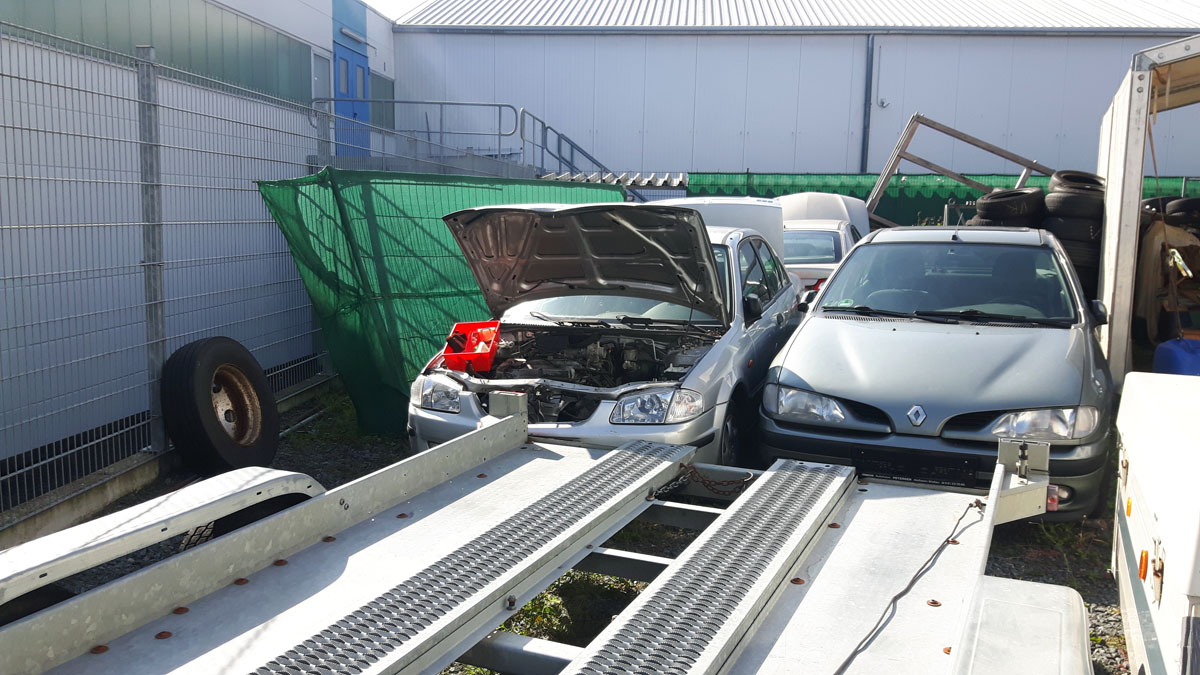
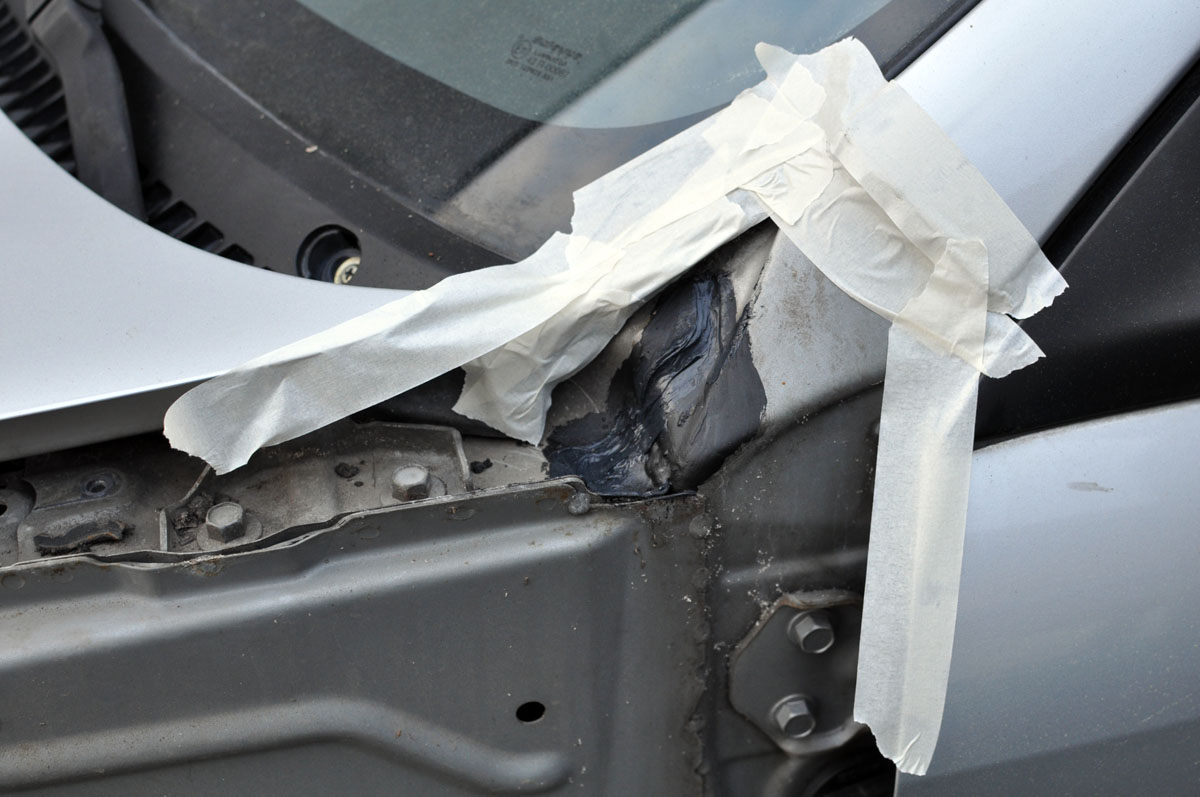
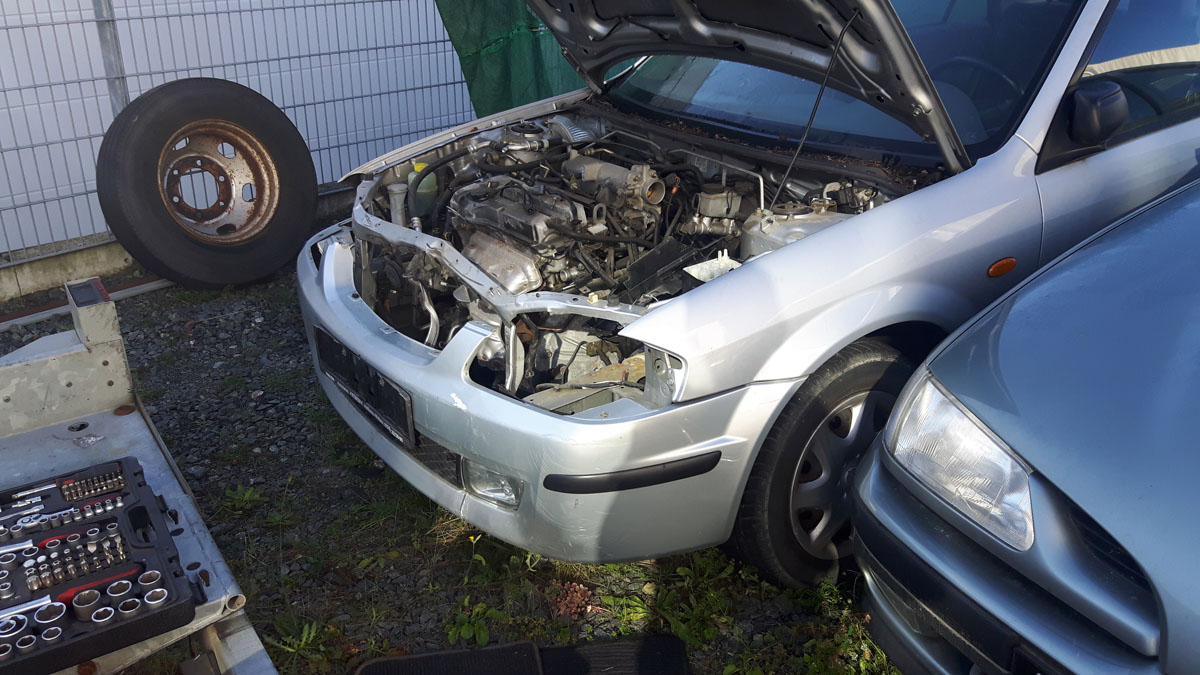
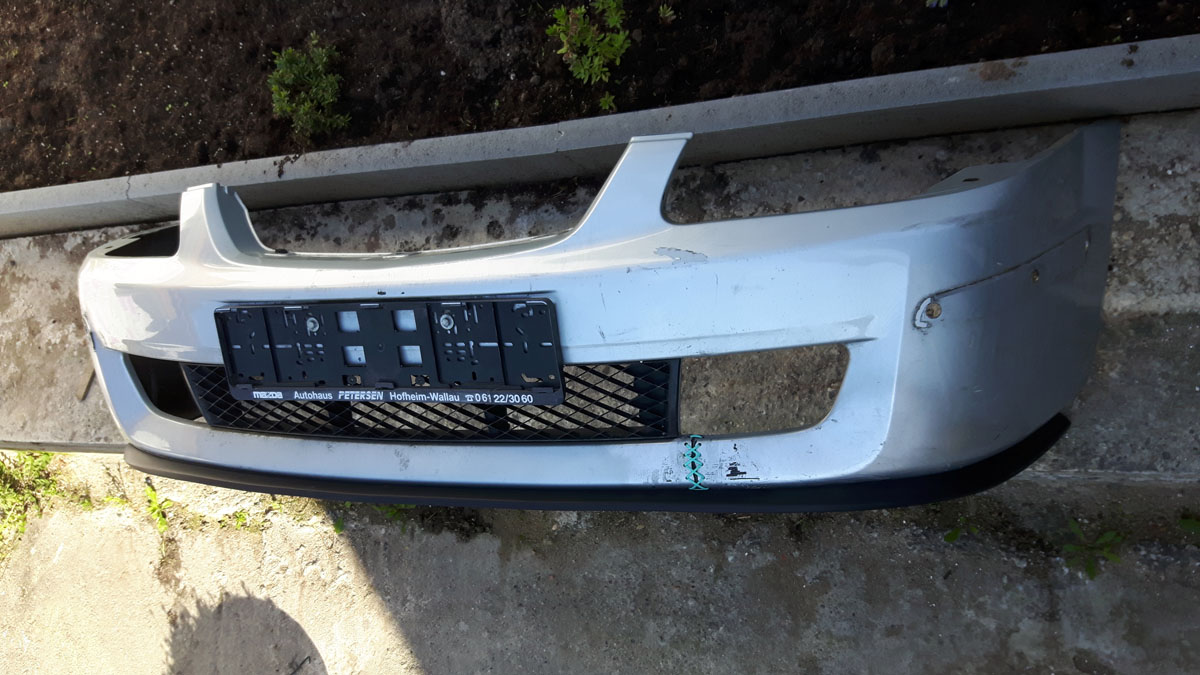
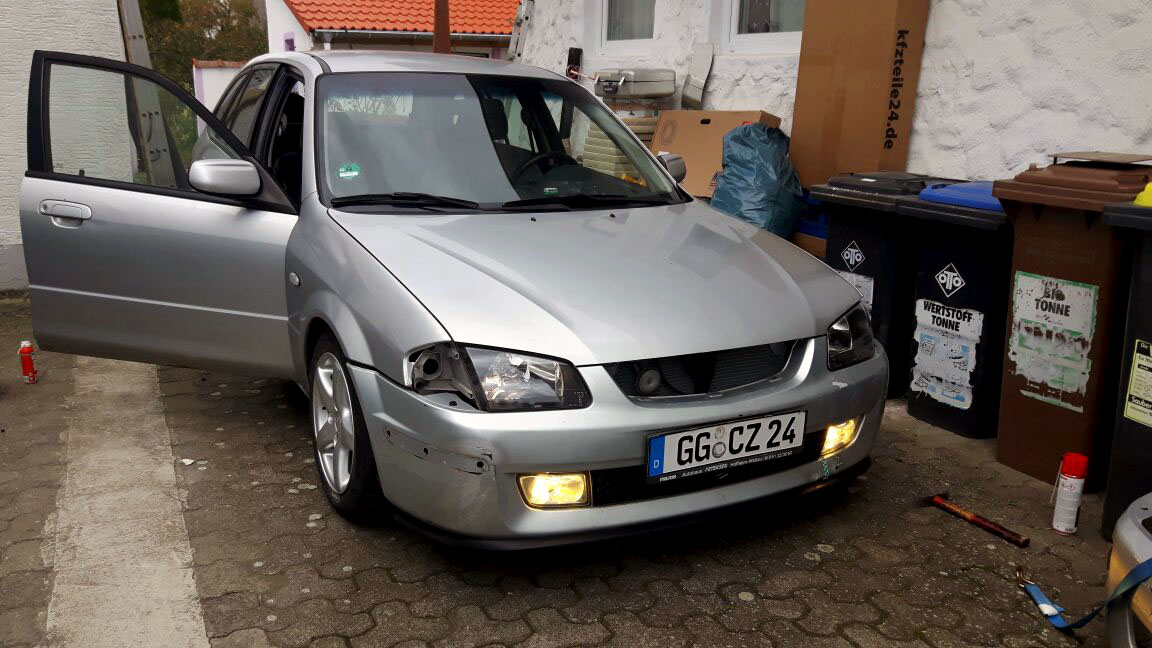
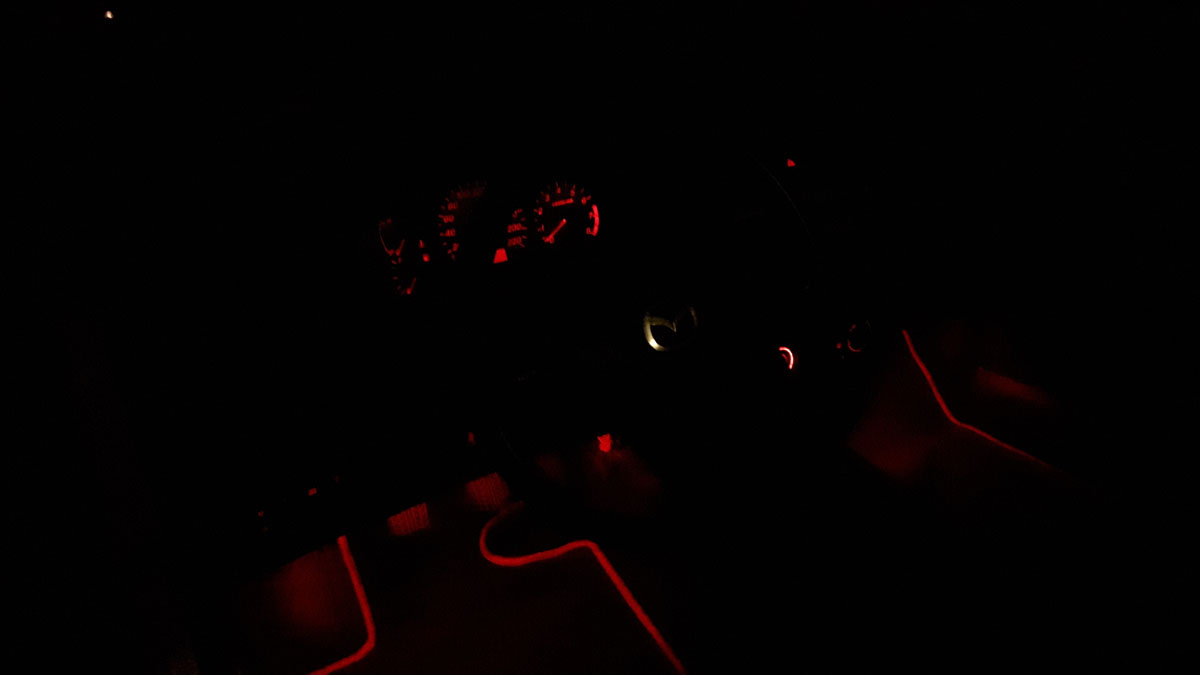
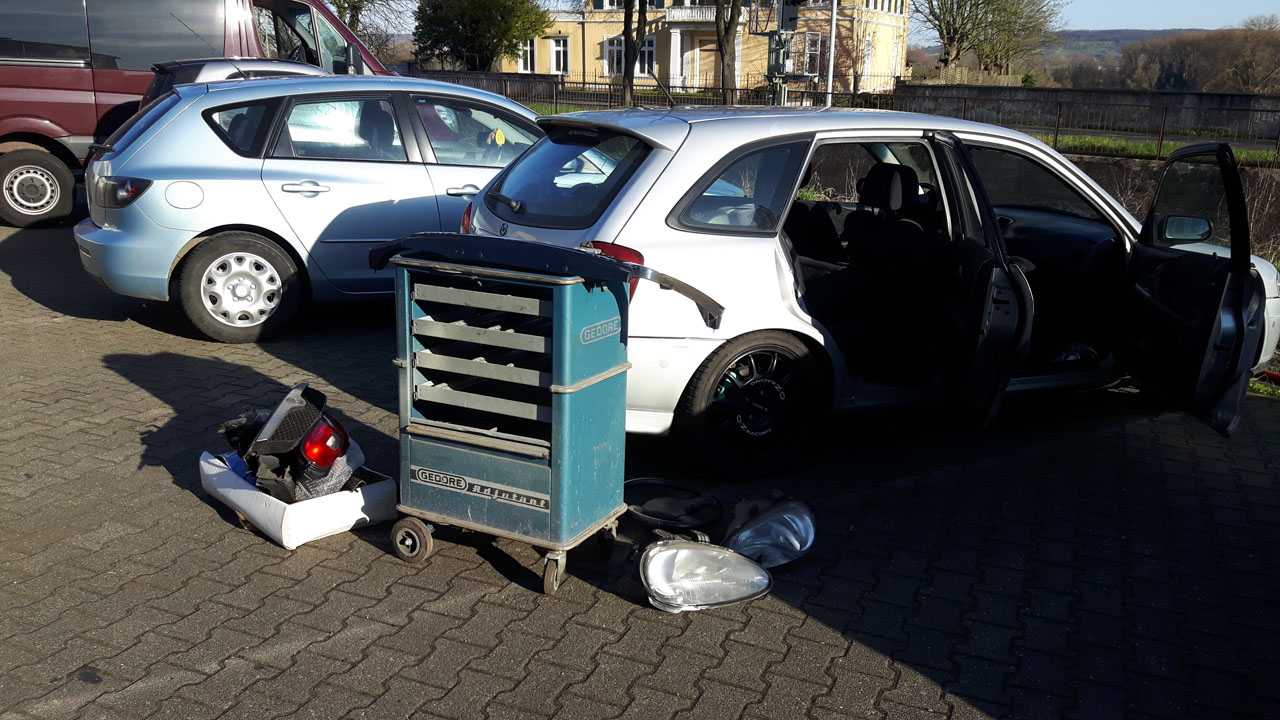
I only drove a few miles like this towards a mates garage where i picked up a bunch of parts and ghettofixed the front end a bit.
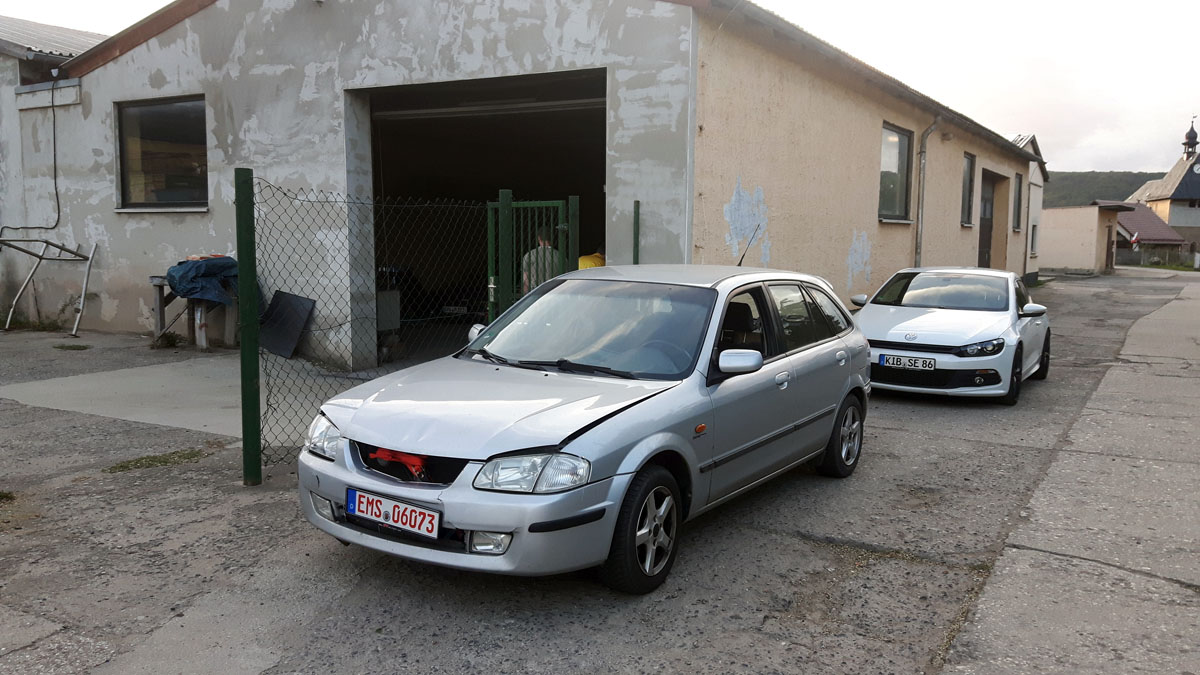
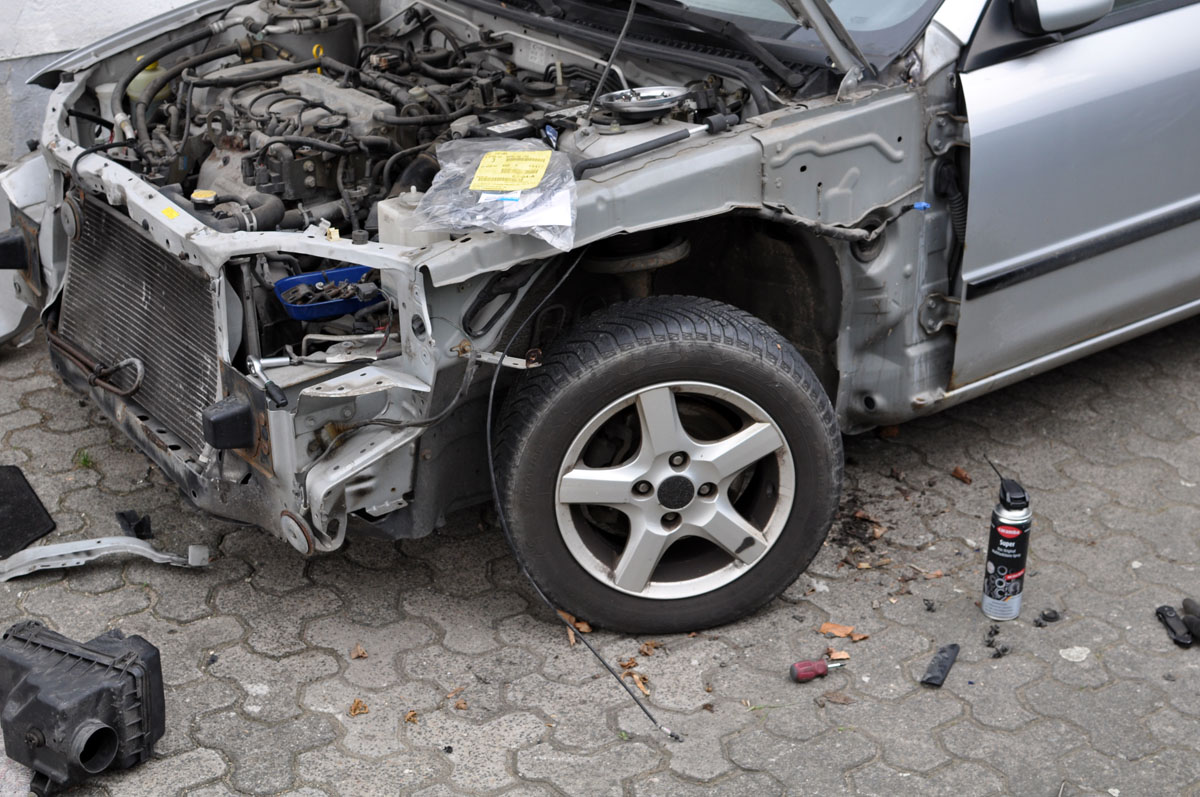
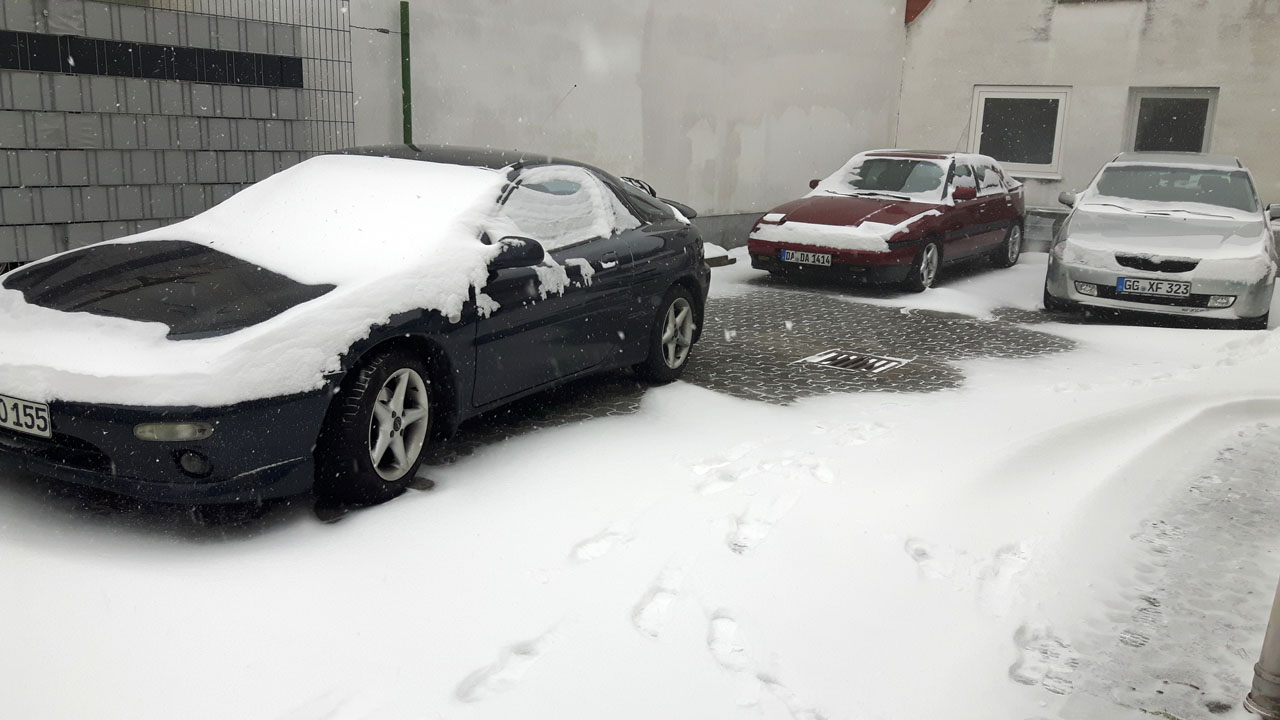
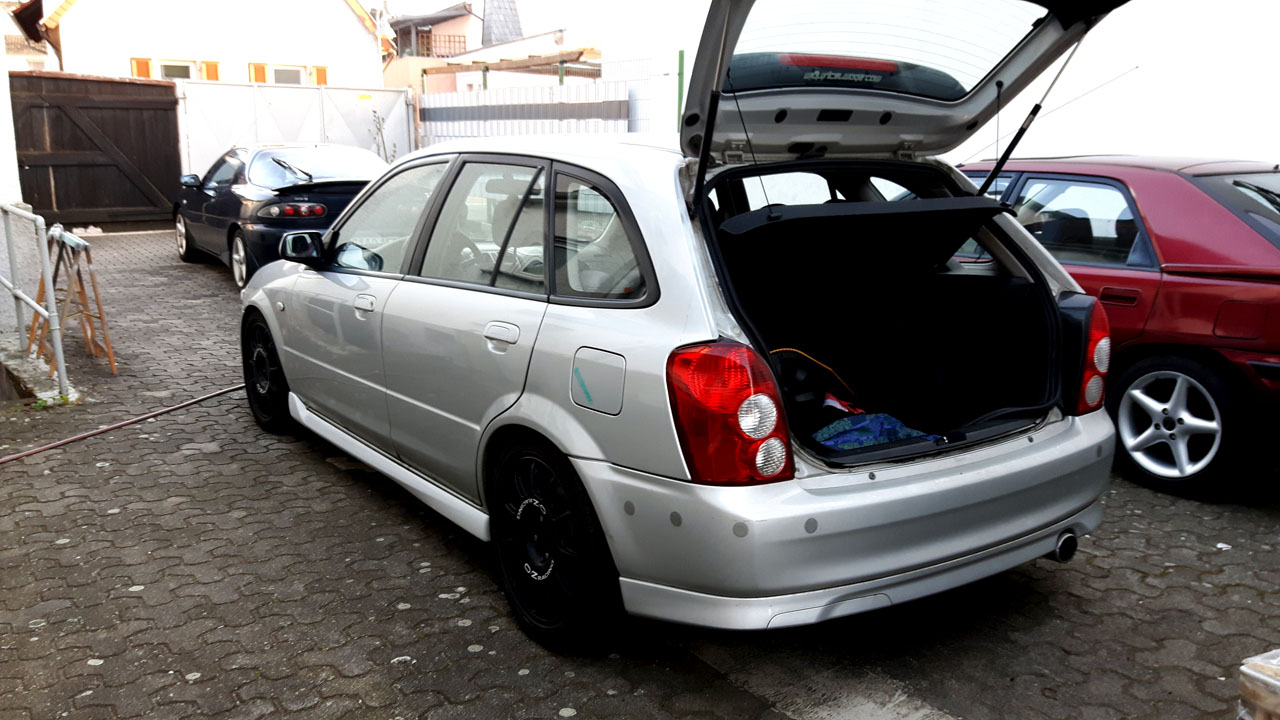
The trip home took about 4 hours due to the worst weather conditions and a somewhat limited top speed because accident damage and dead tires. Still, we made it. Safe to say, my wife was a bit underwhelmed with my purchase ^^
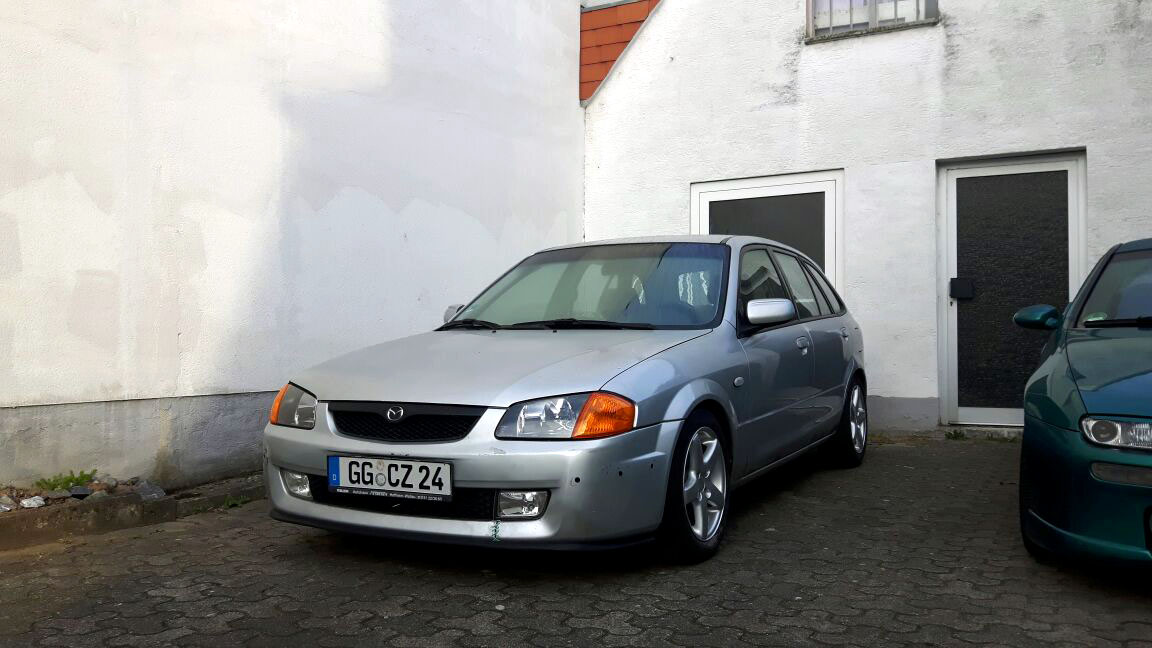
But this was the least rusty 323f BJ I could come up with, that has an engine that's not terribly slow (i.e. no 1.5 or 1.6), has a nice interior and the variable passenger seat and rear bench option, which is really awesome.
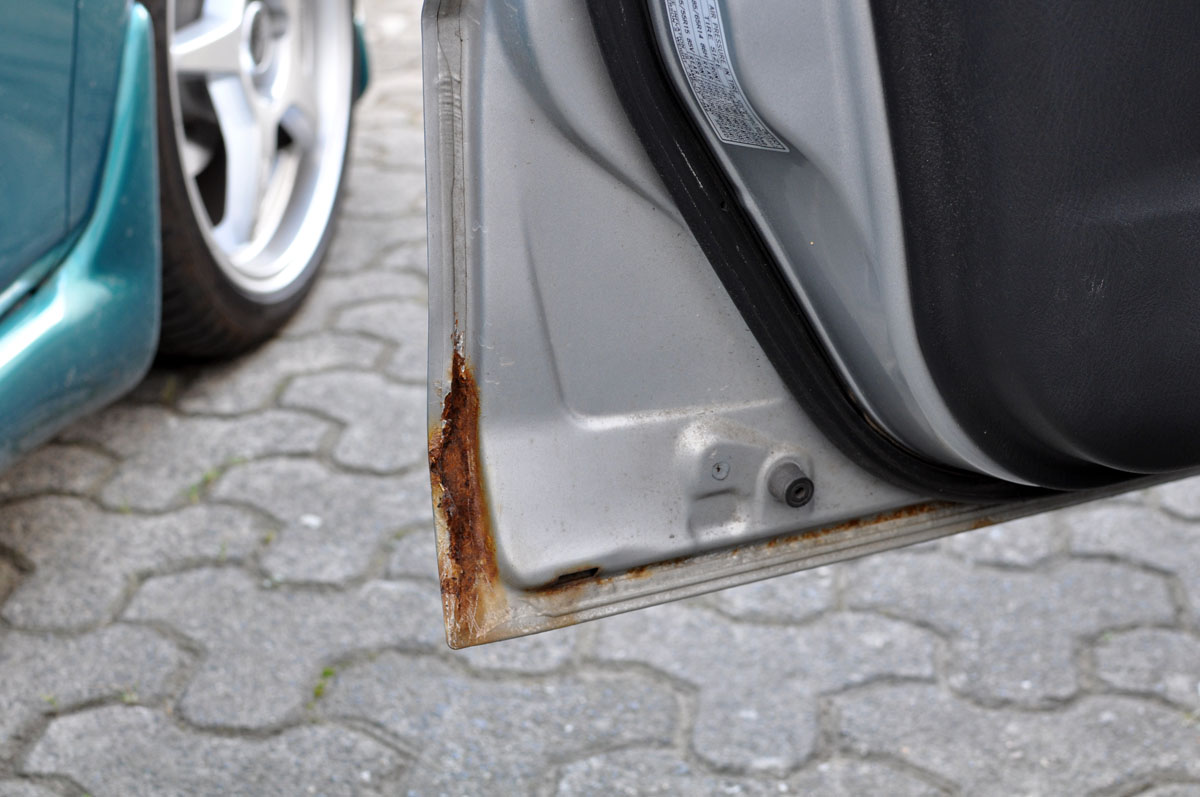
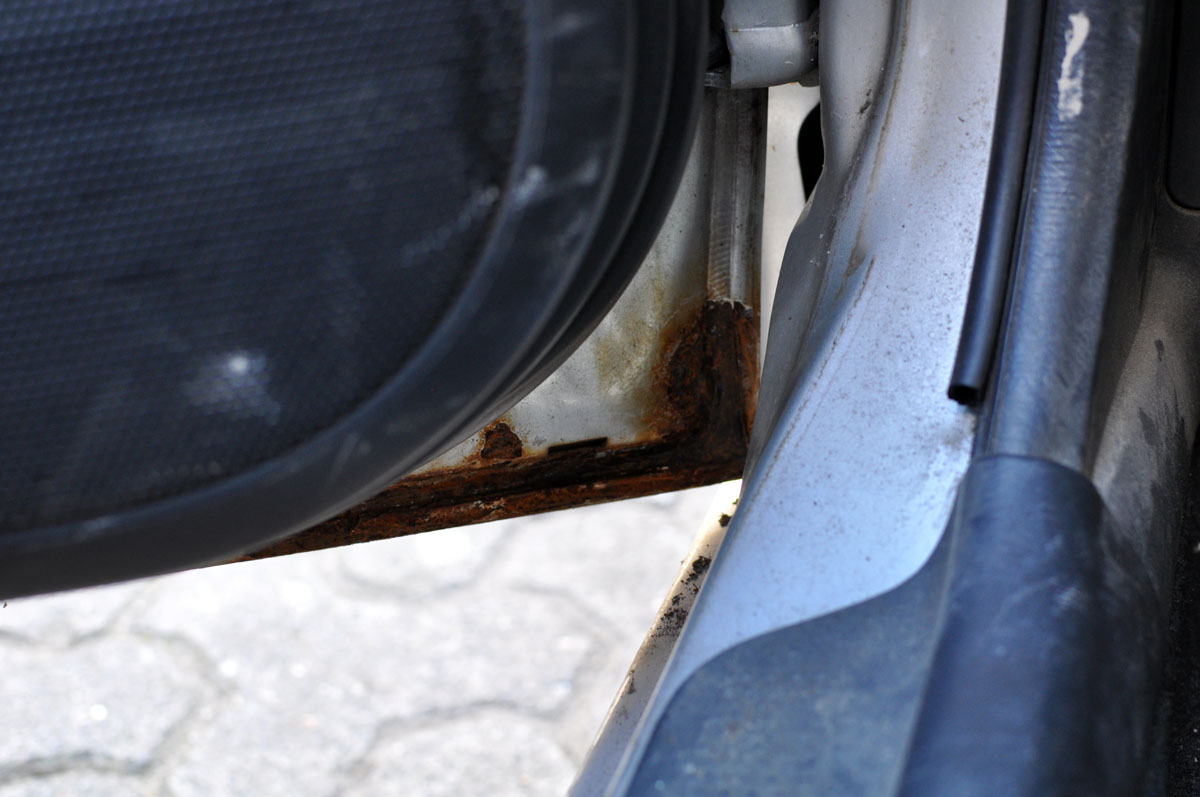
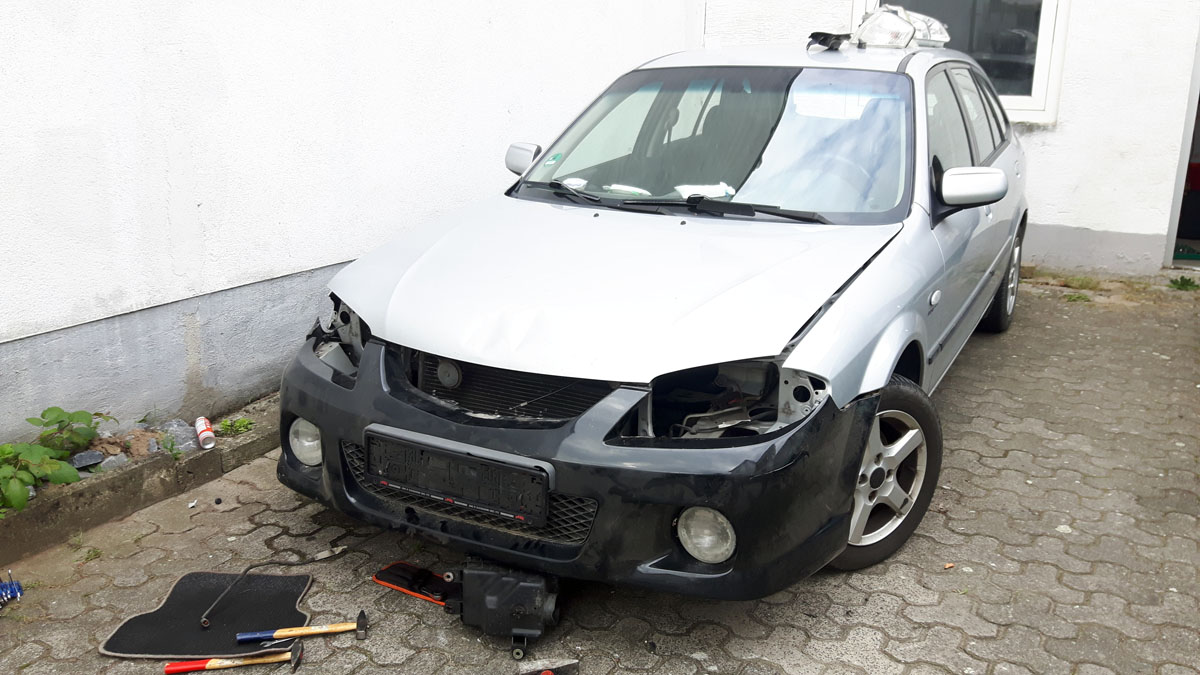
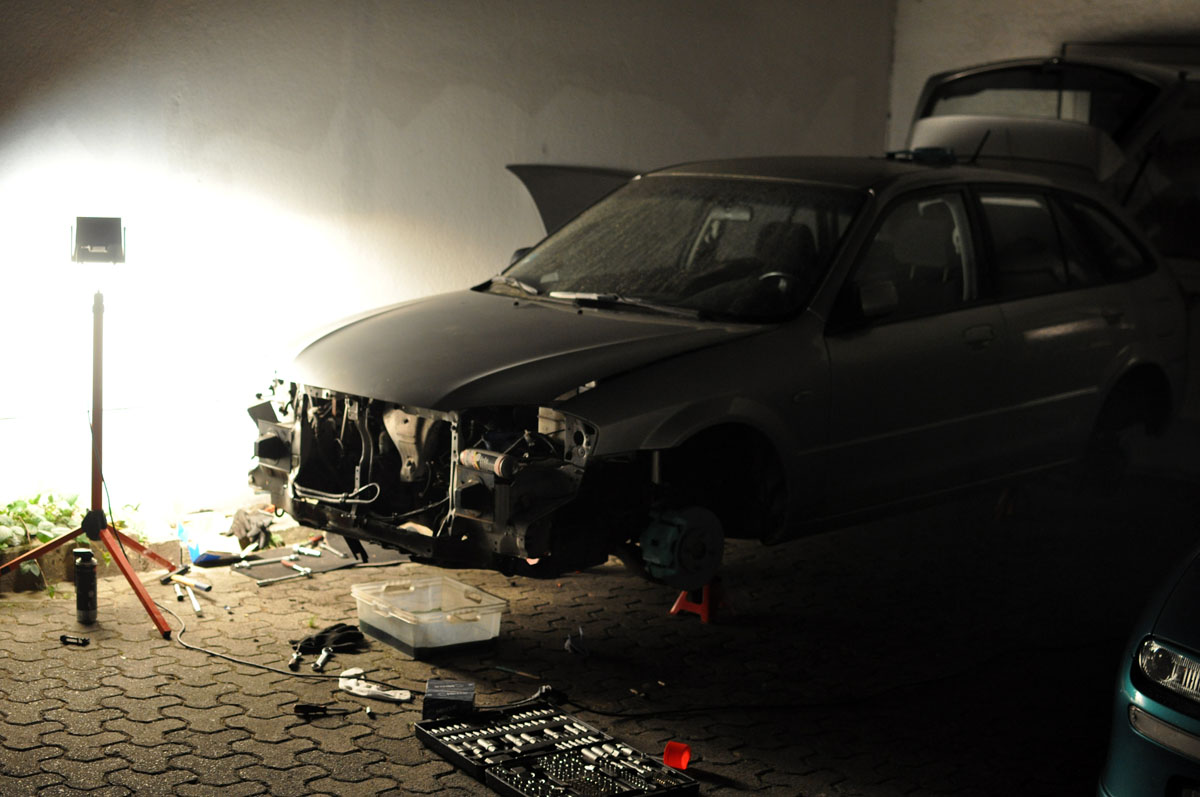
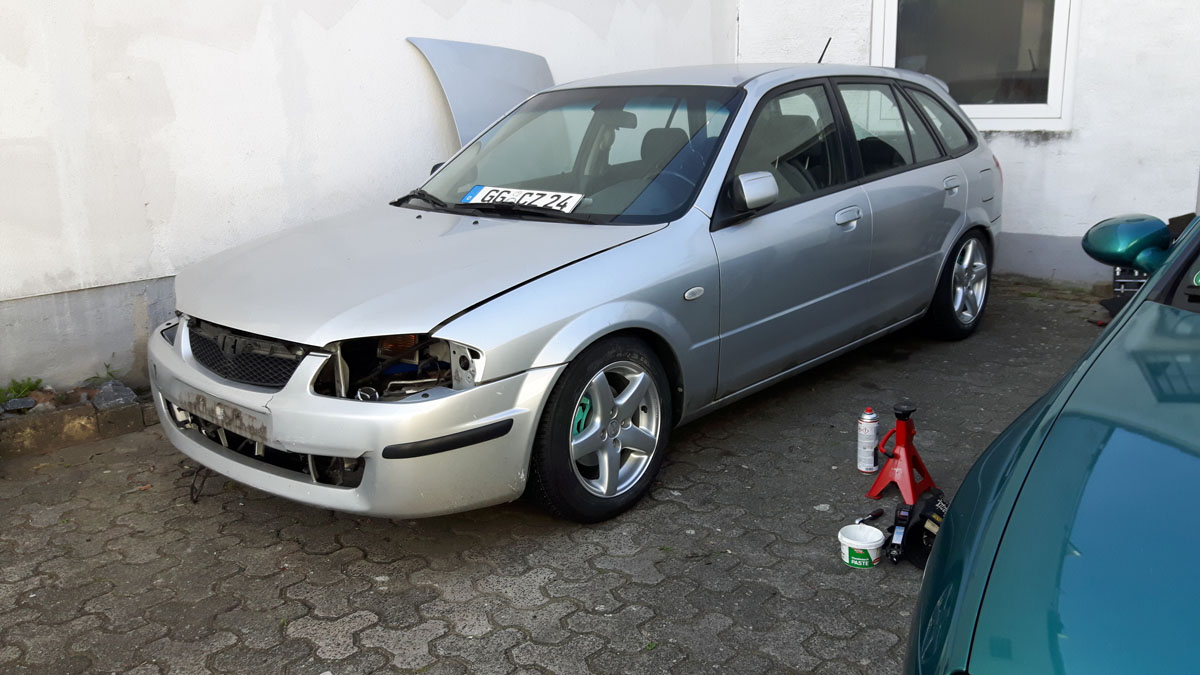
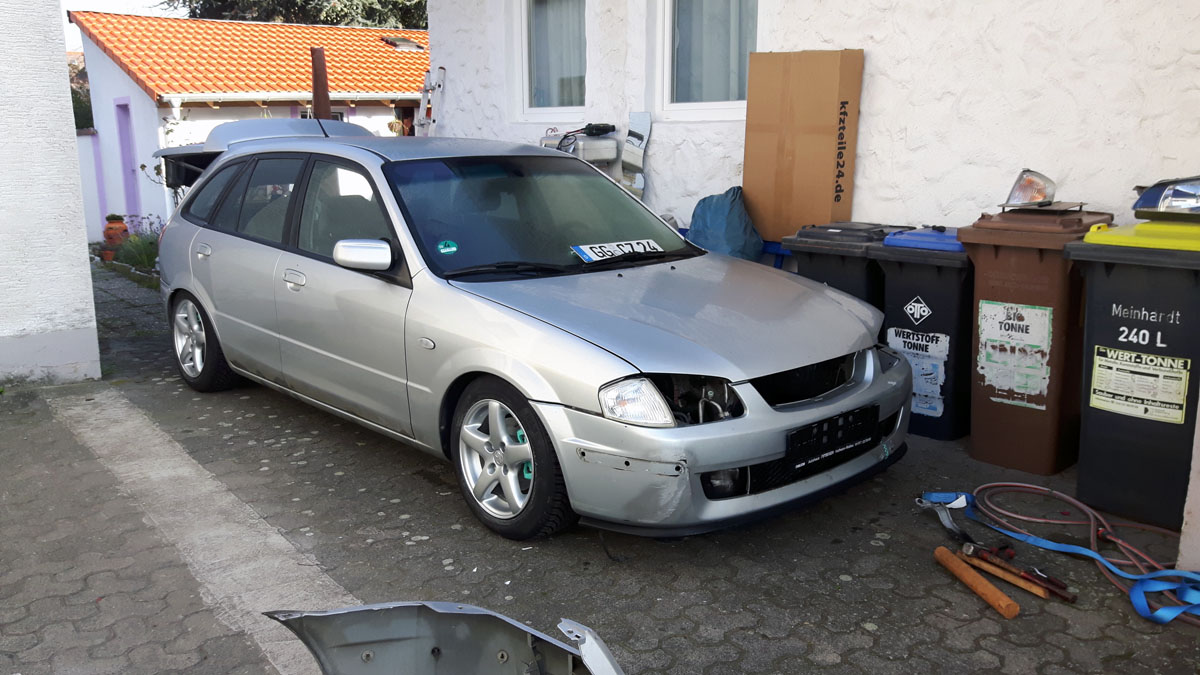
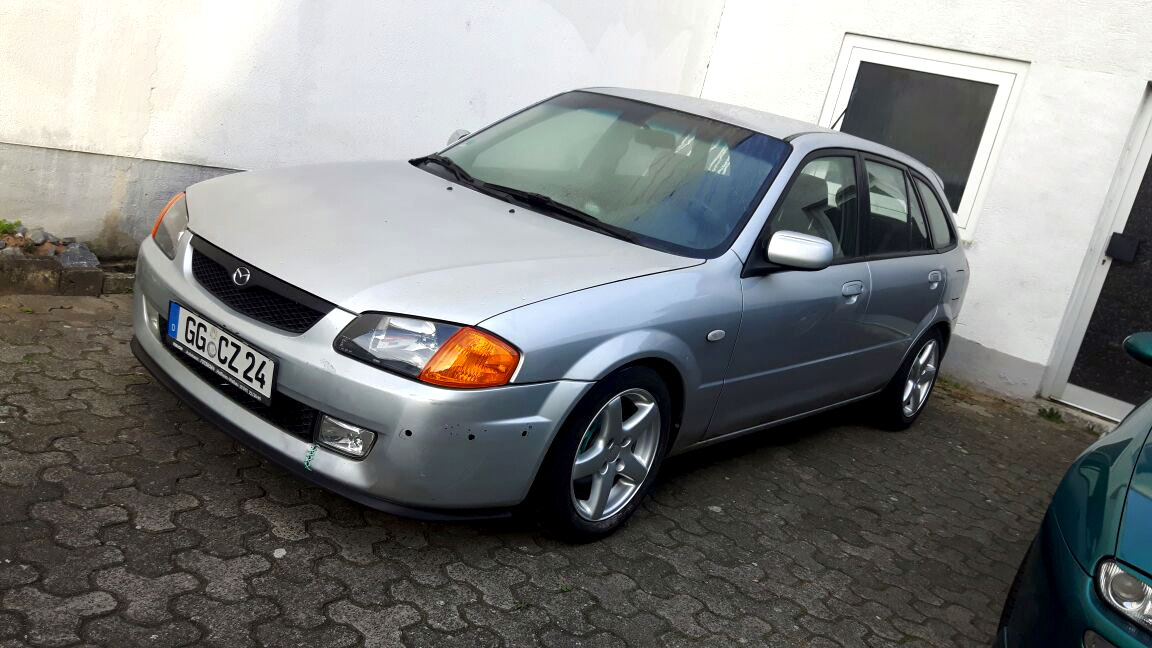
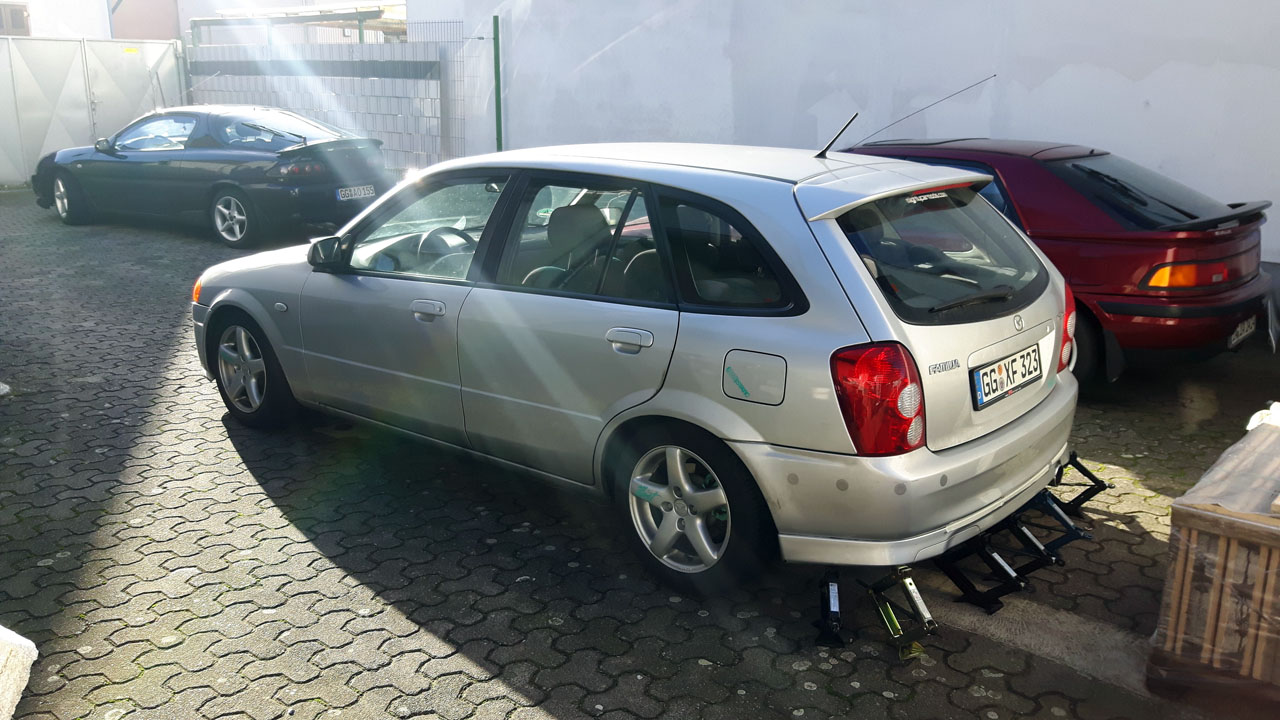
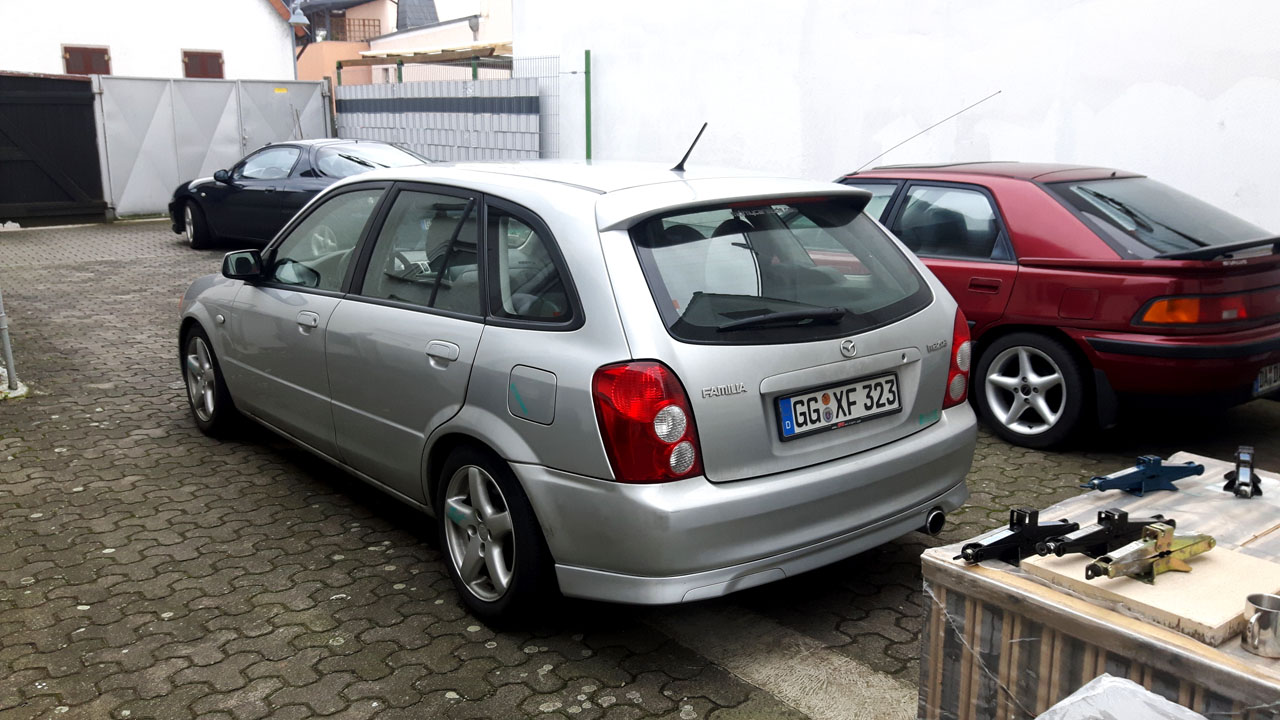
The morning after:
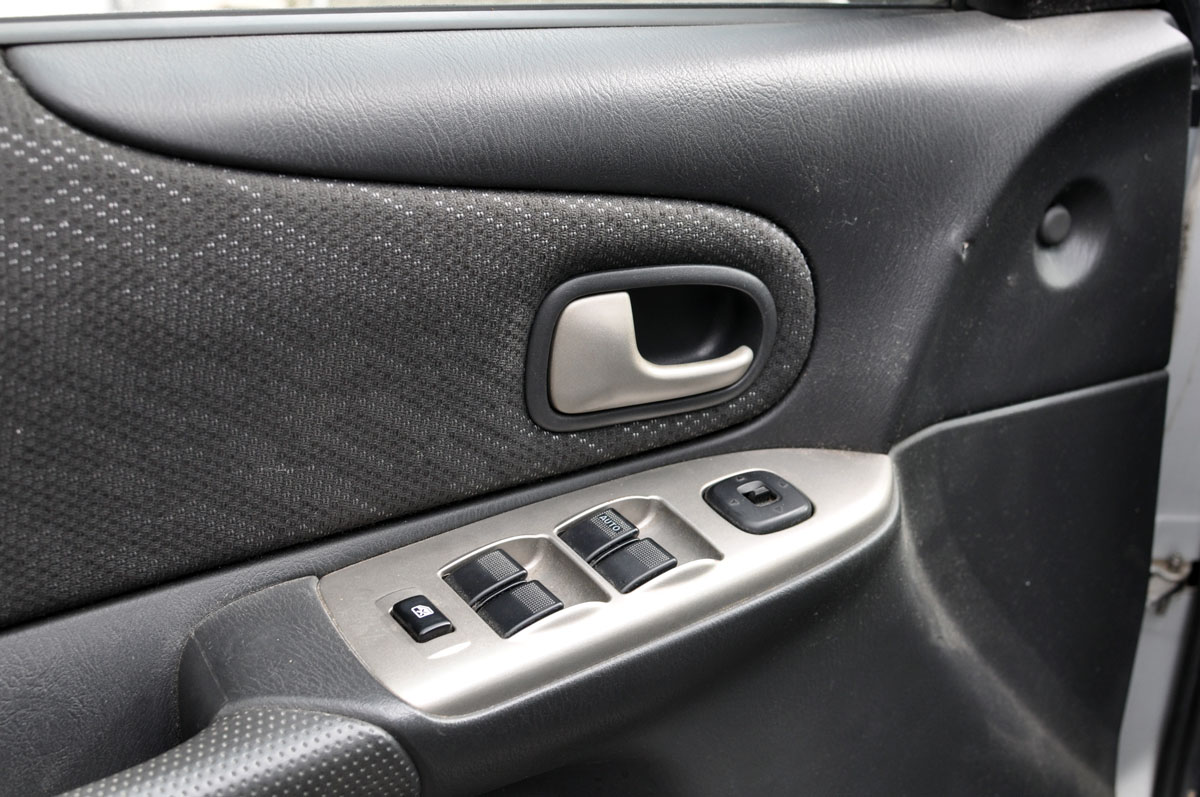
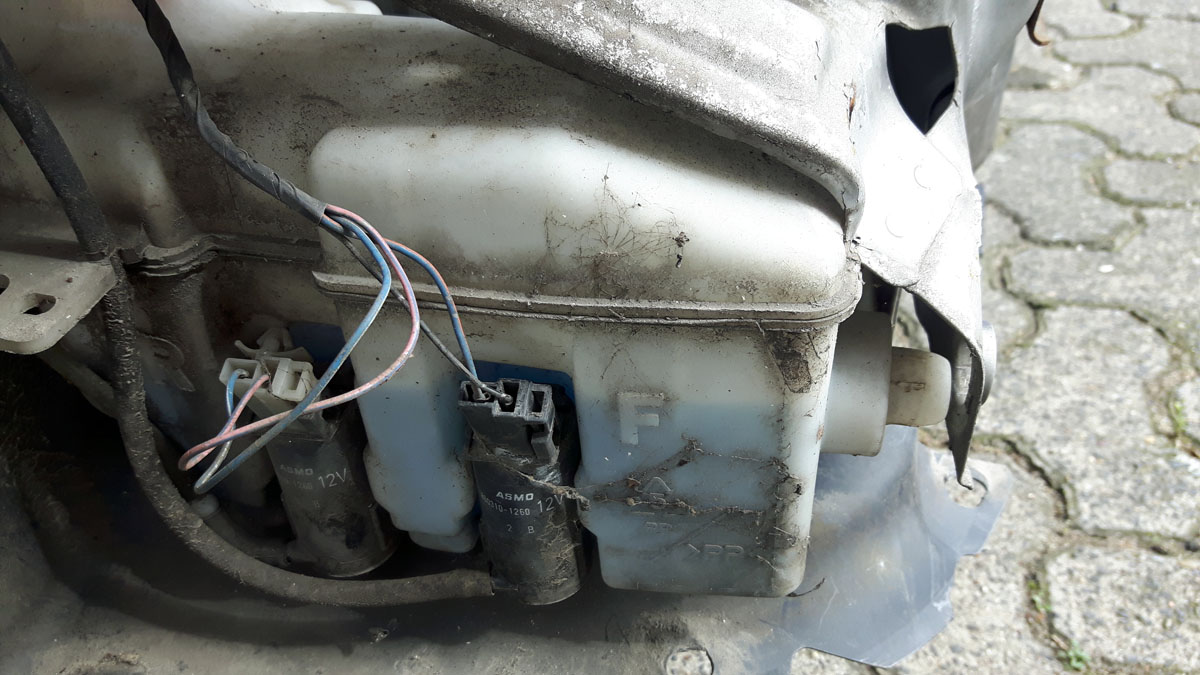
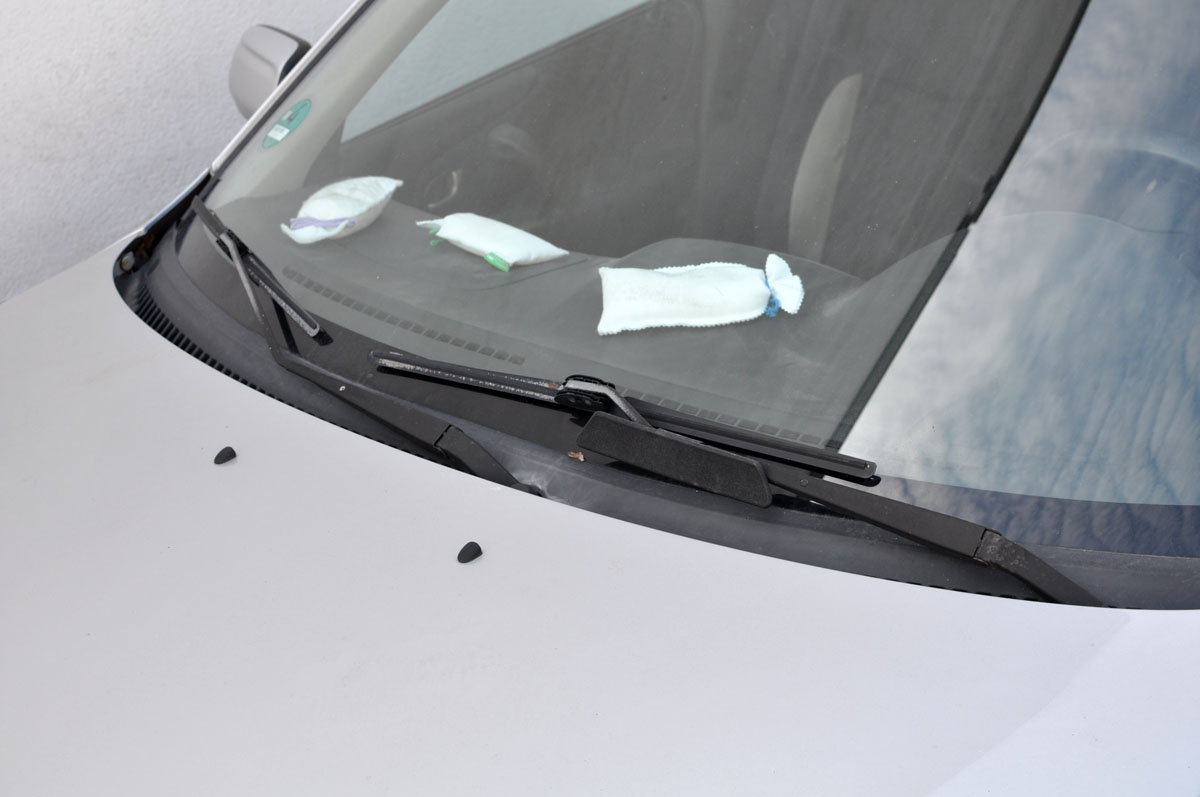
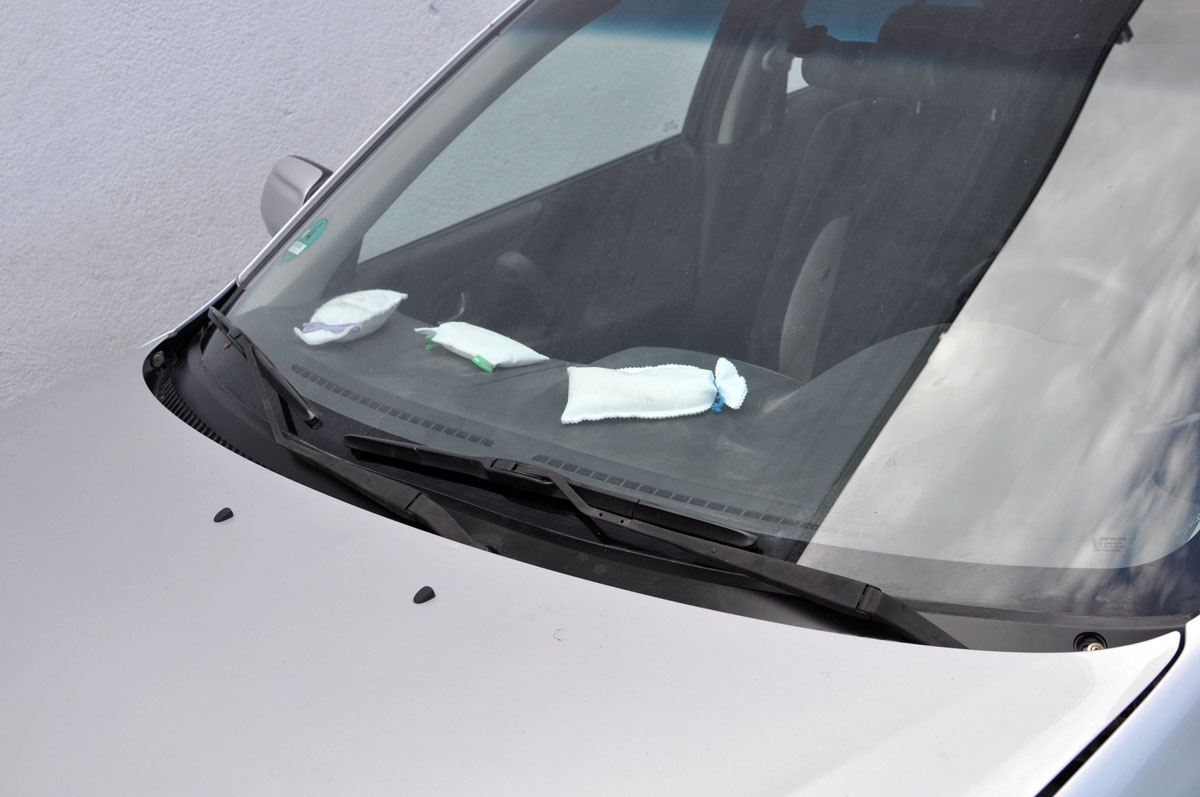
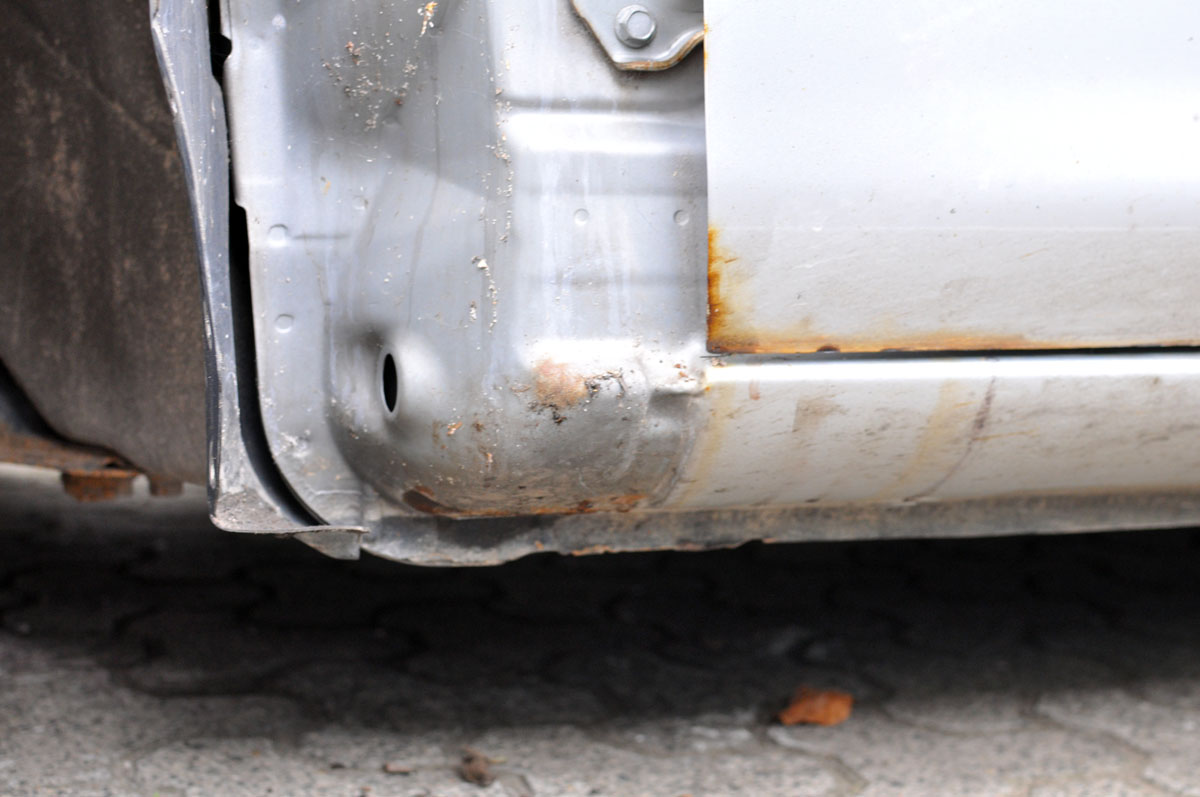
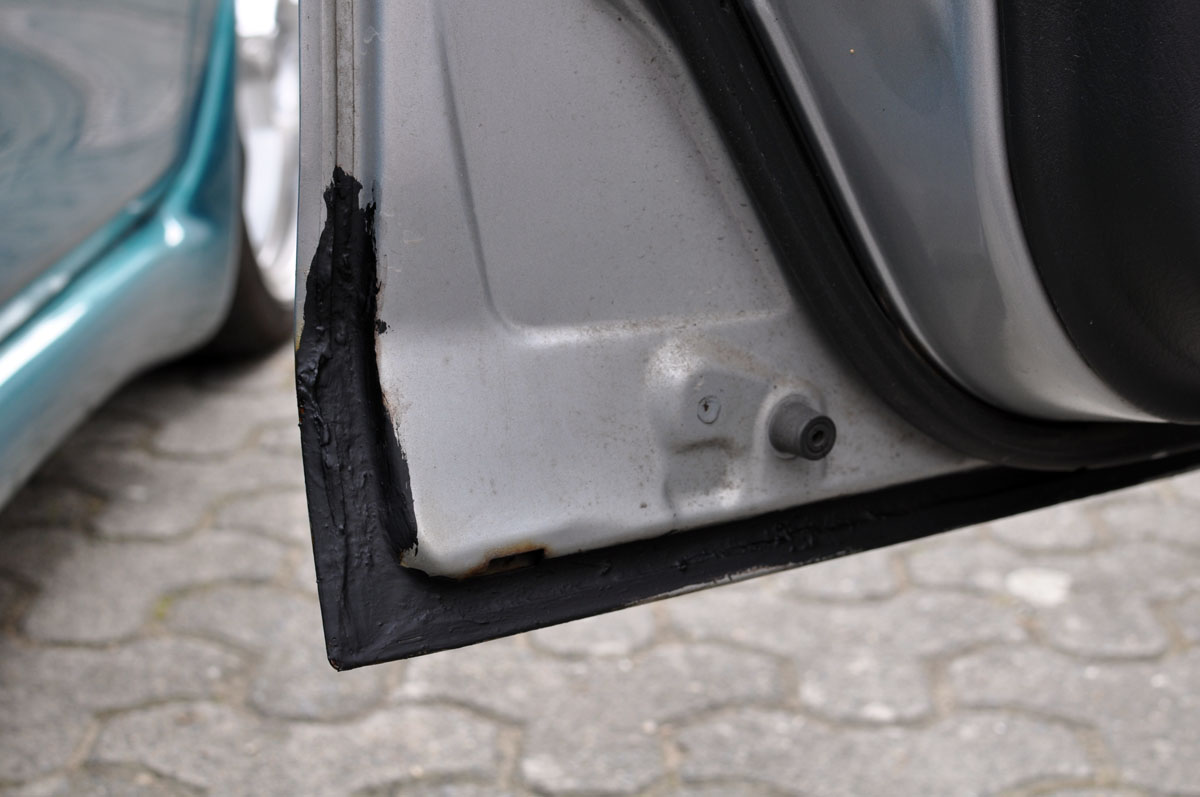
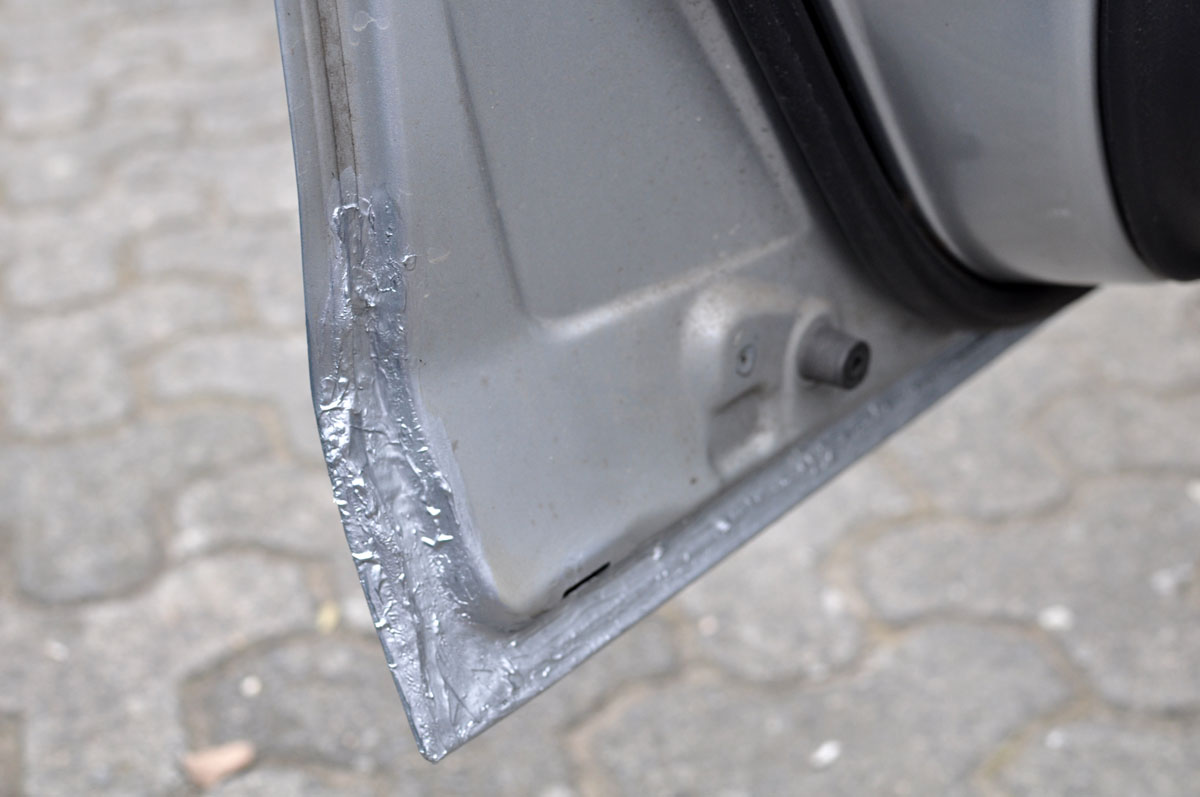
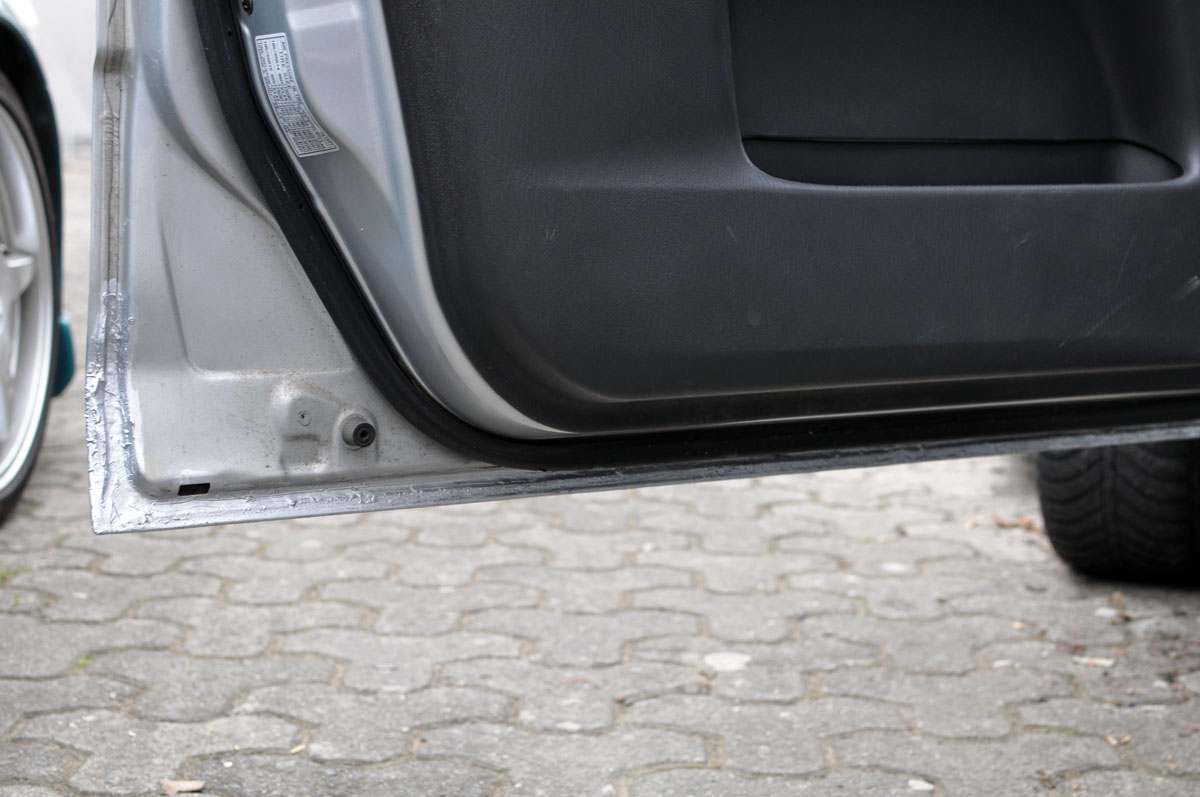
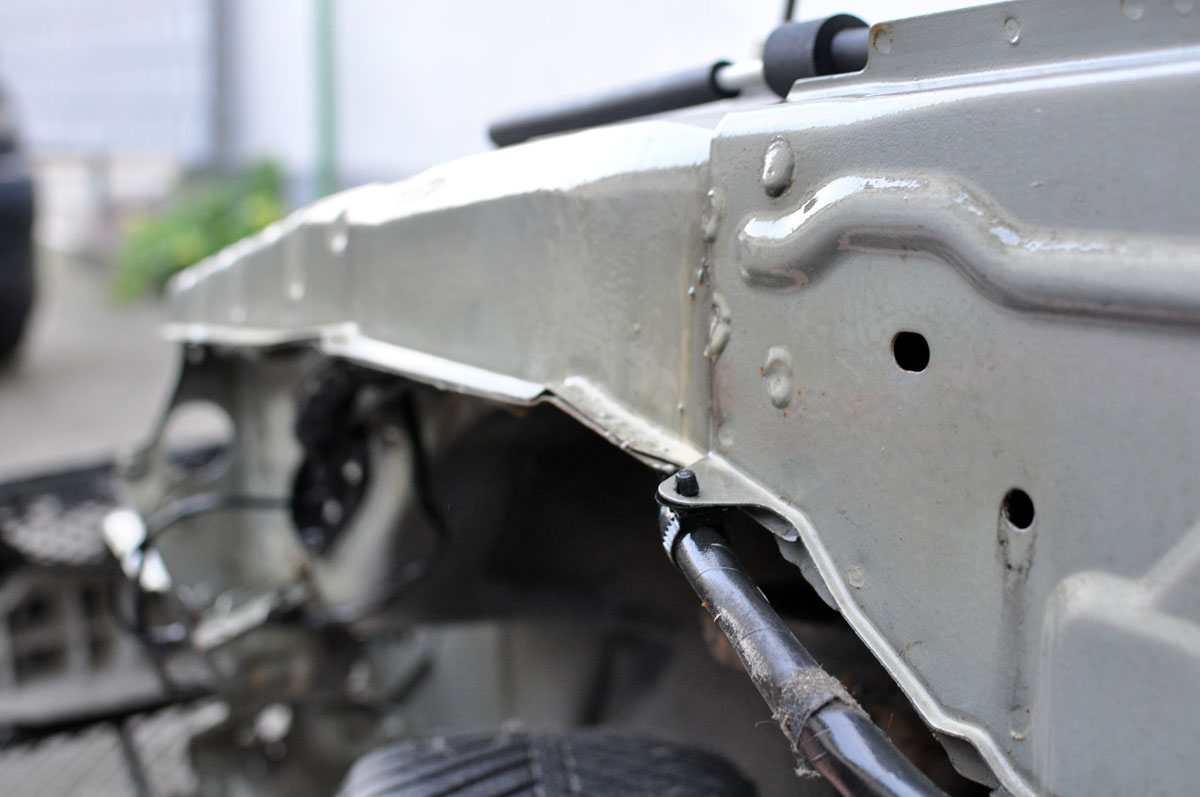
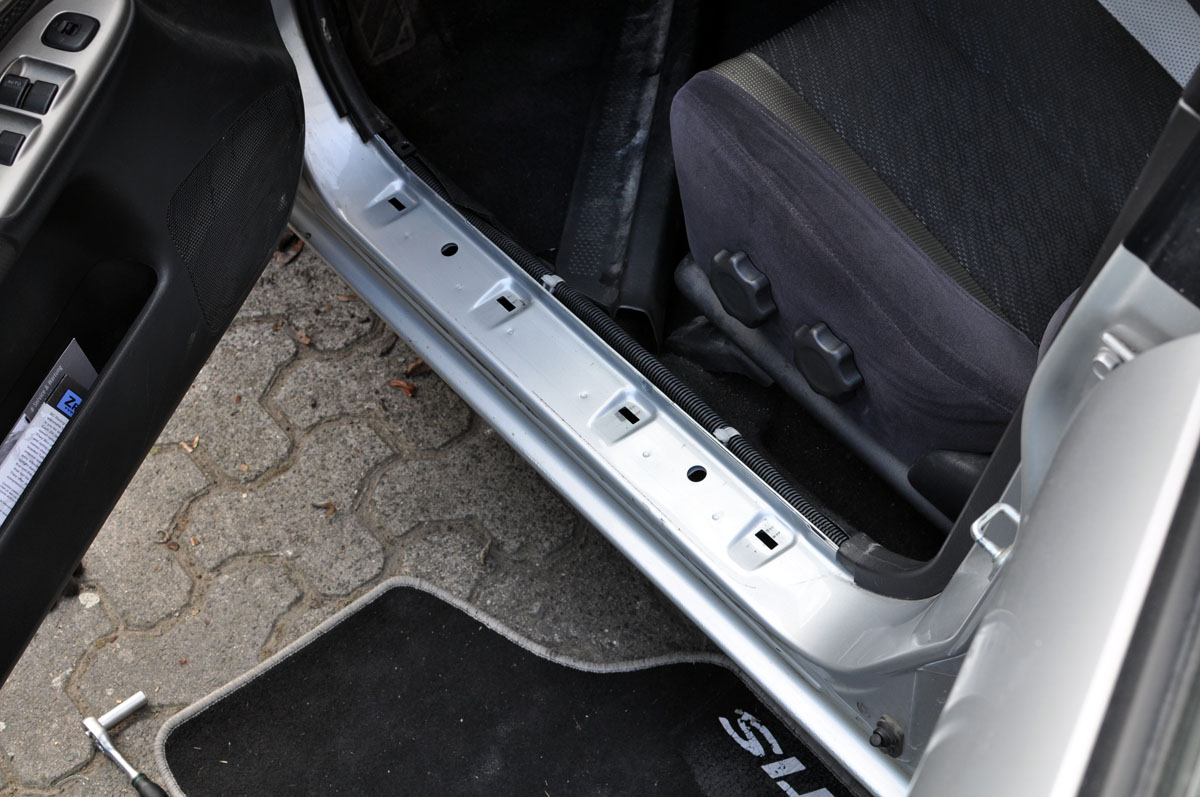
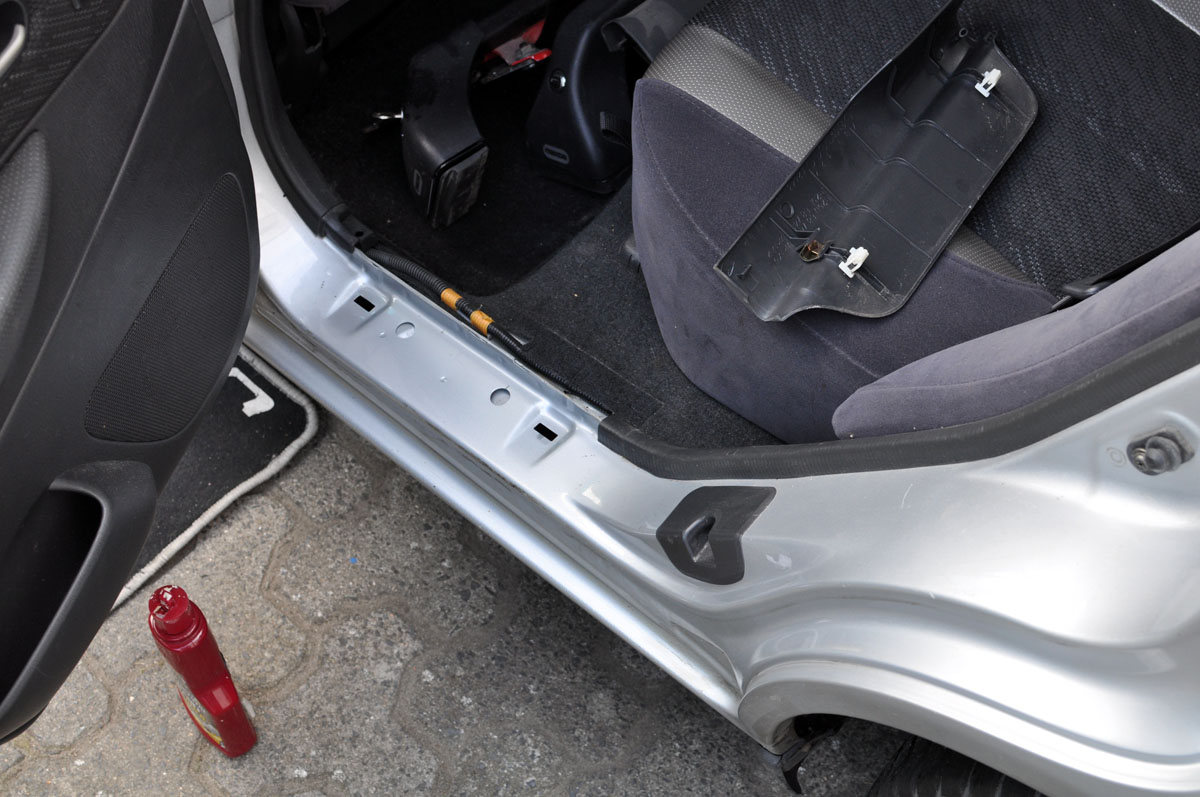
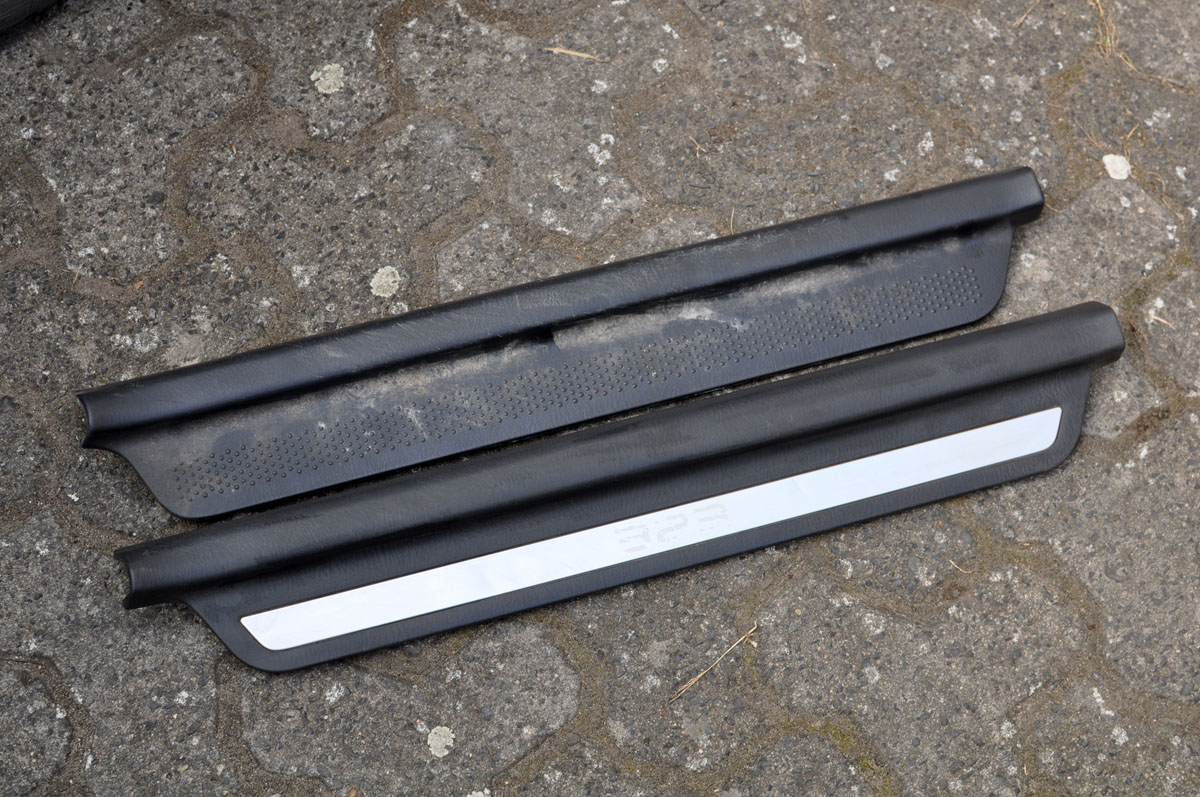
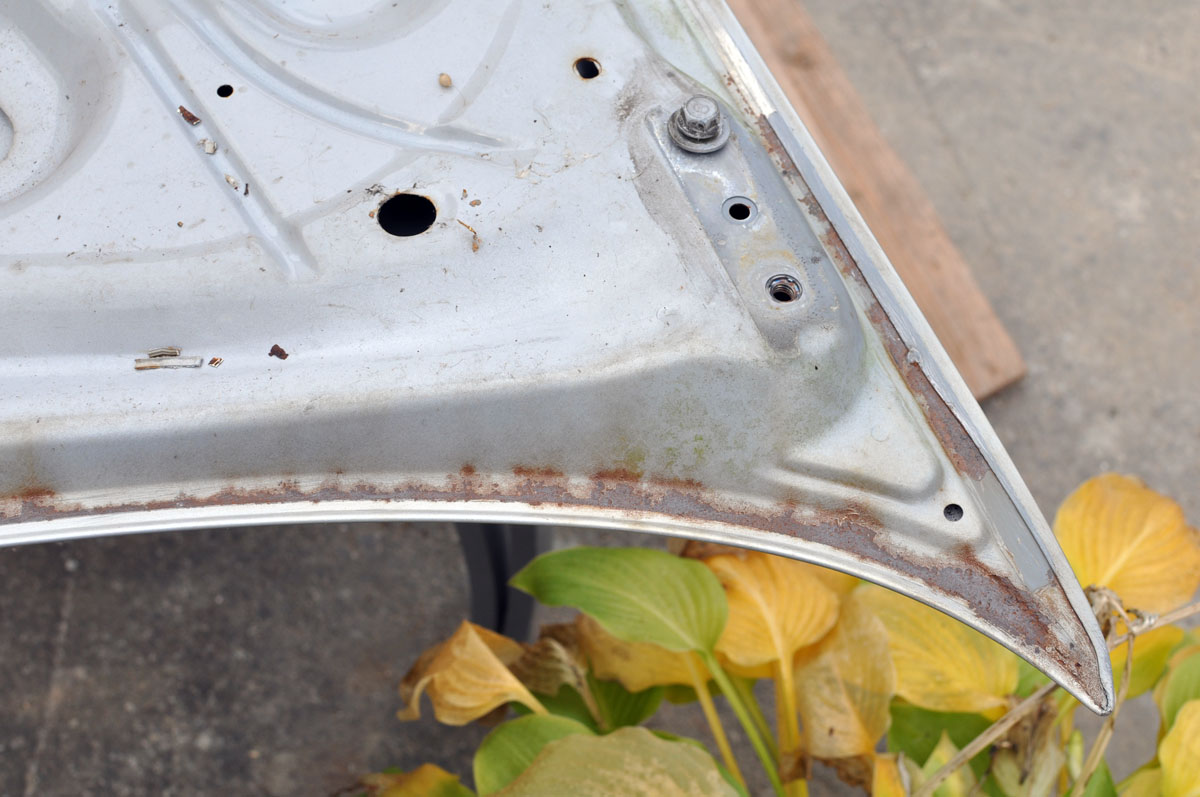
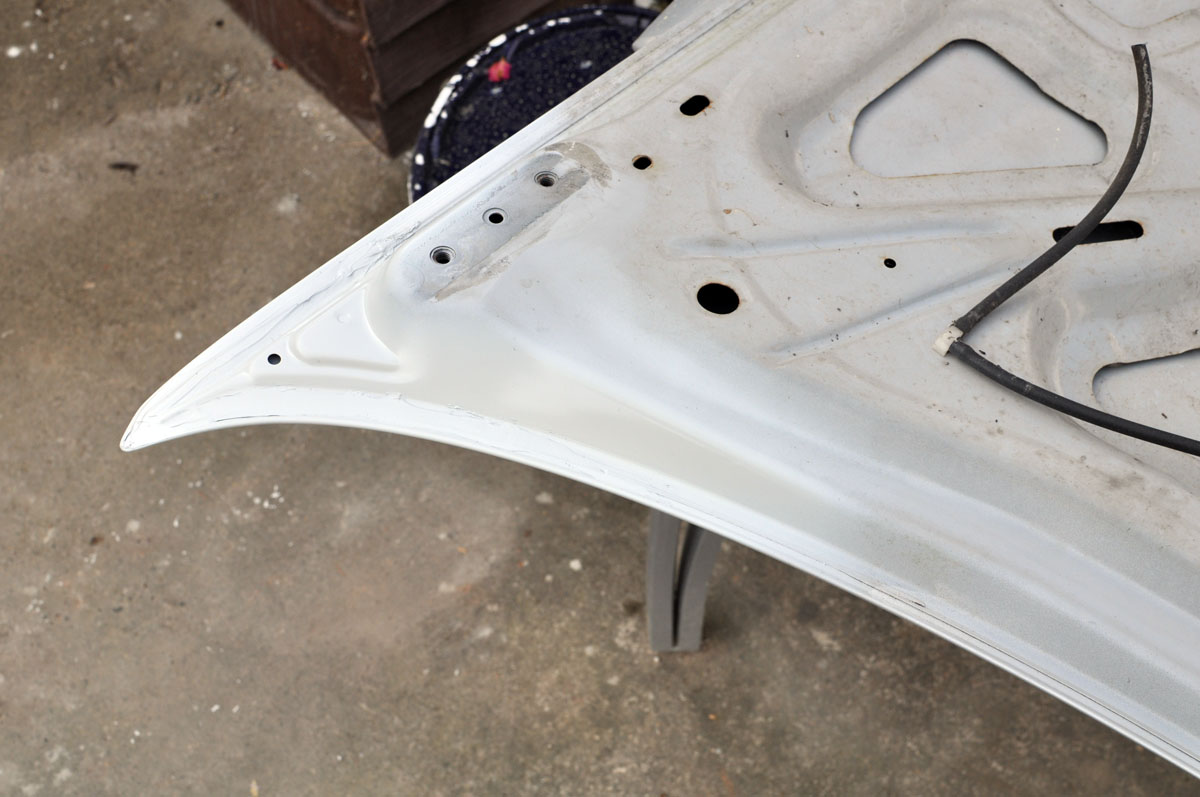
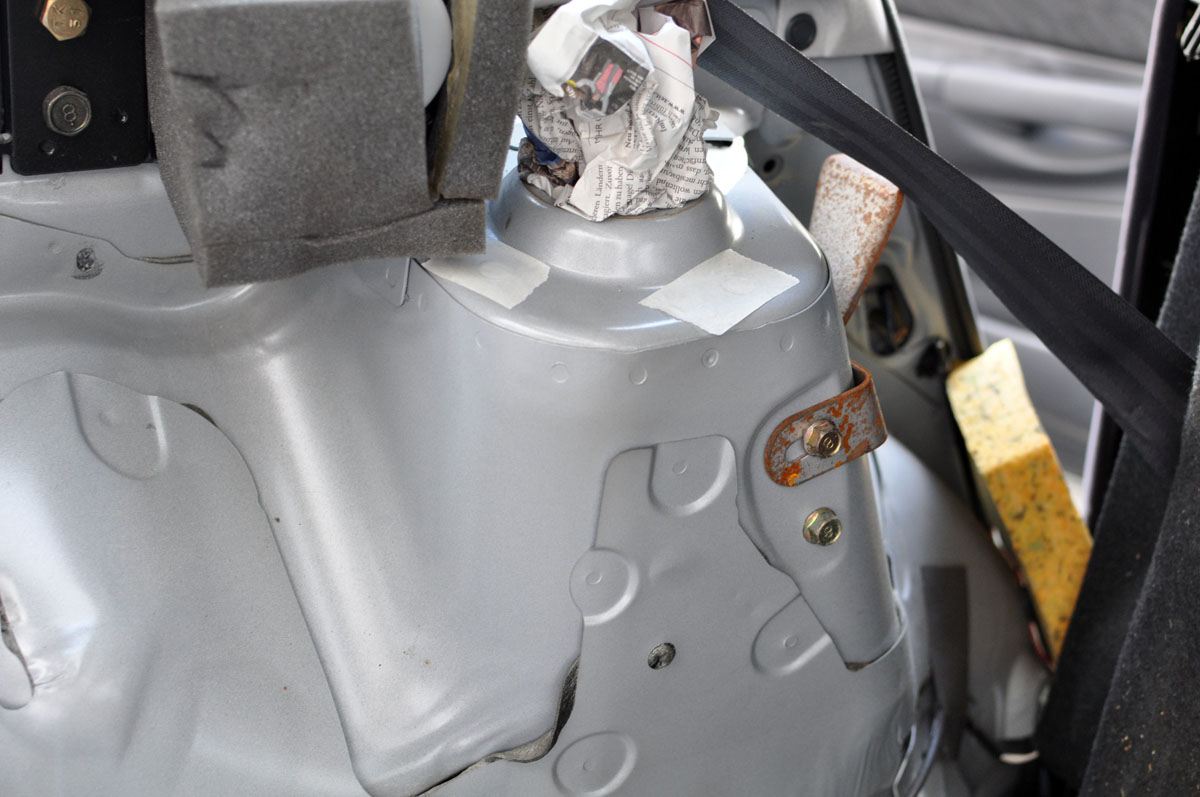
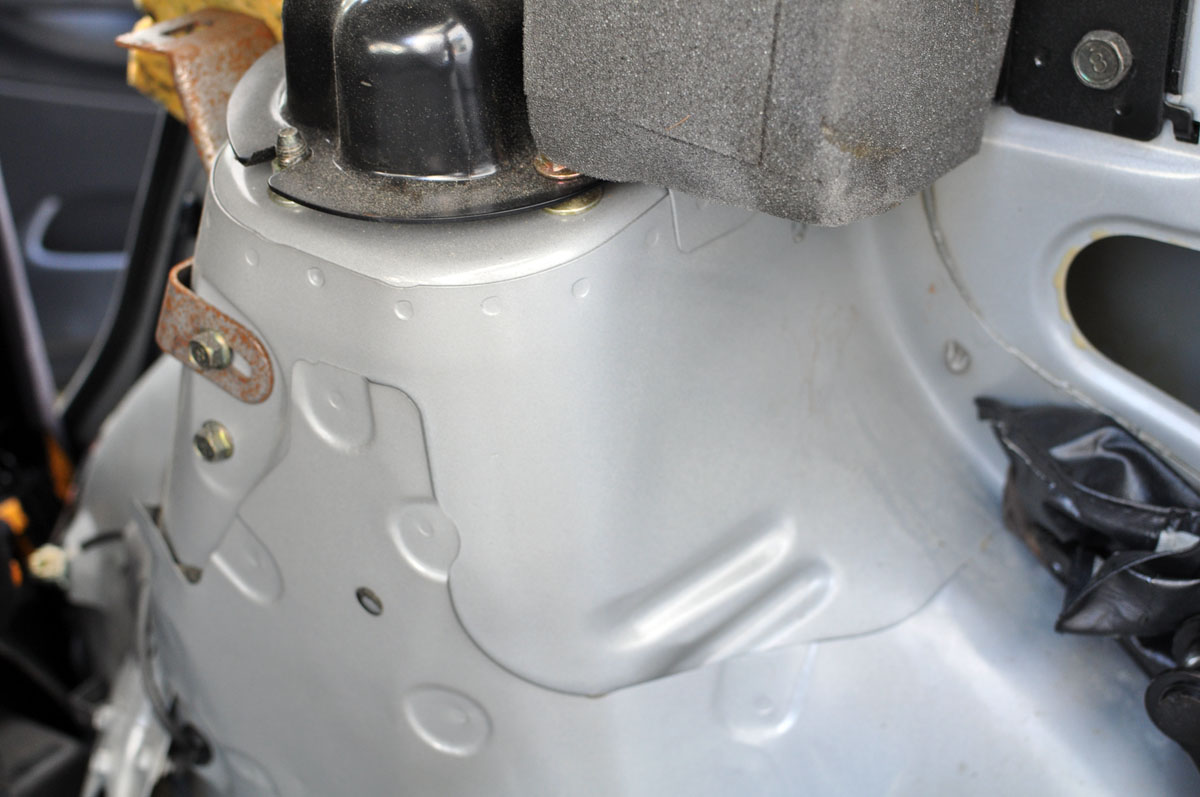
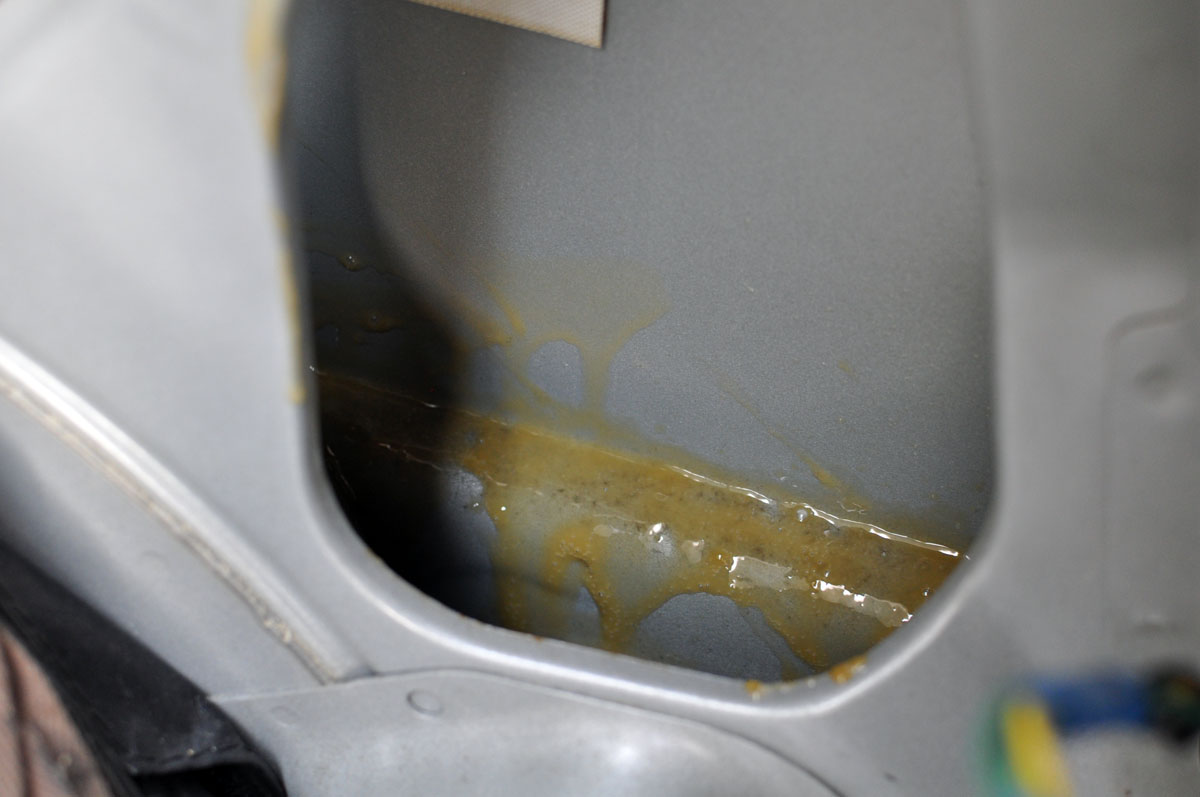
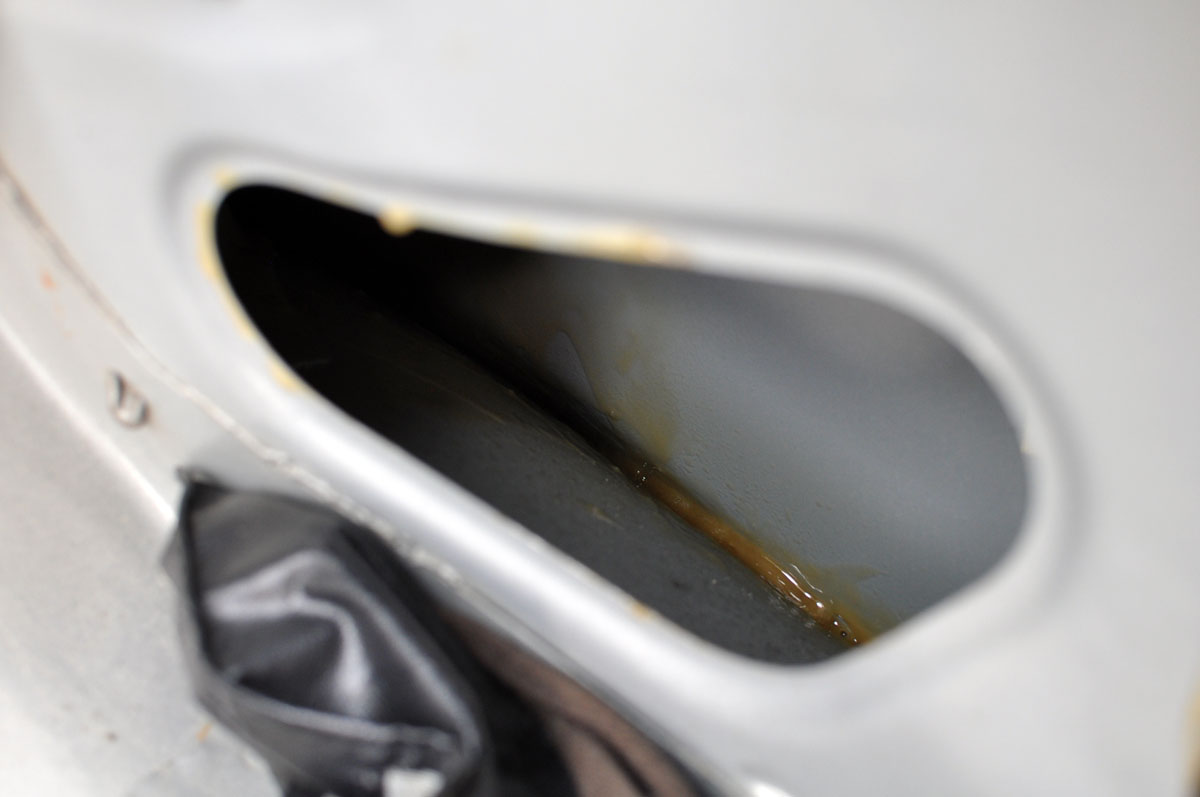
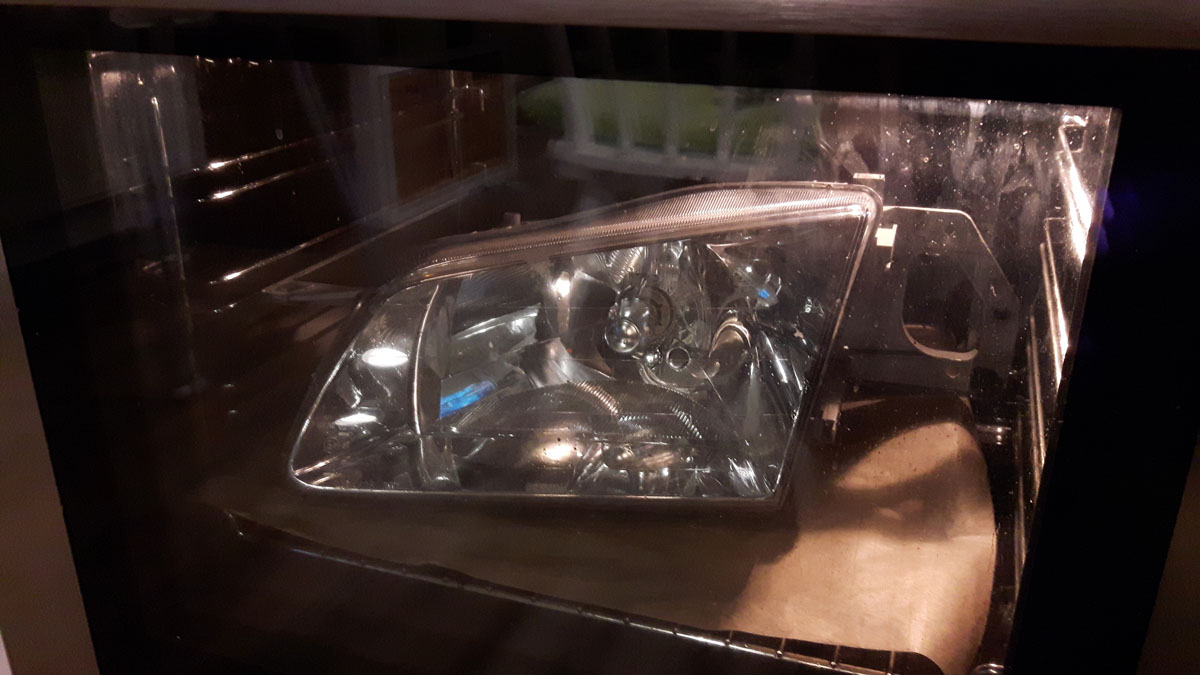
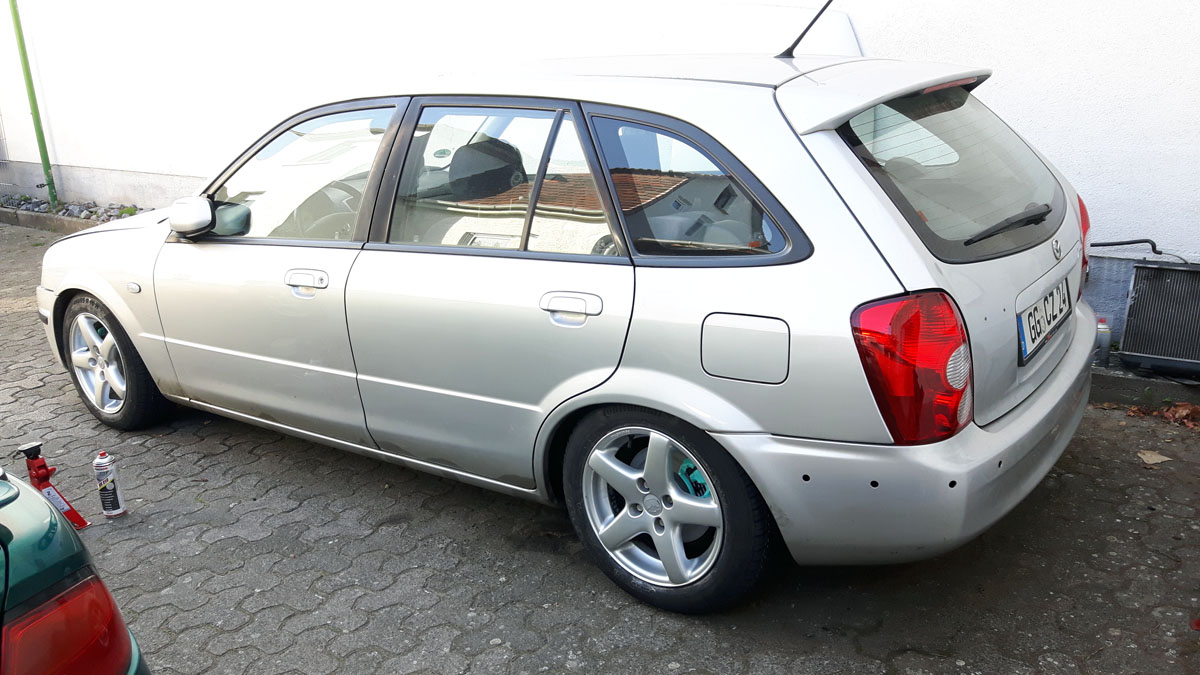
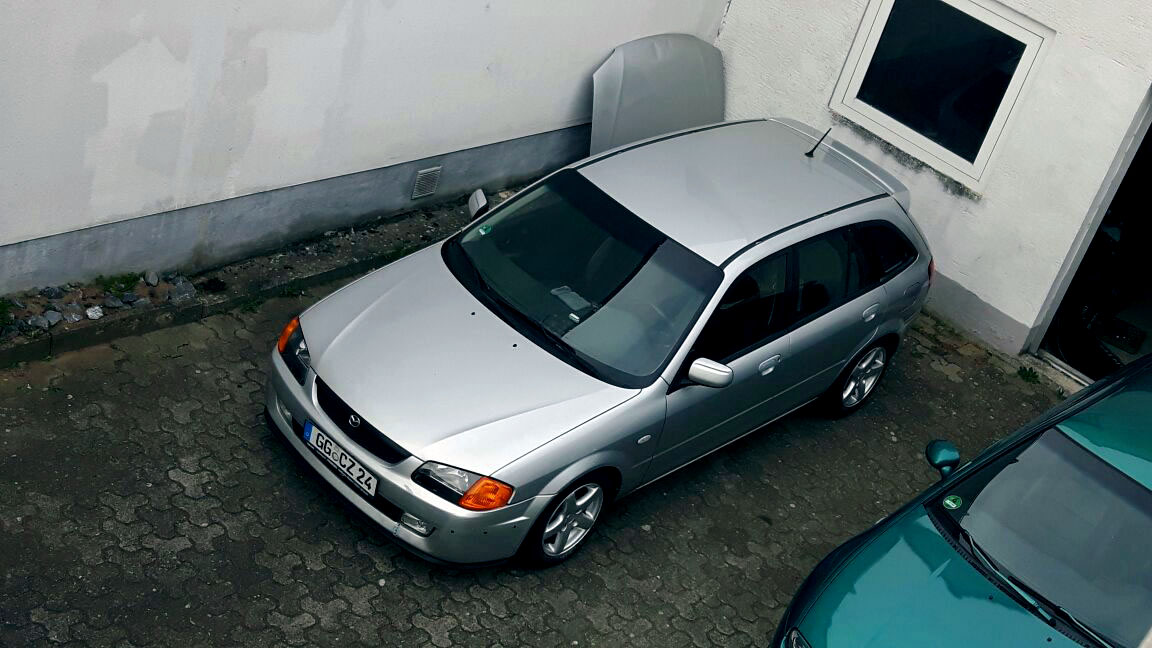
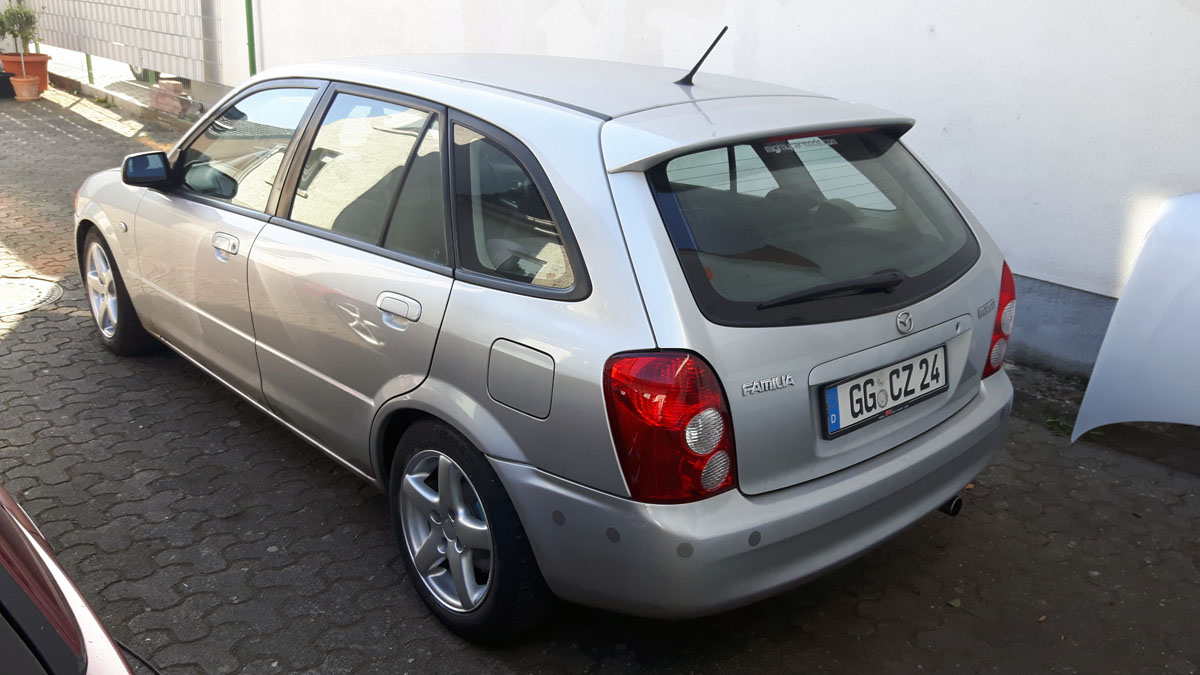
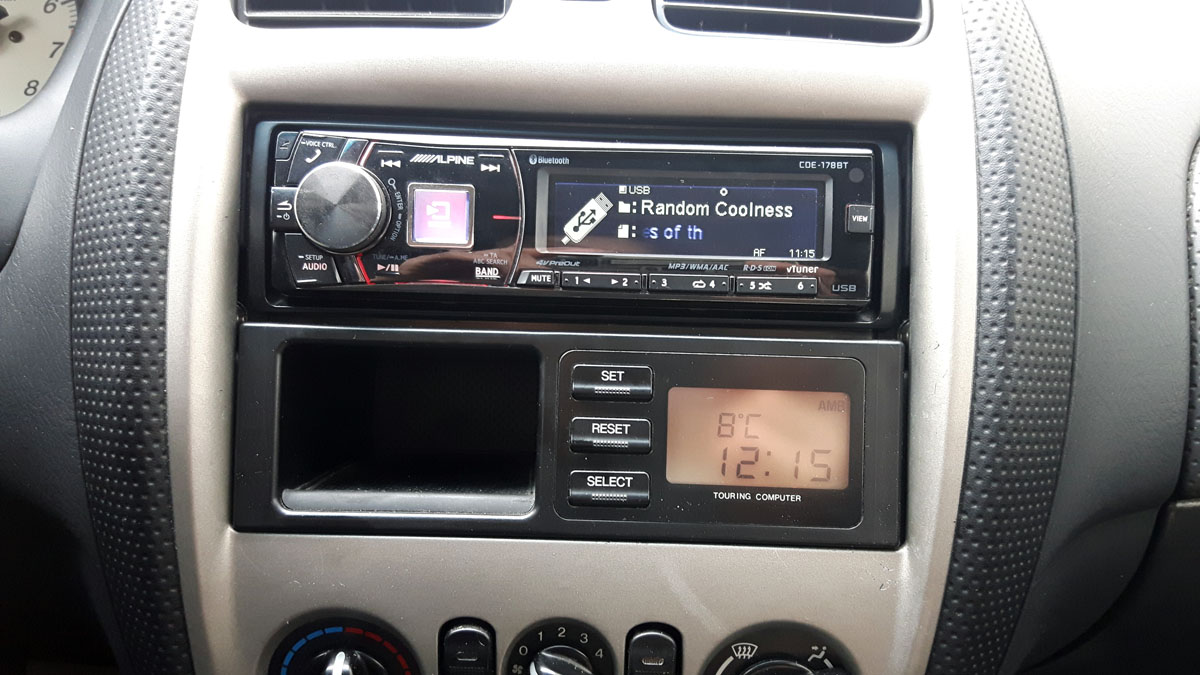
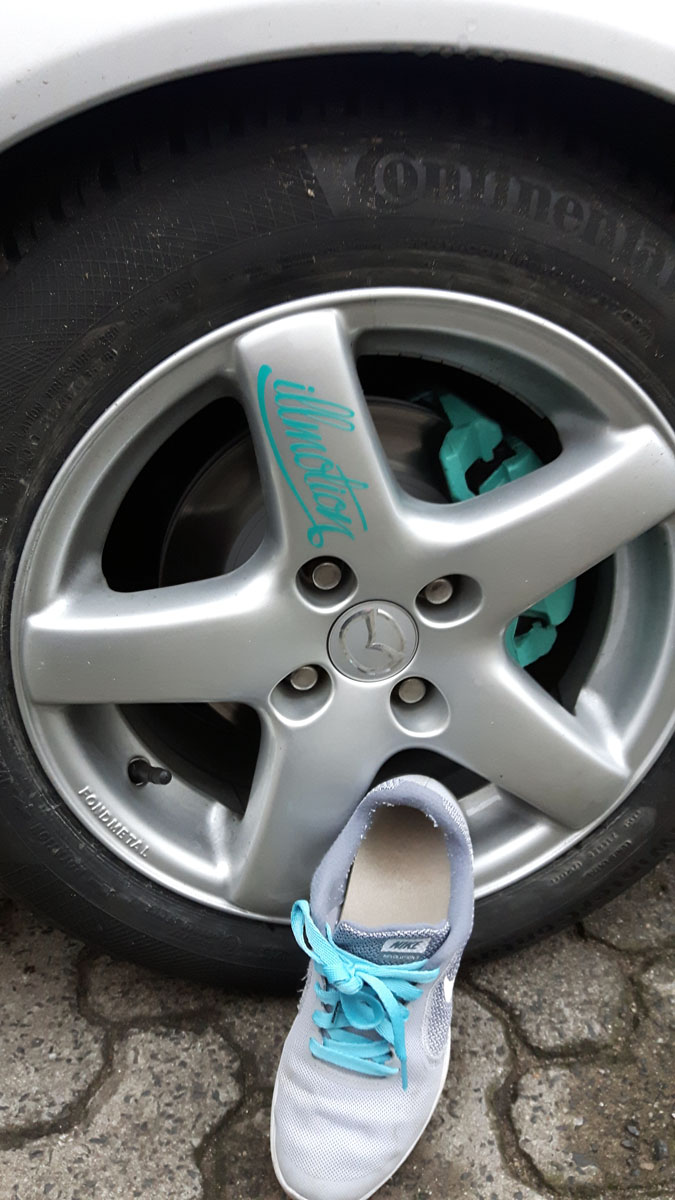
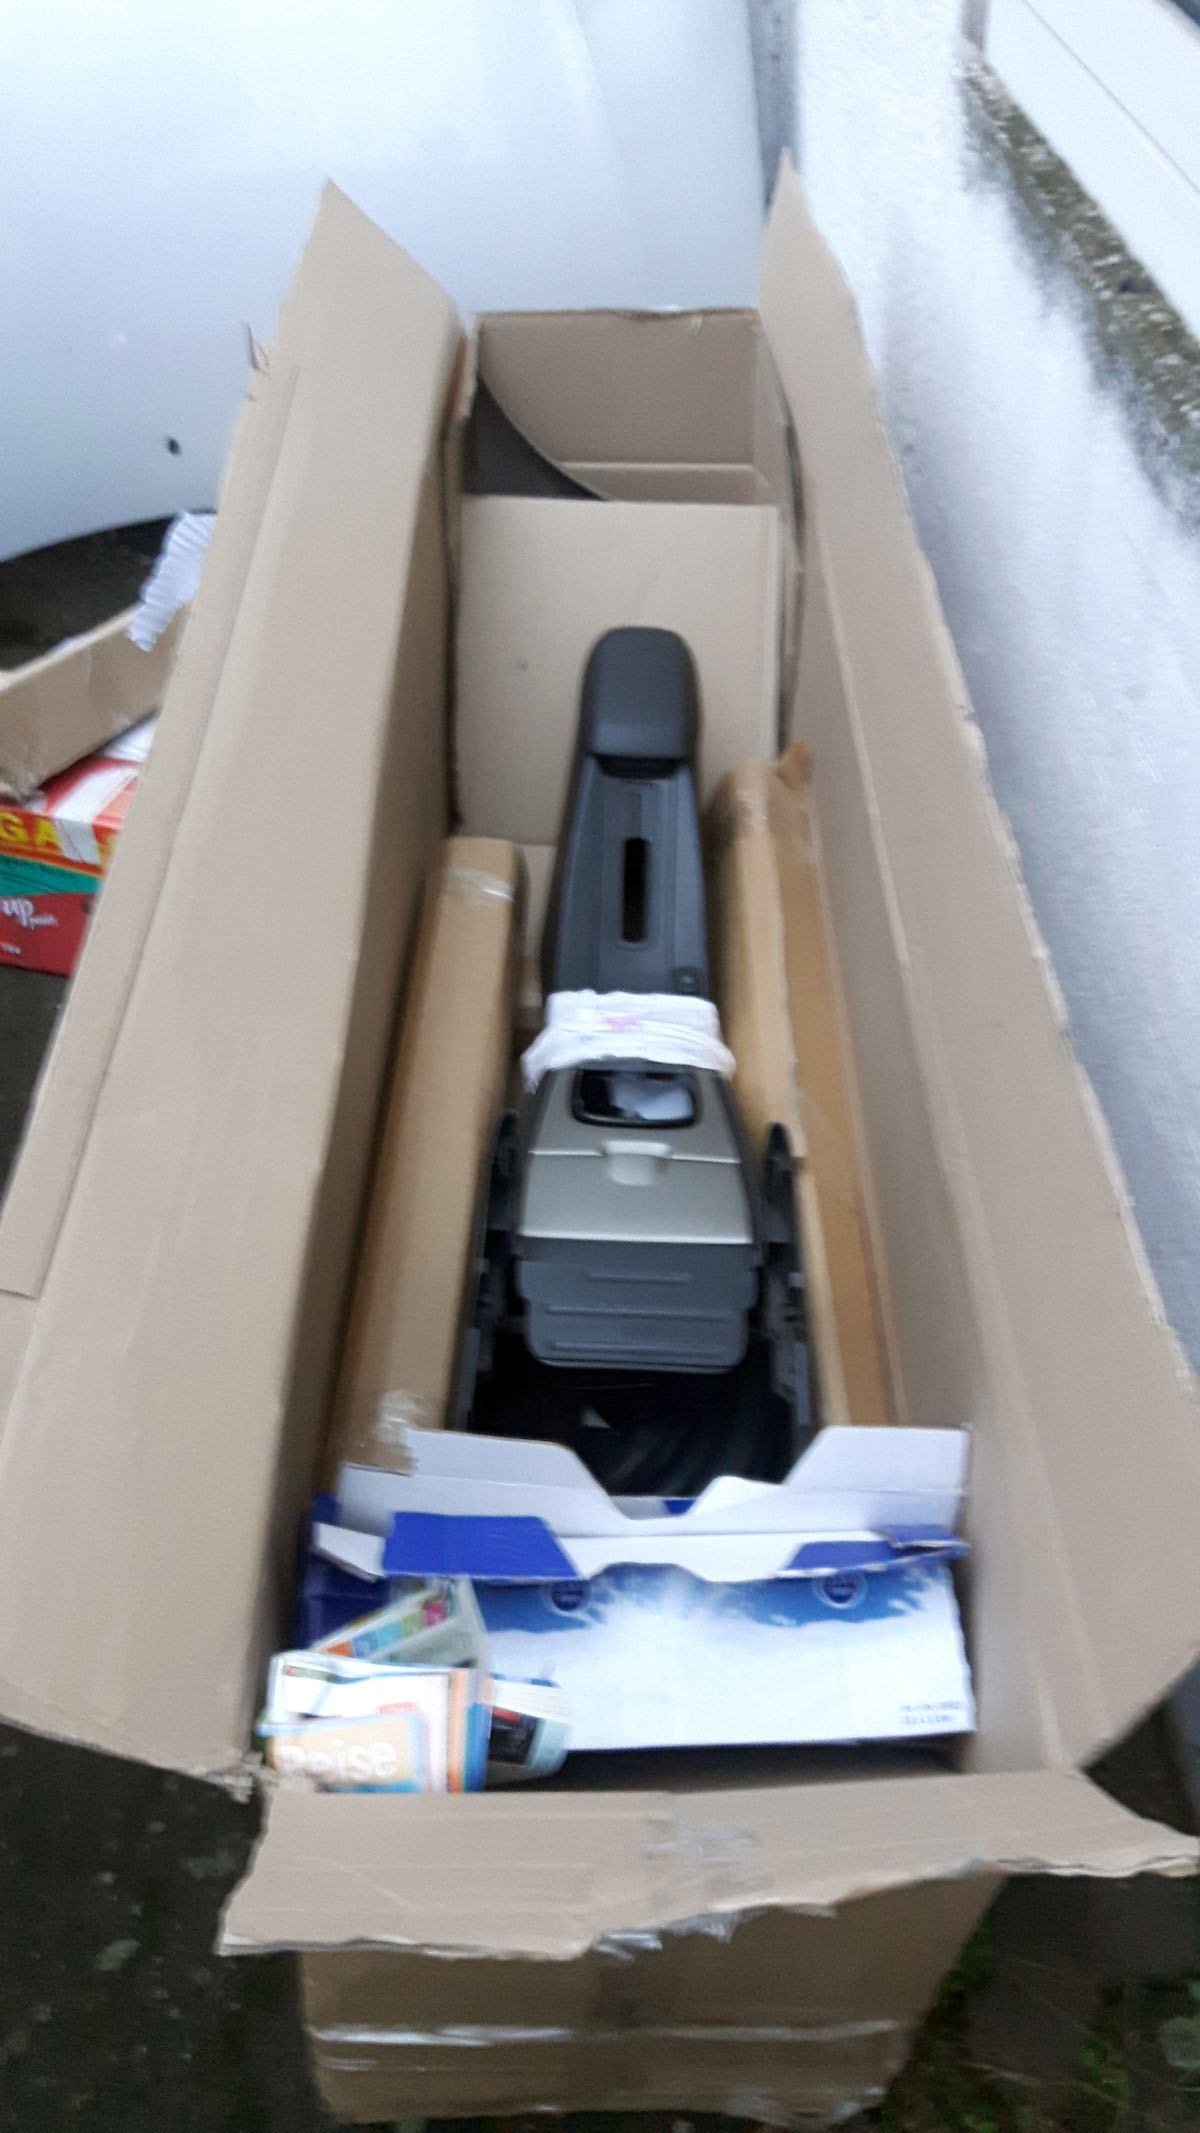
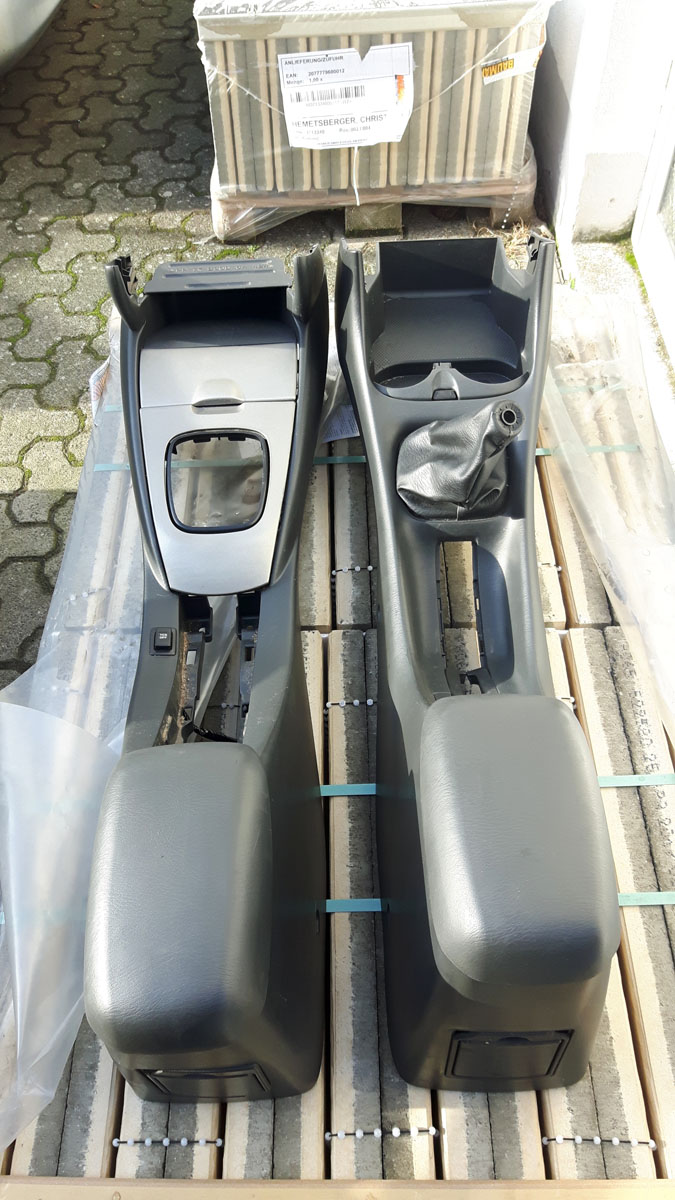
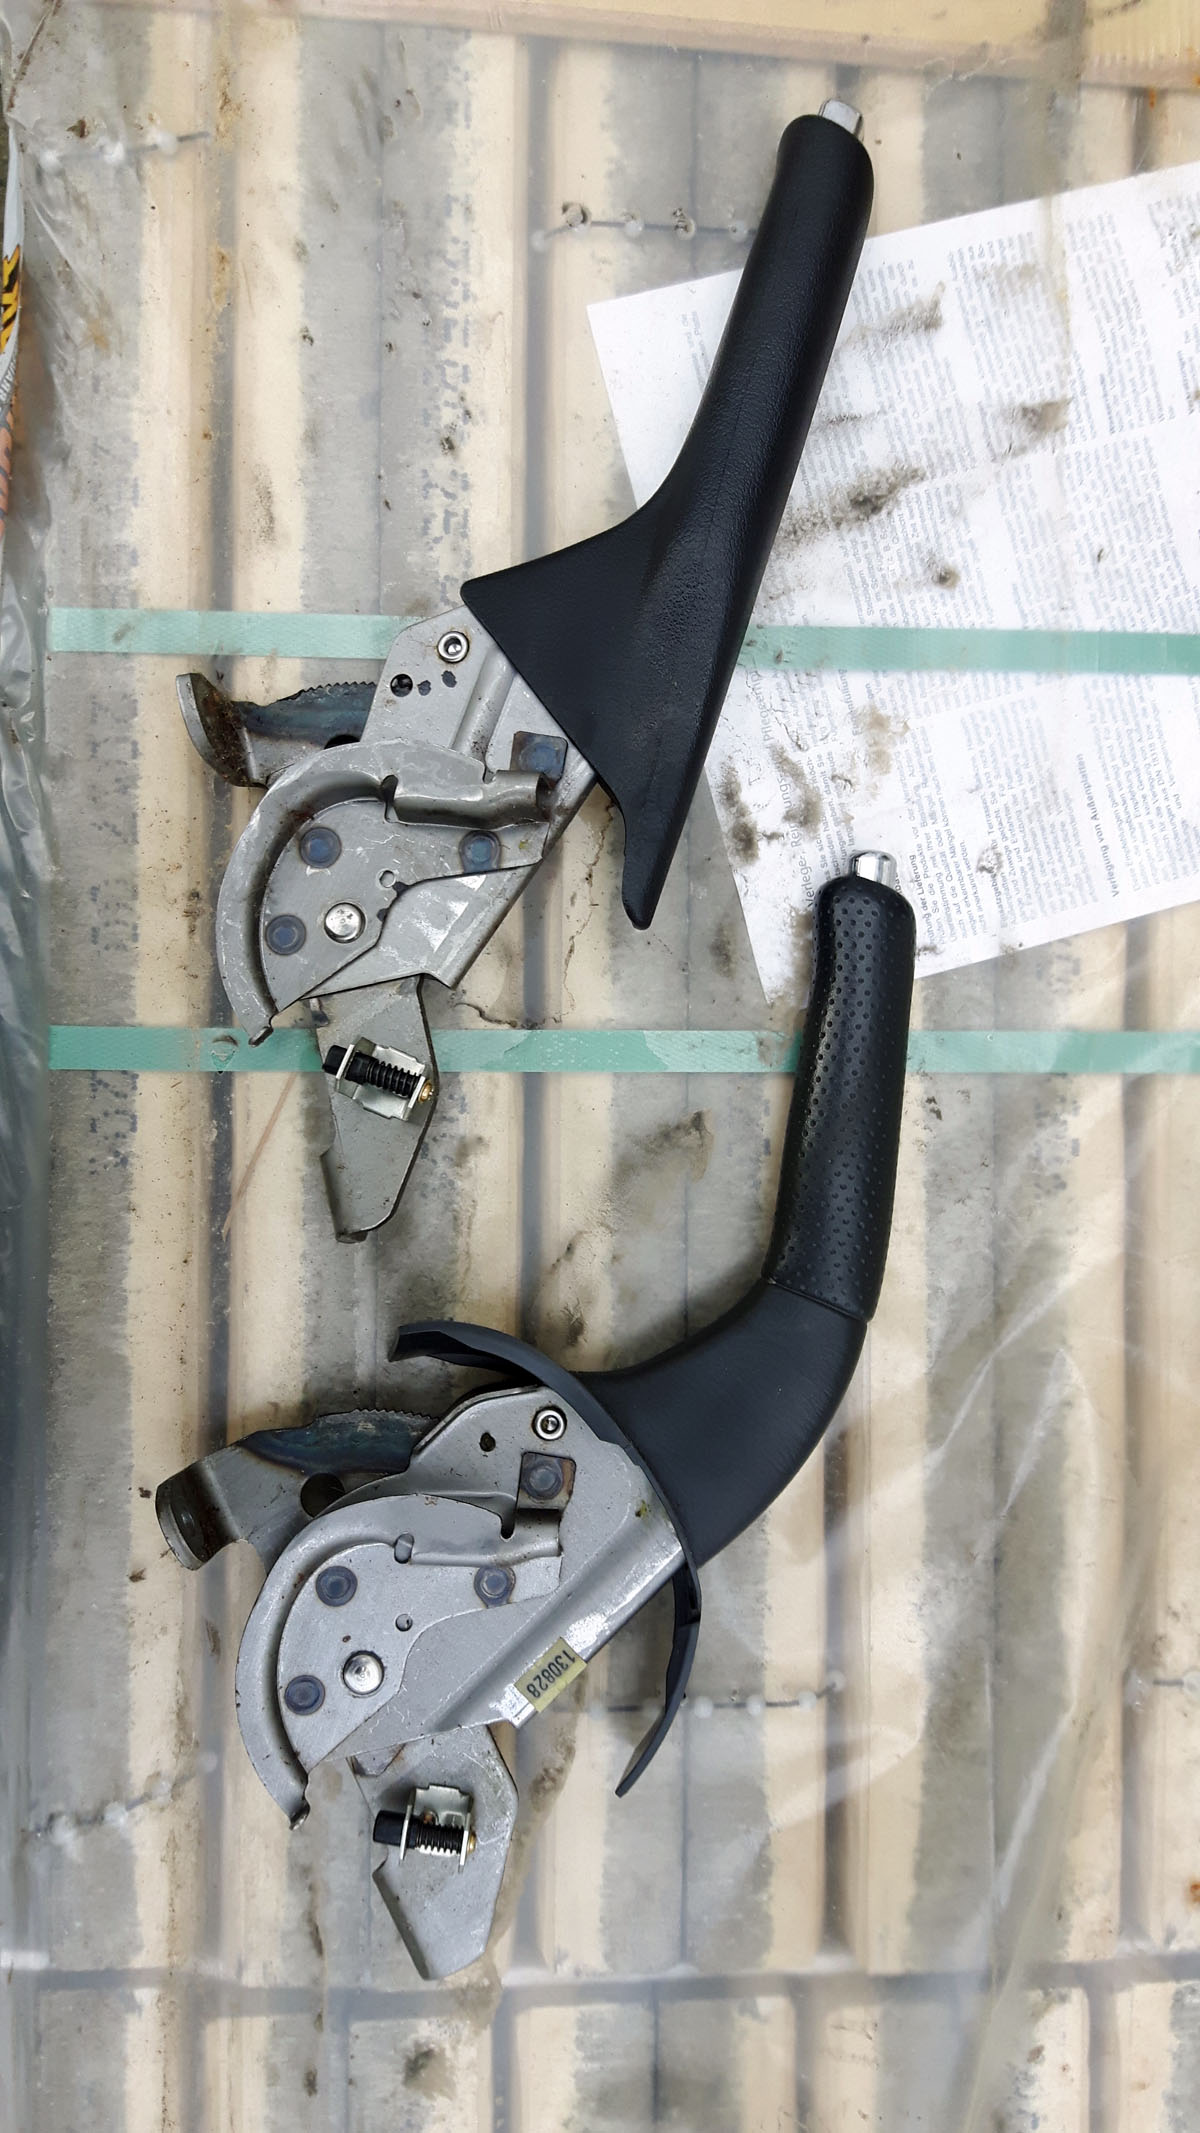
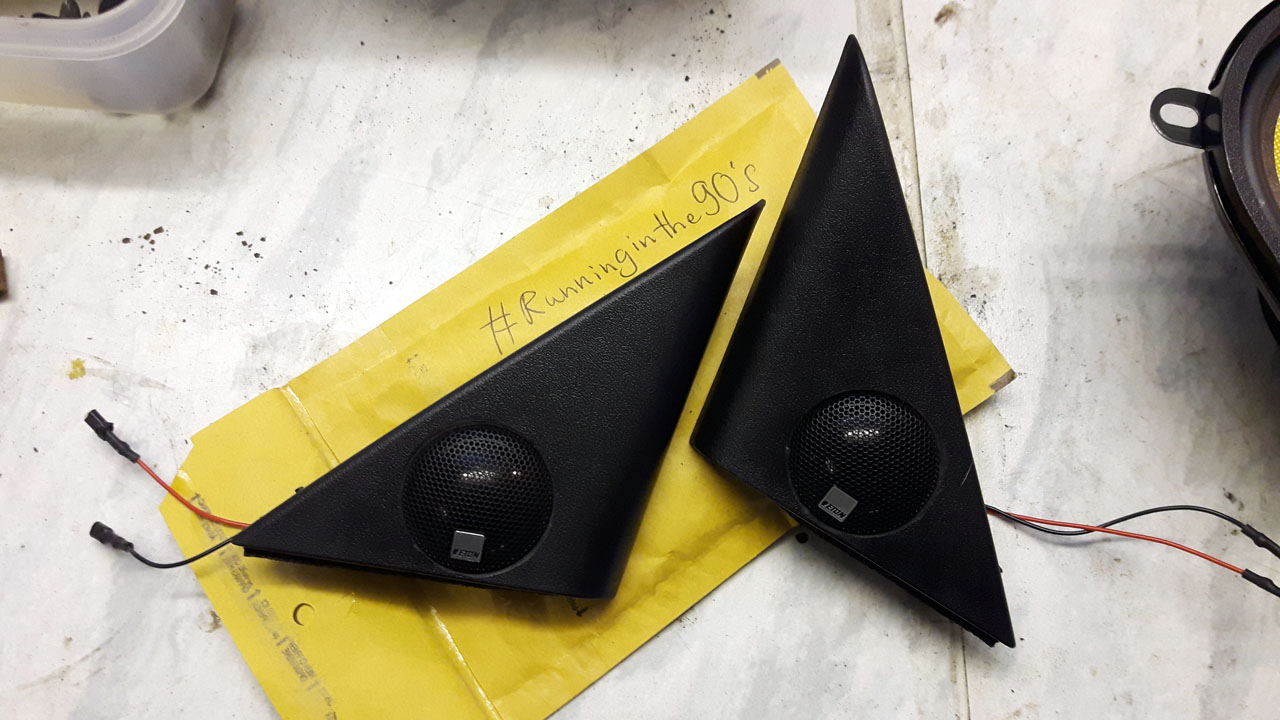
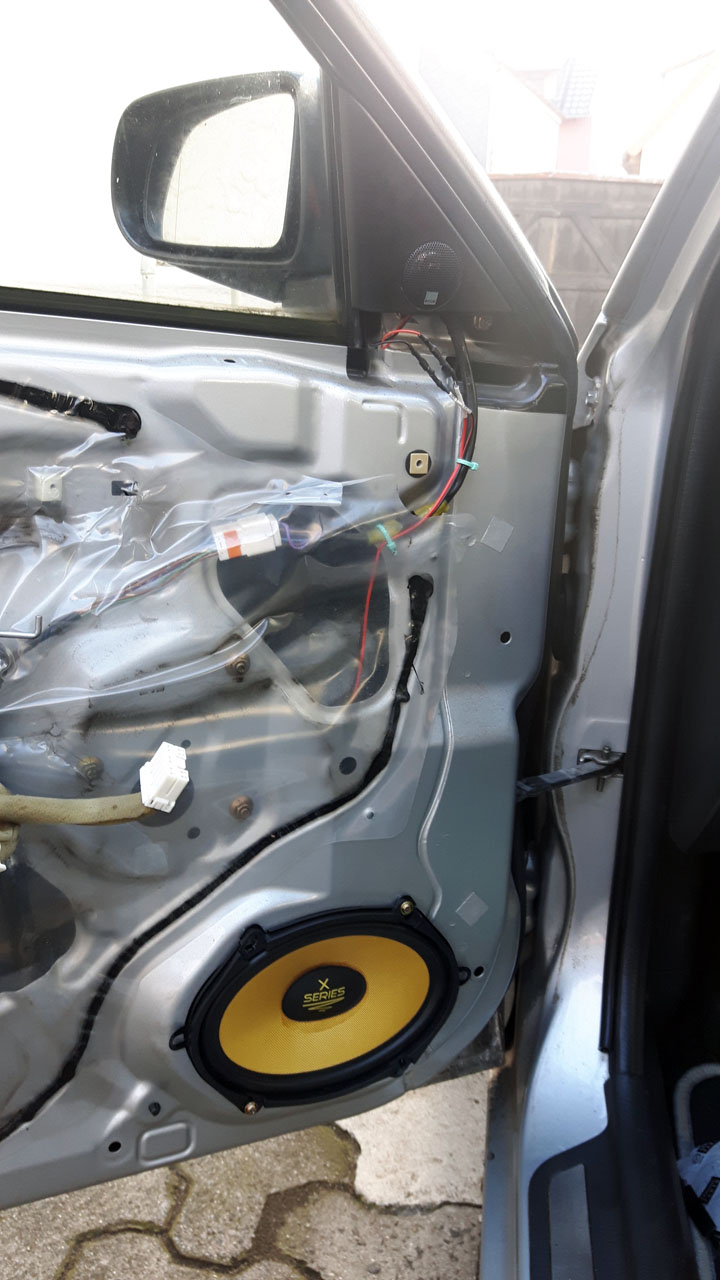
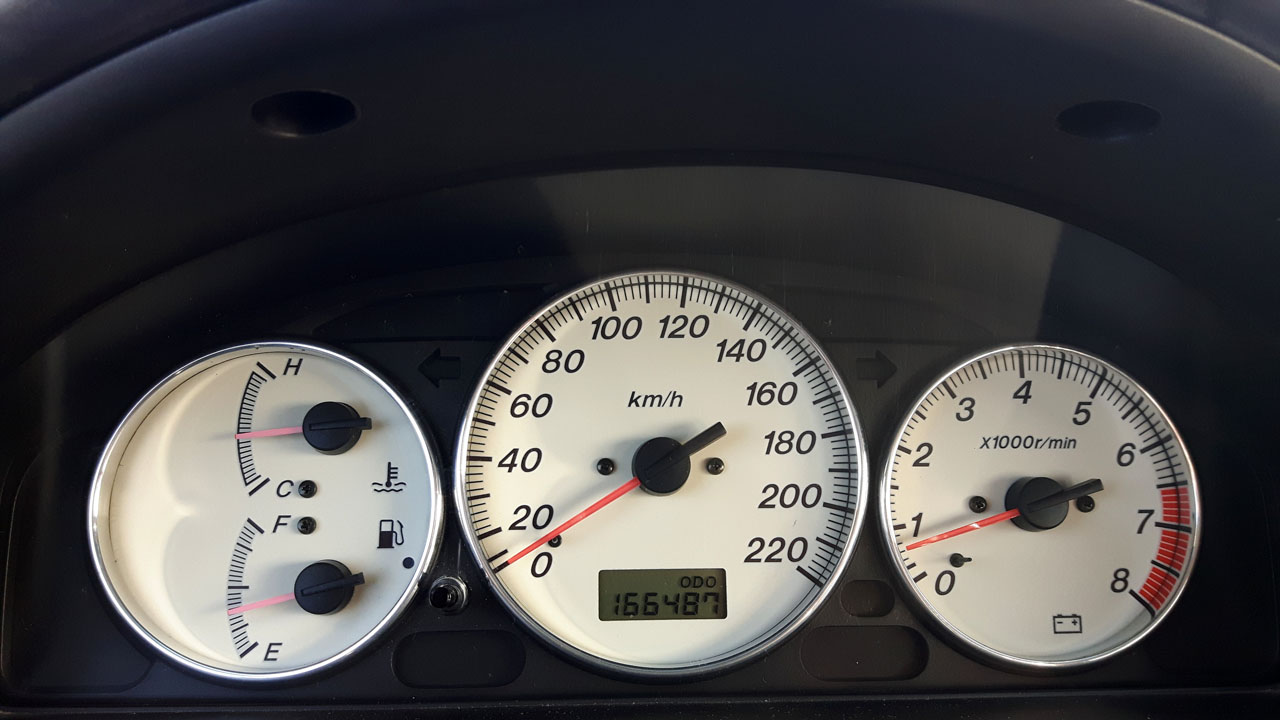
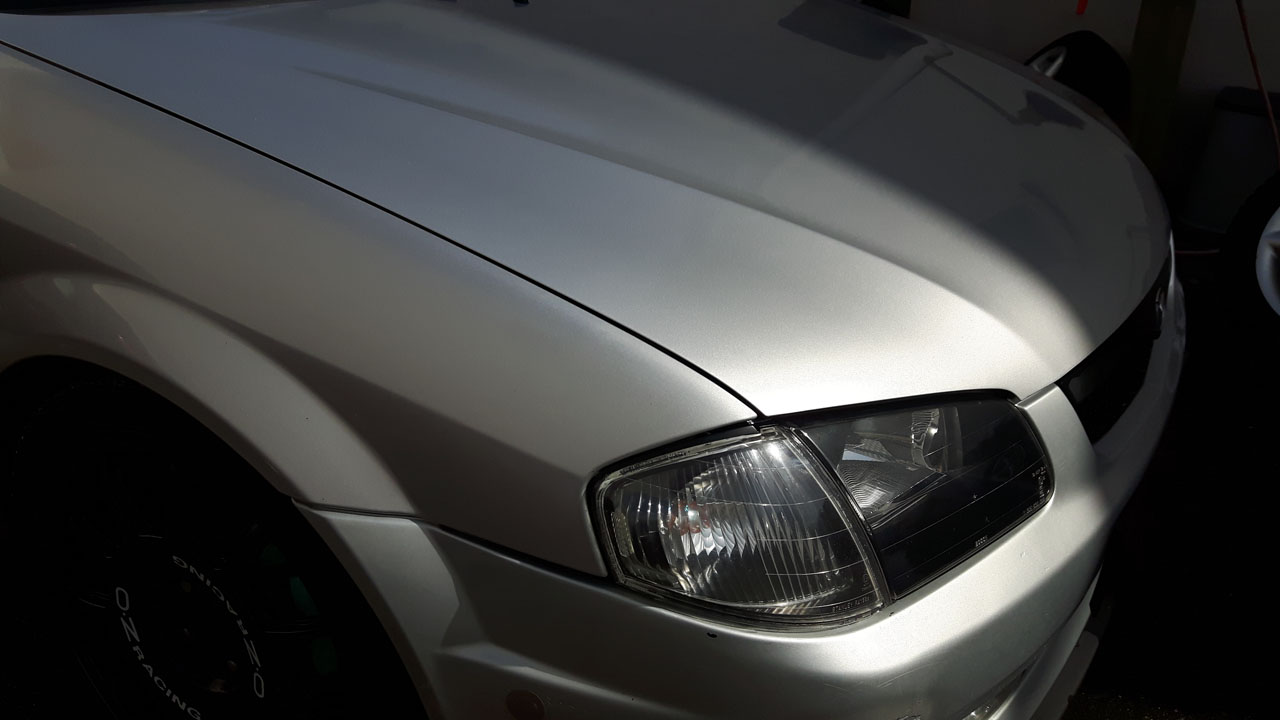
A few more detail shots.
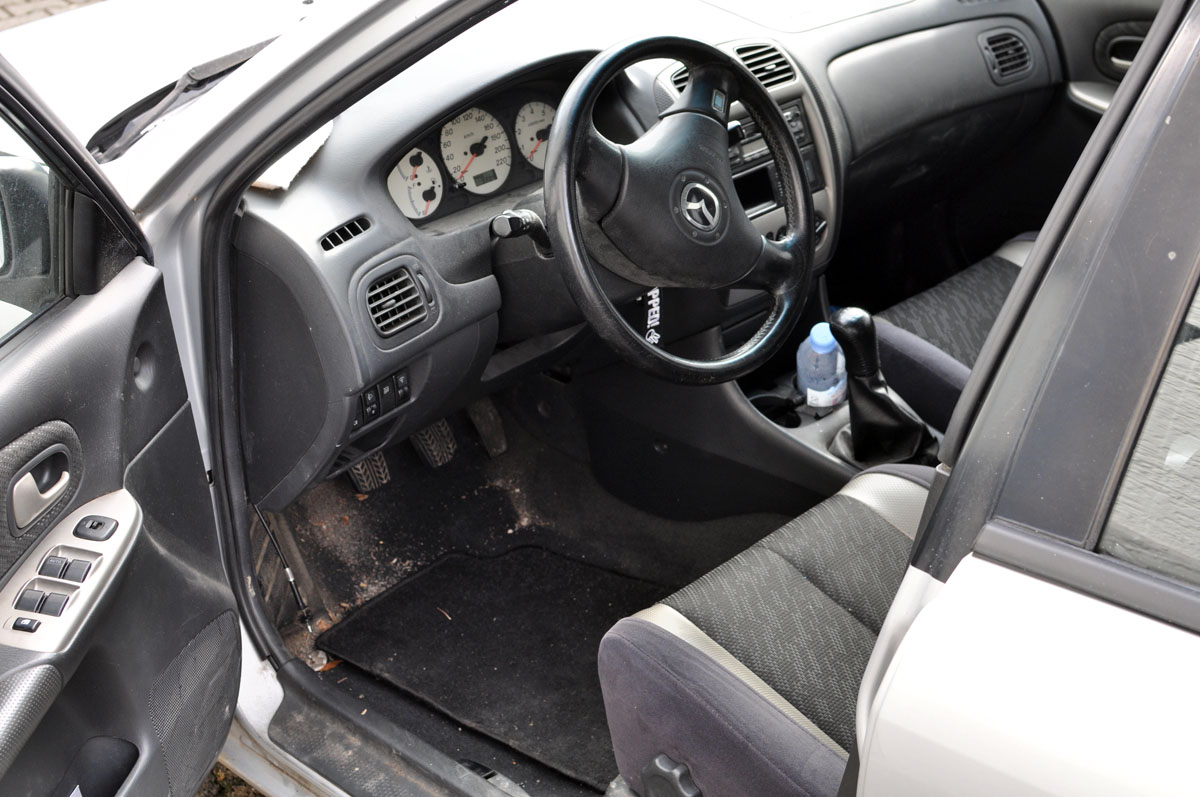
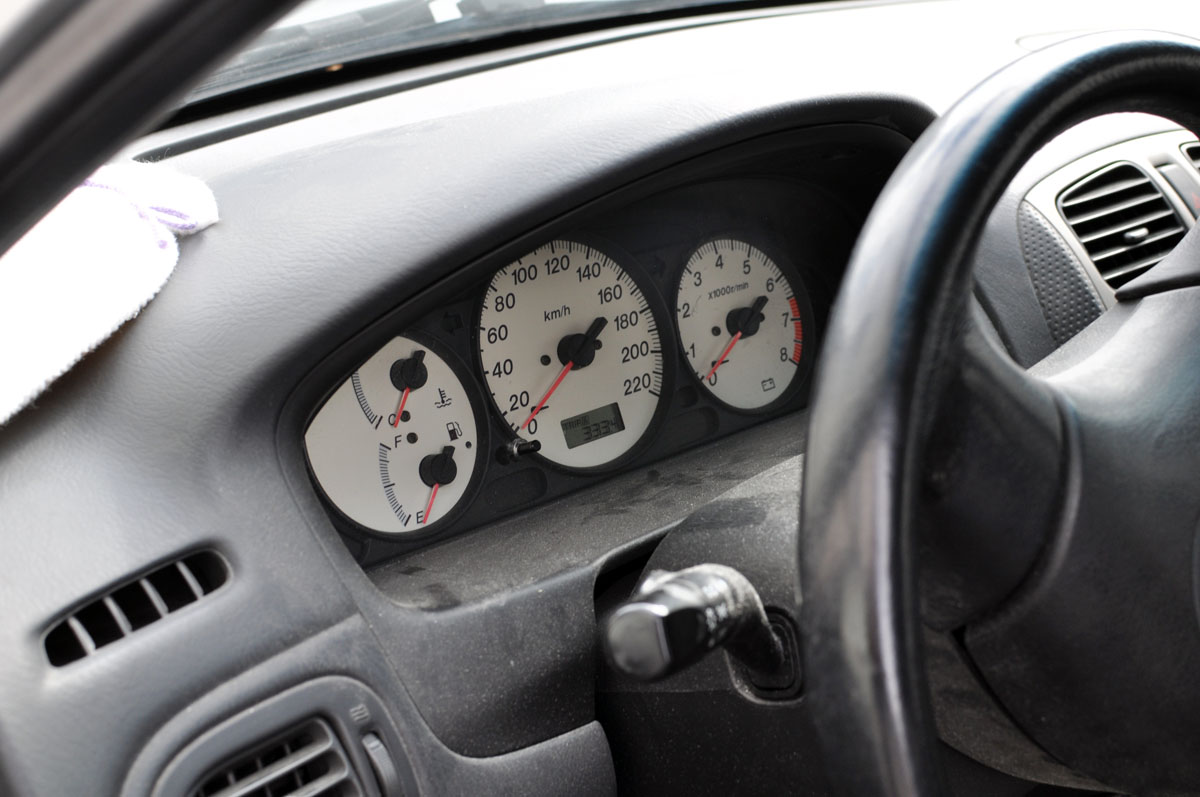
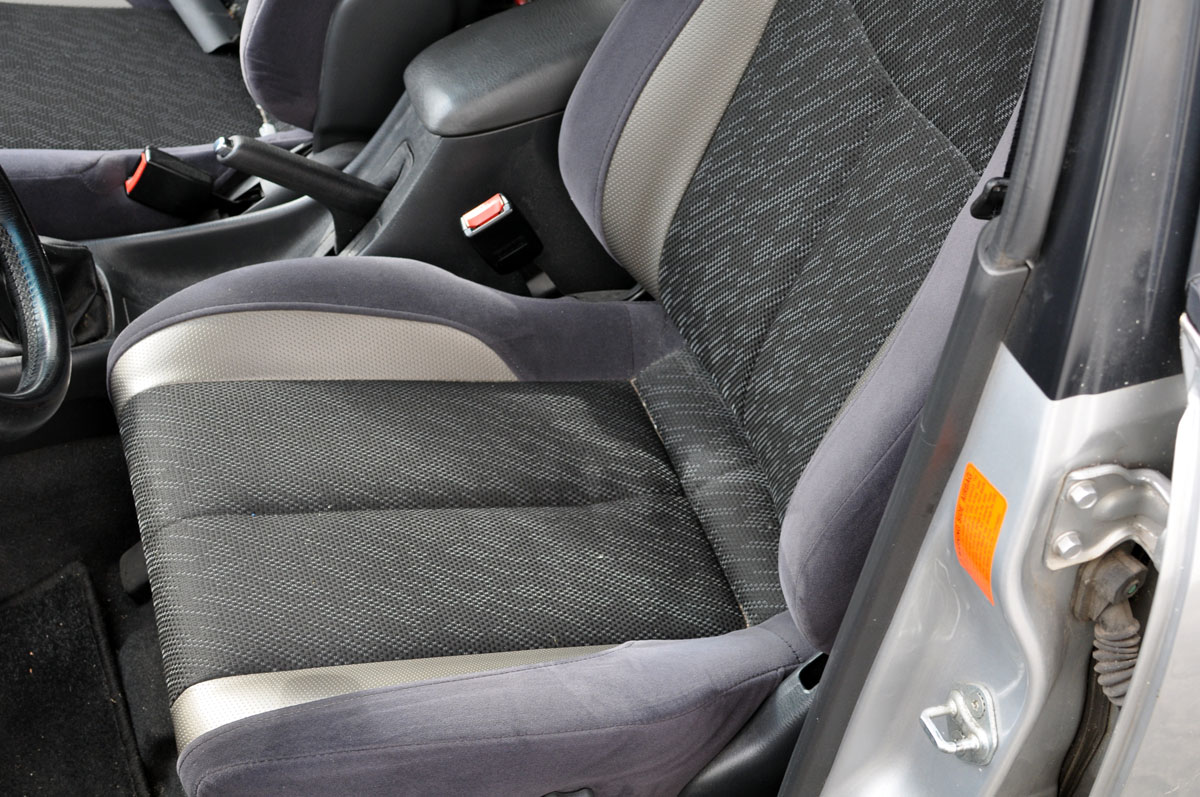
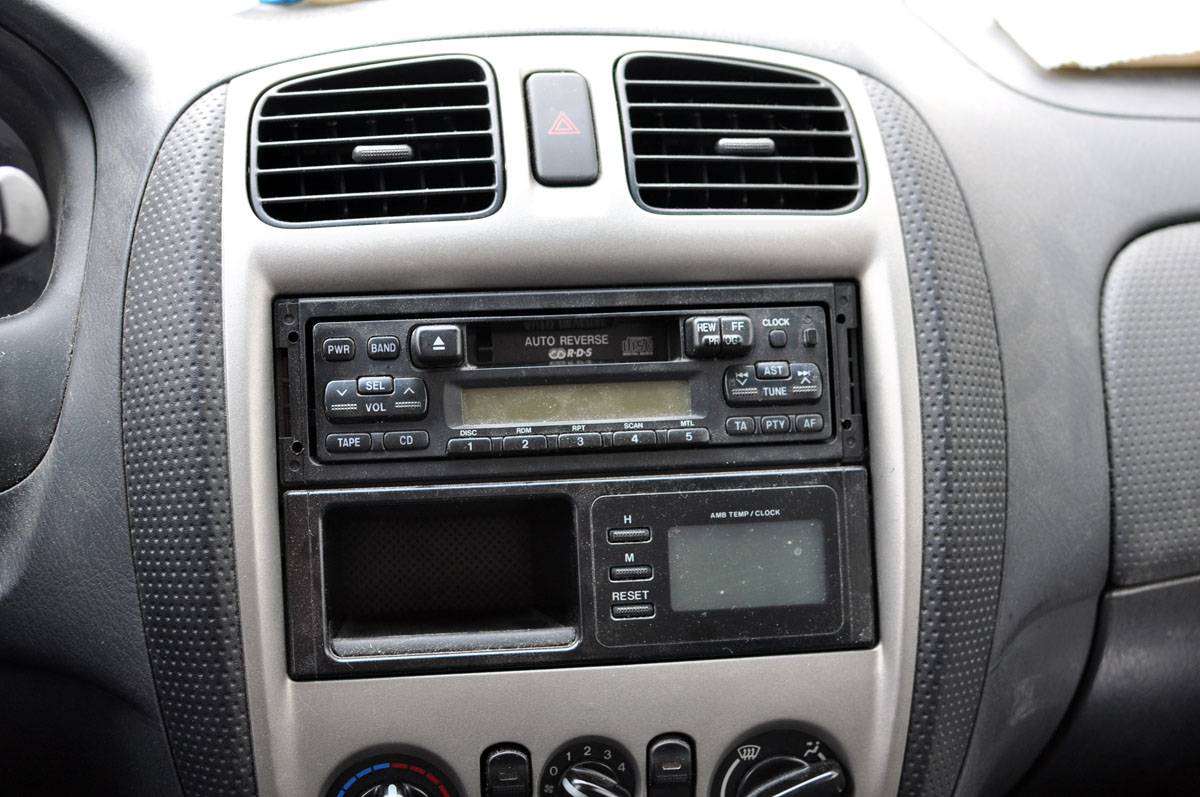
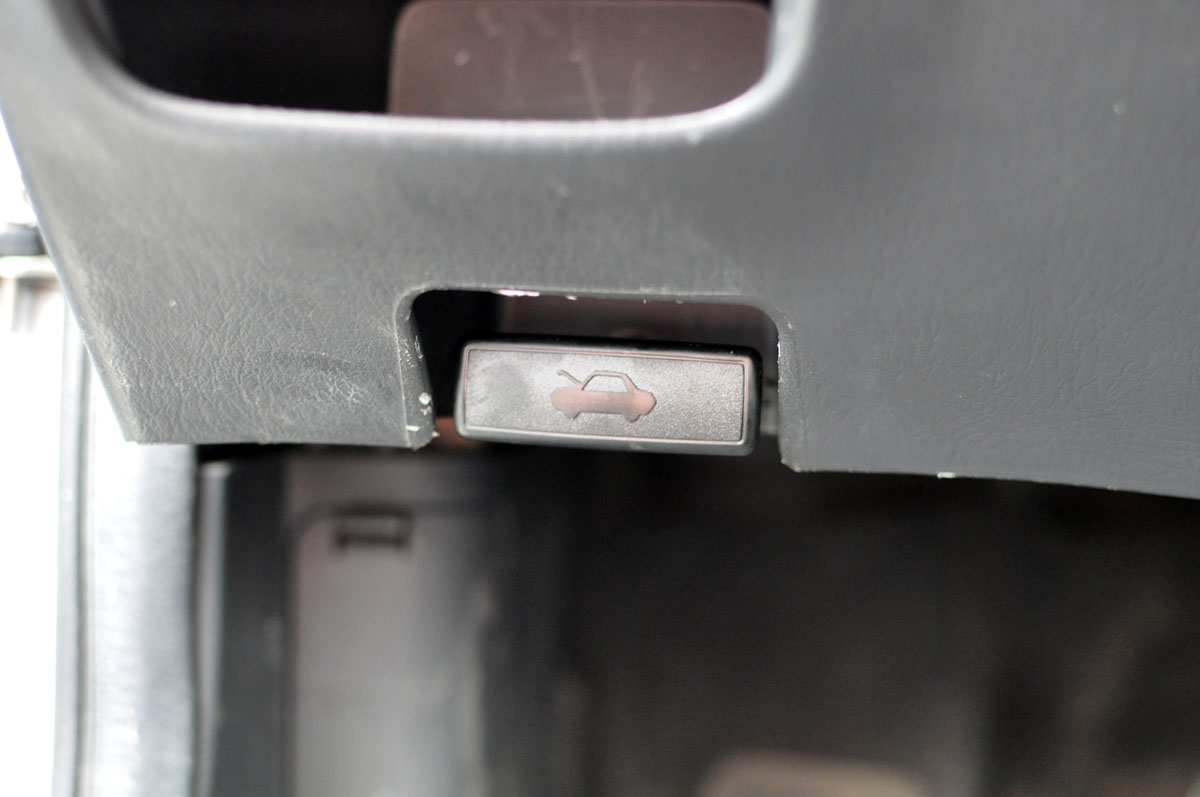
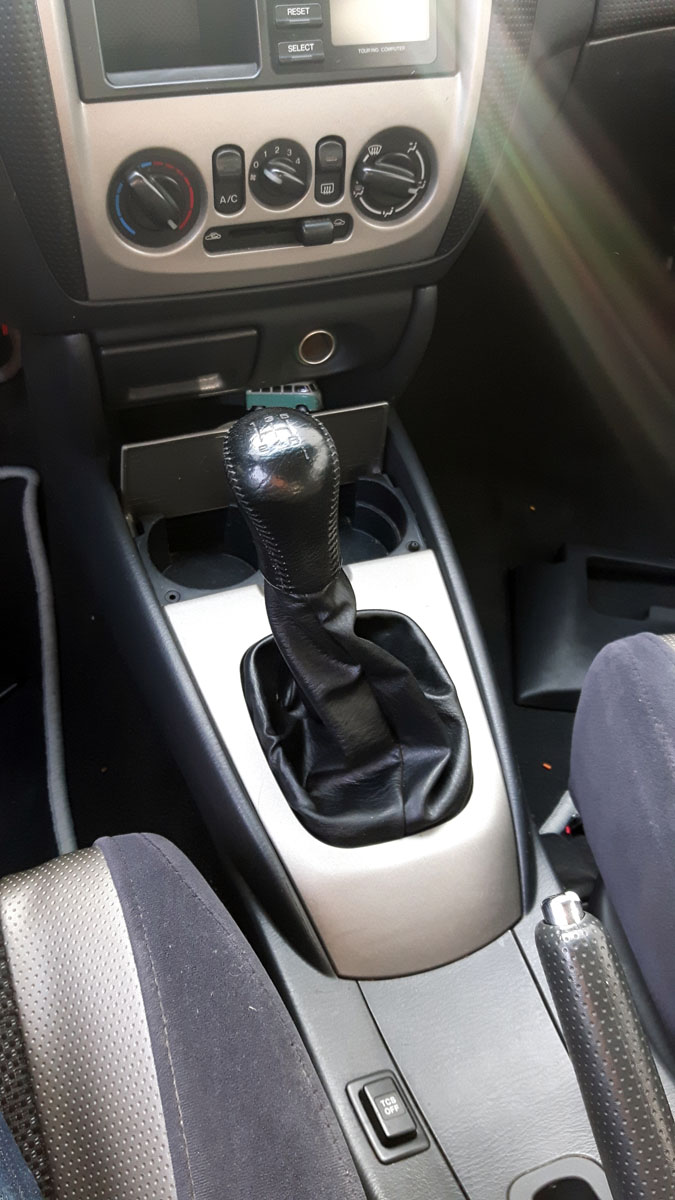
Apart from all the filth, the interior was actually really nice.
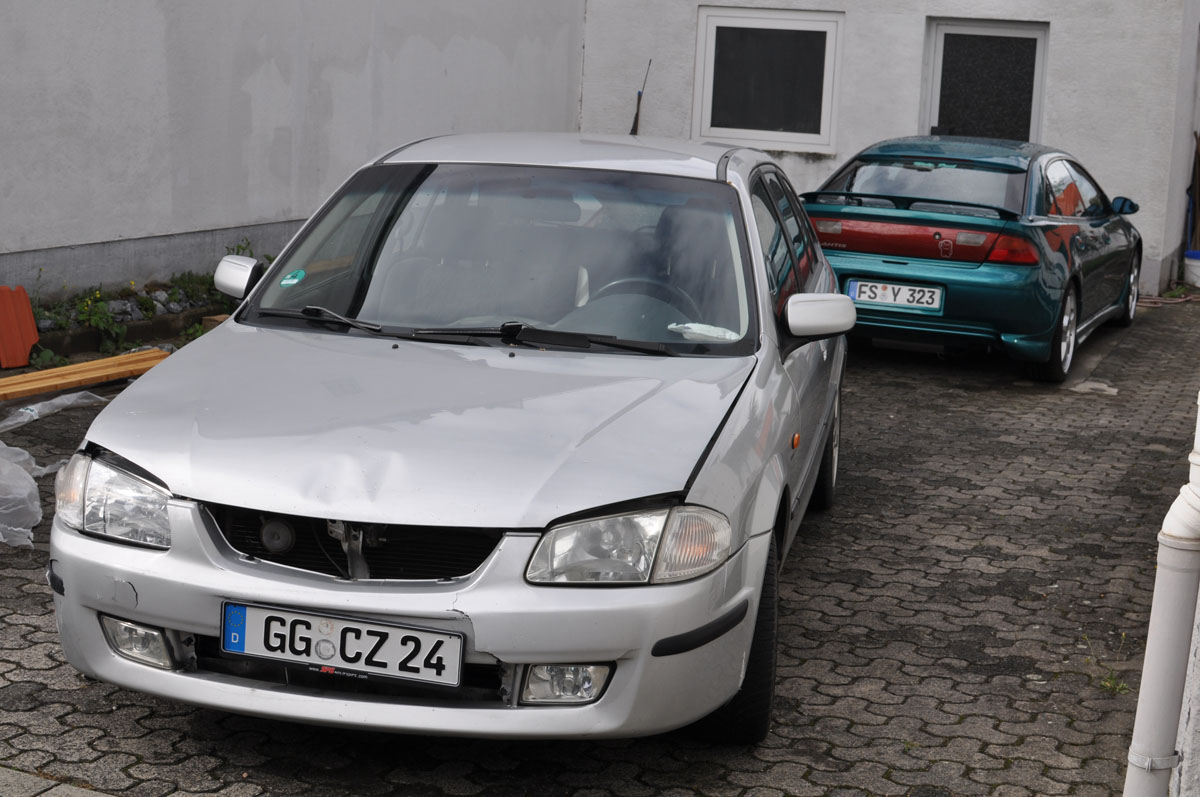
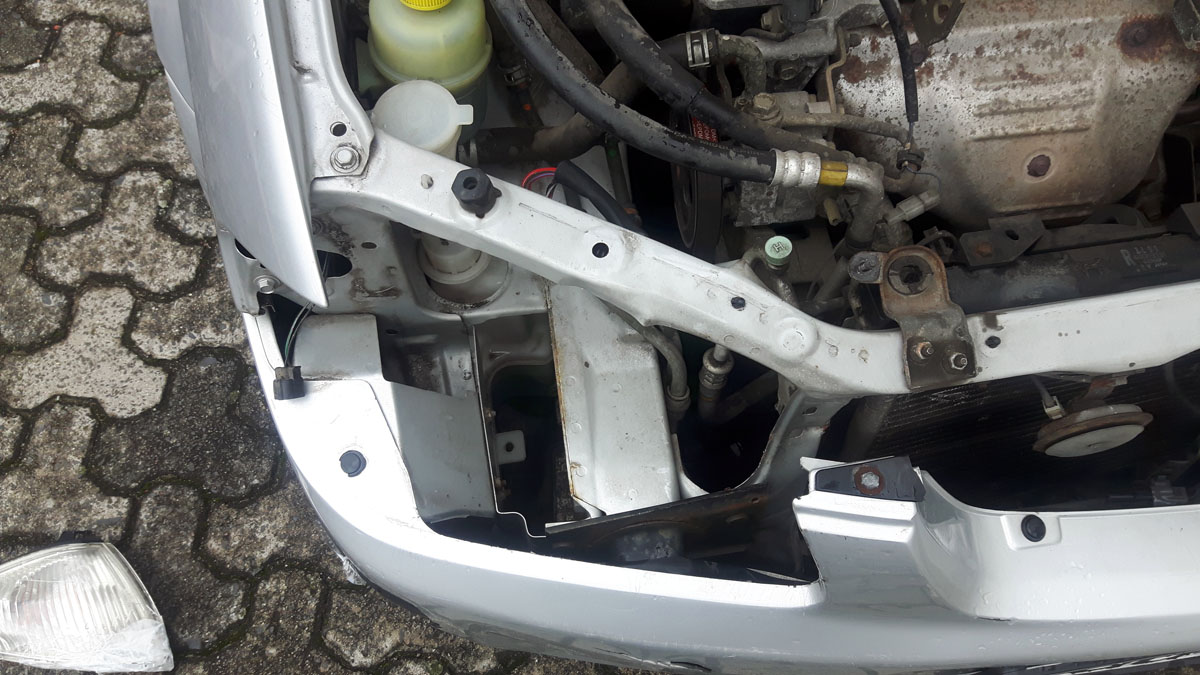
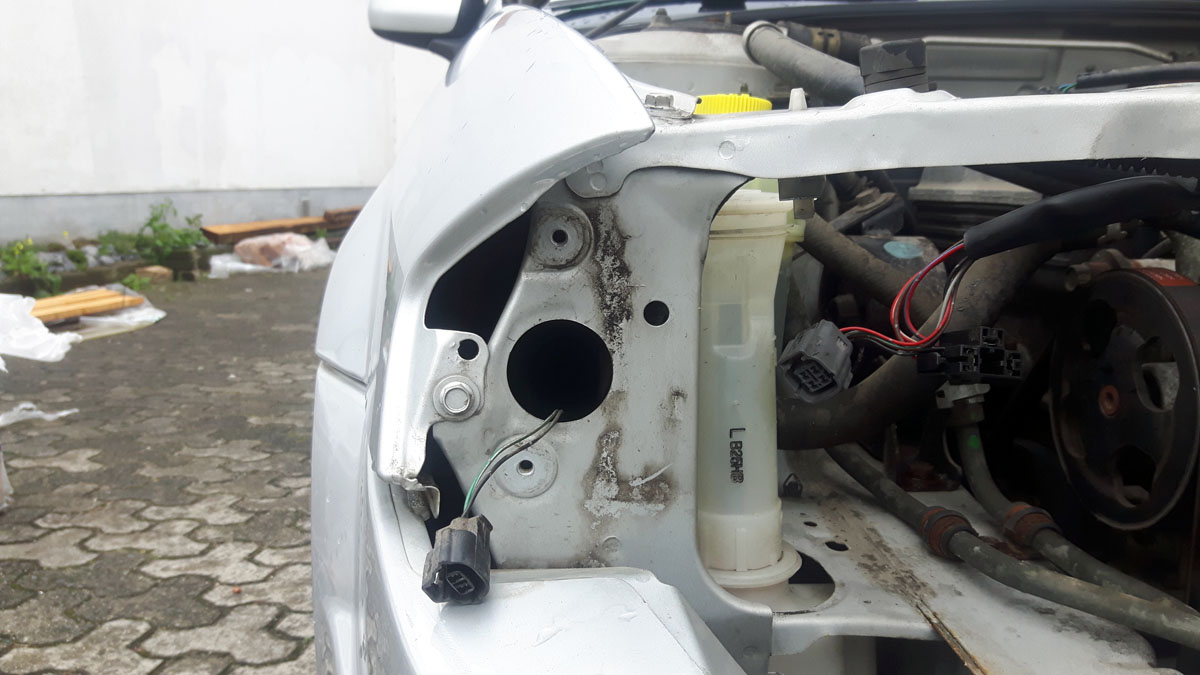
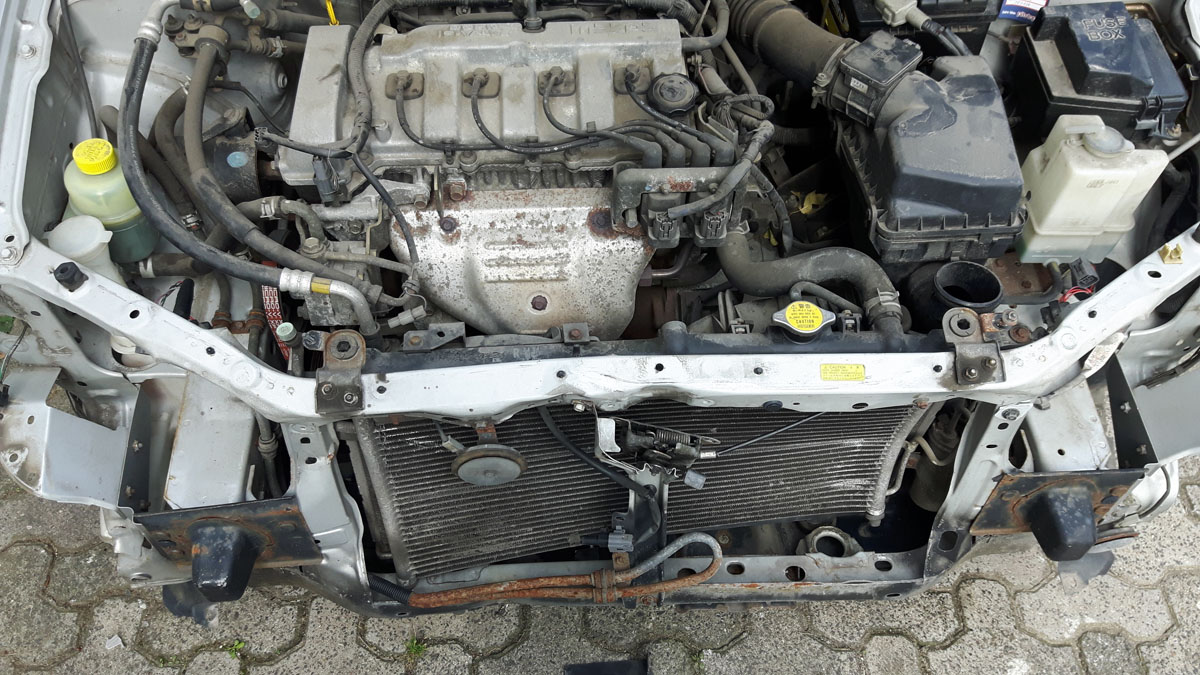
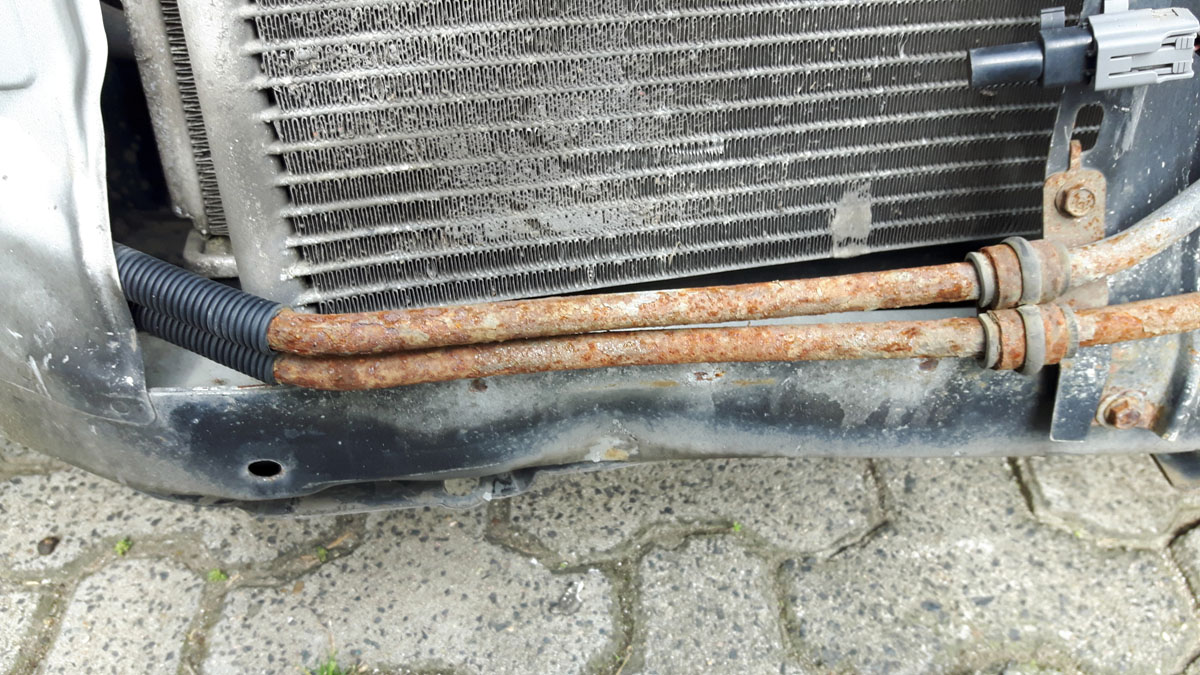
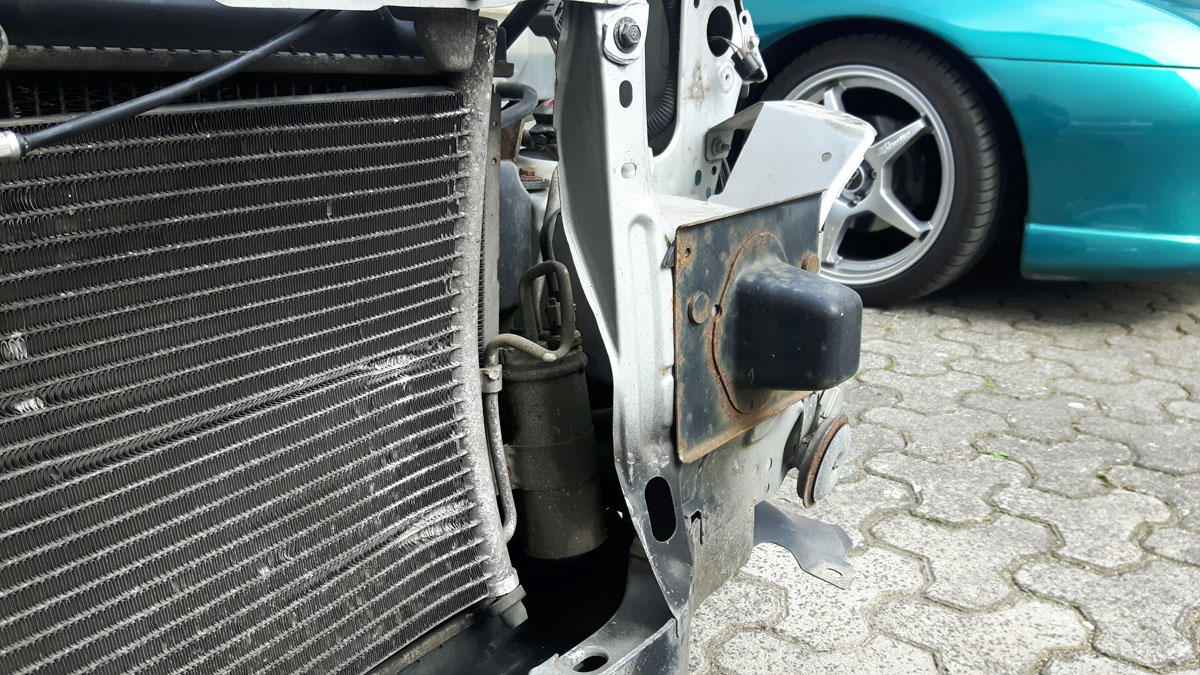
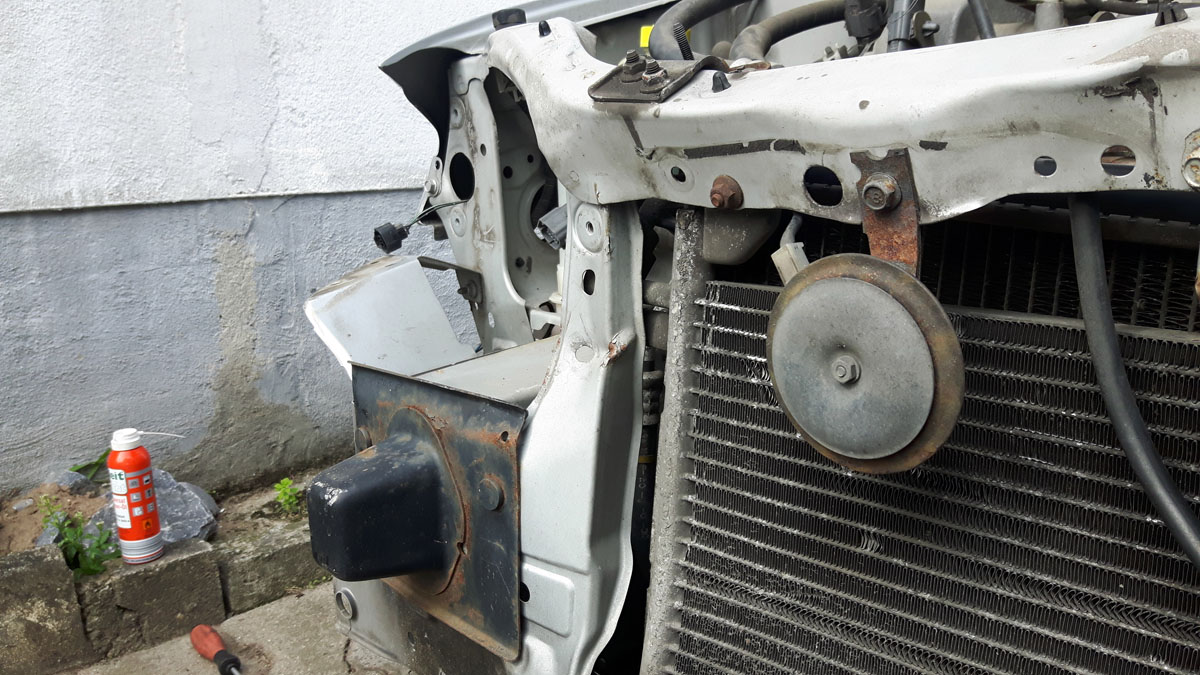
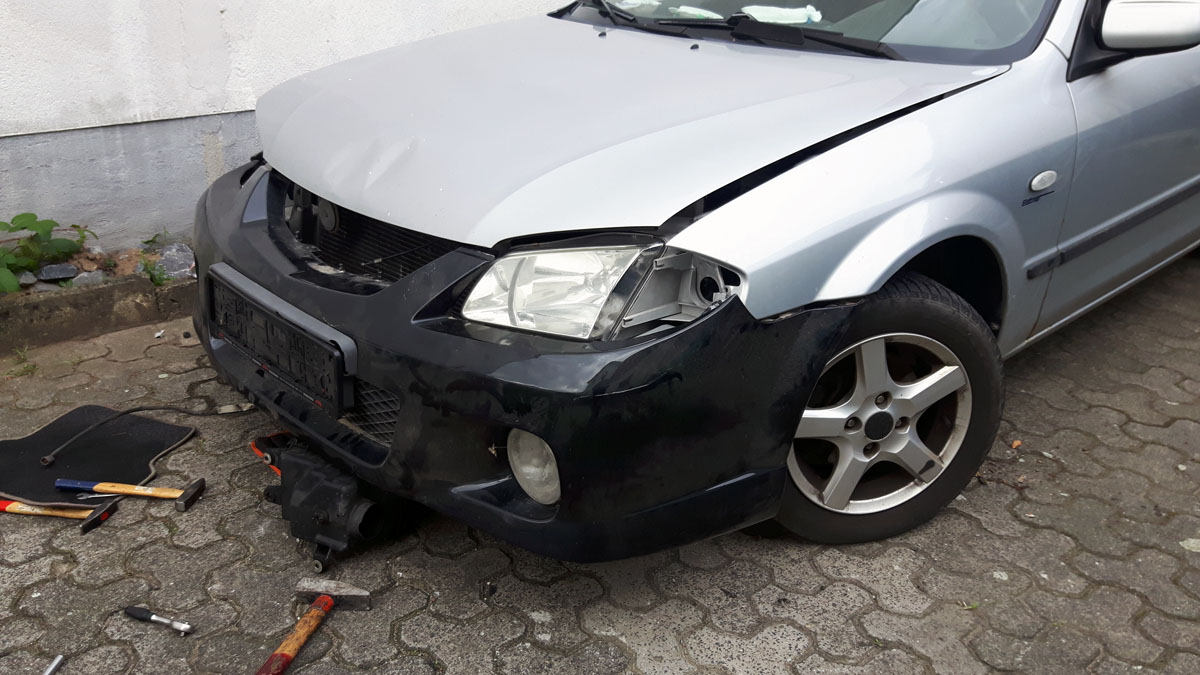
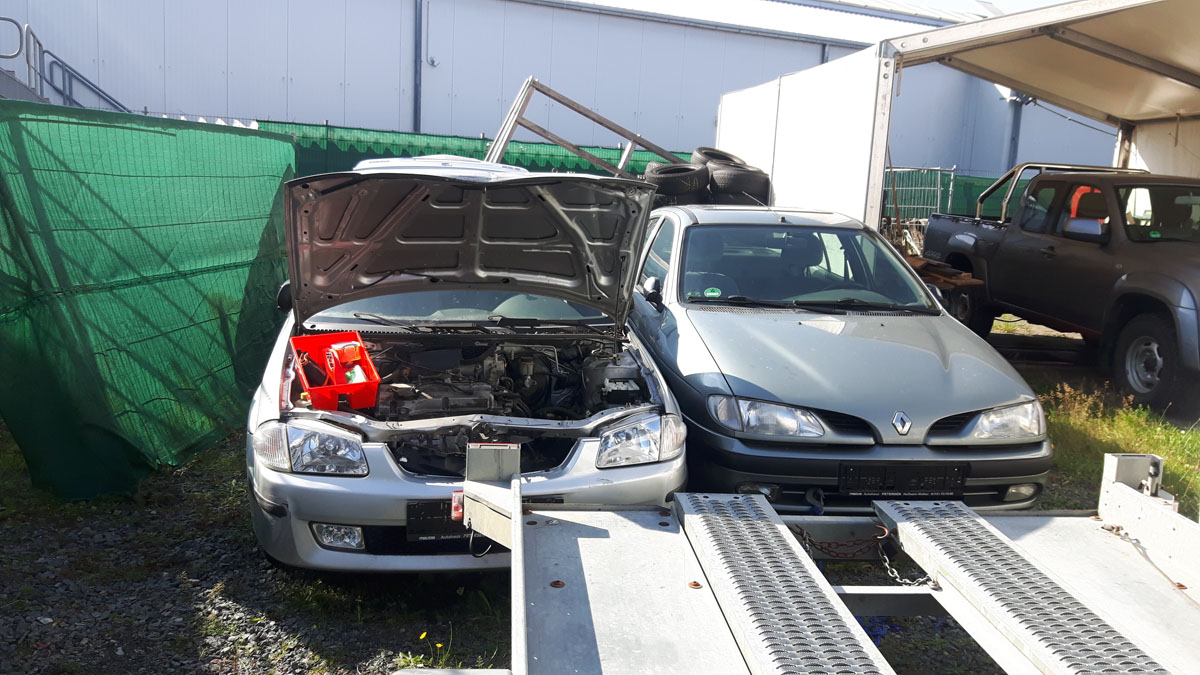
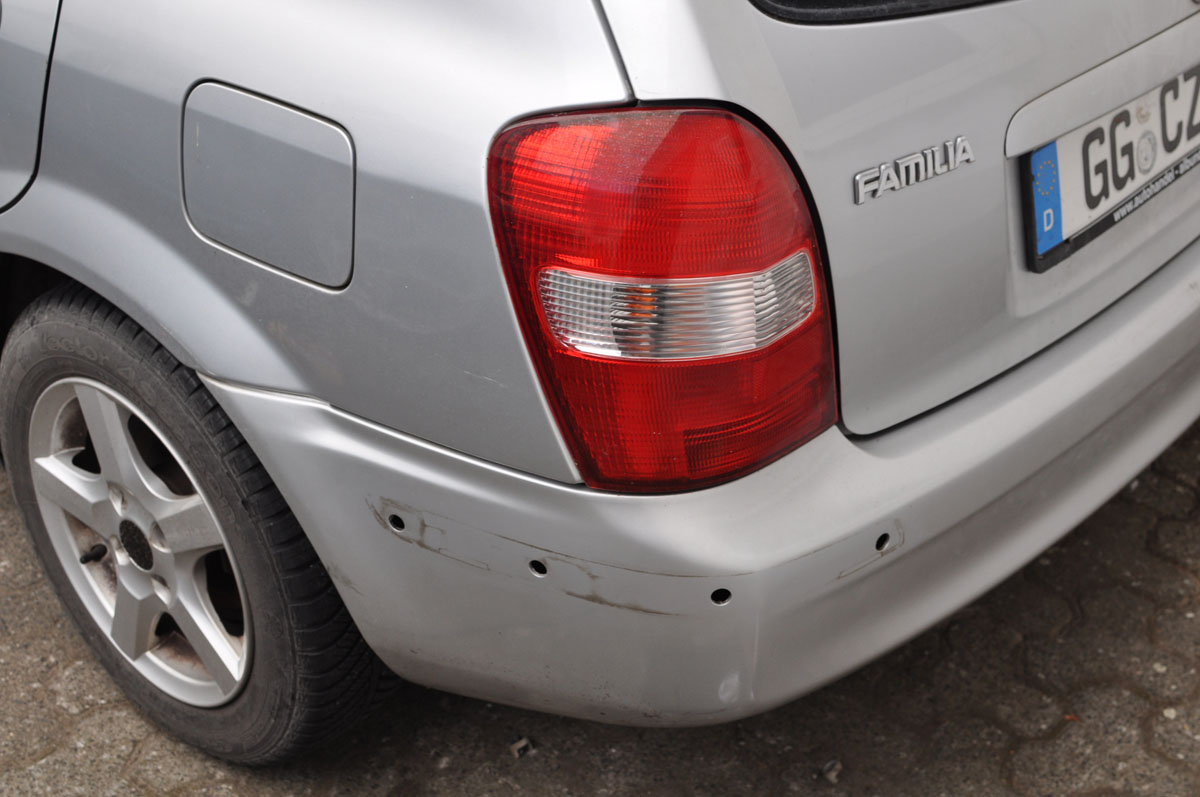
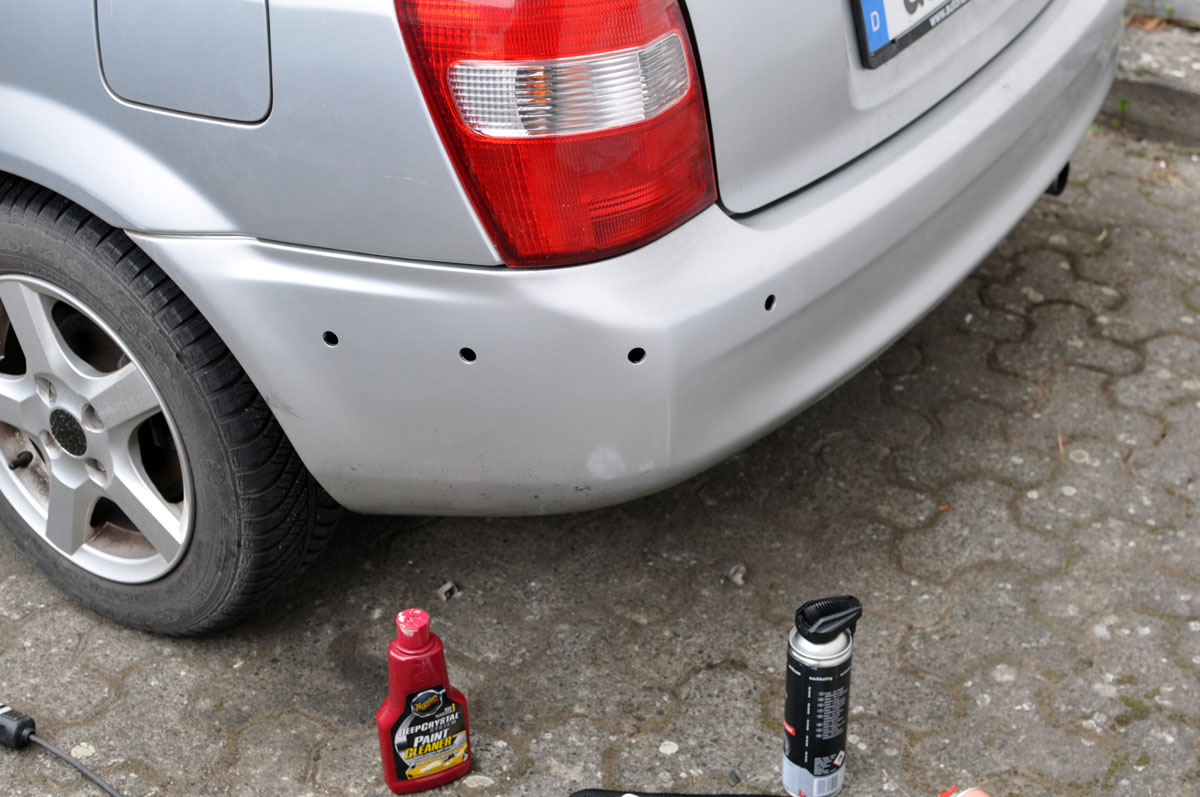
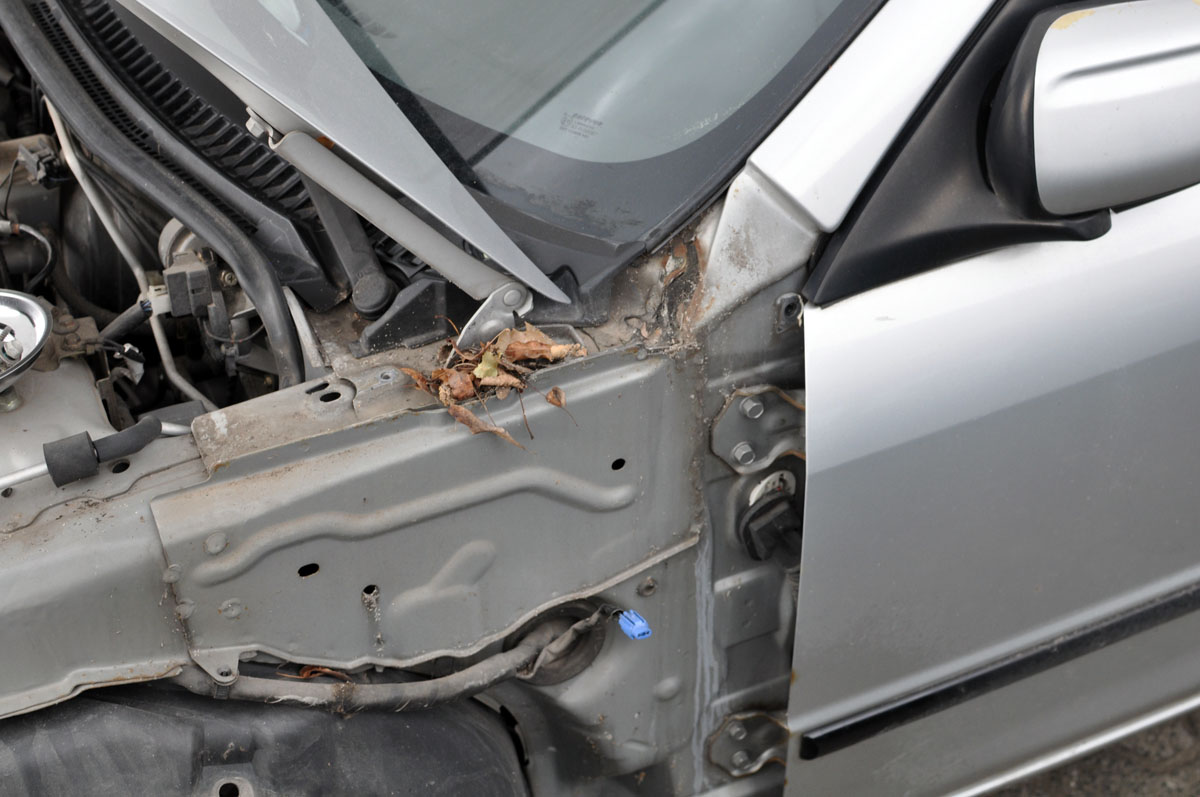
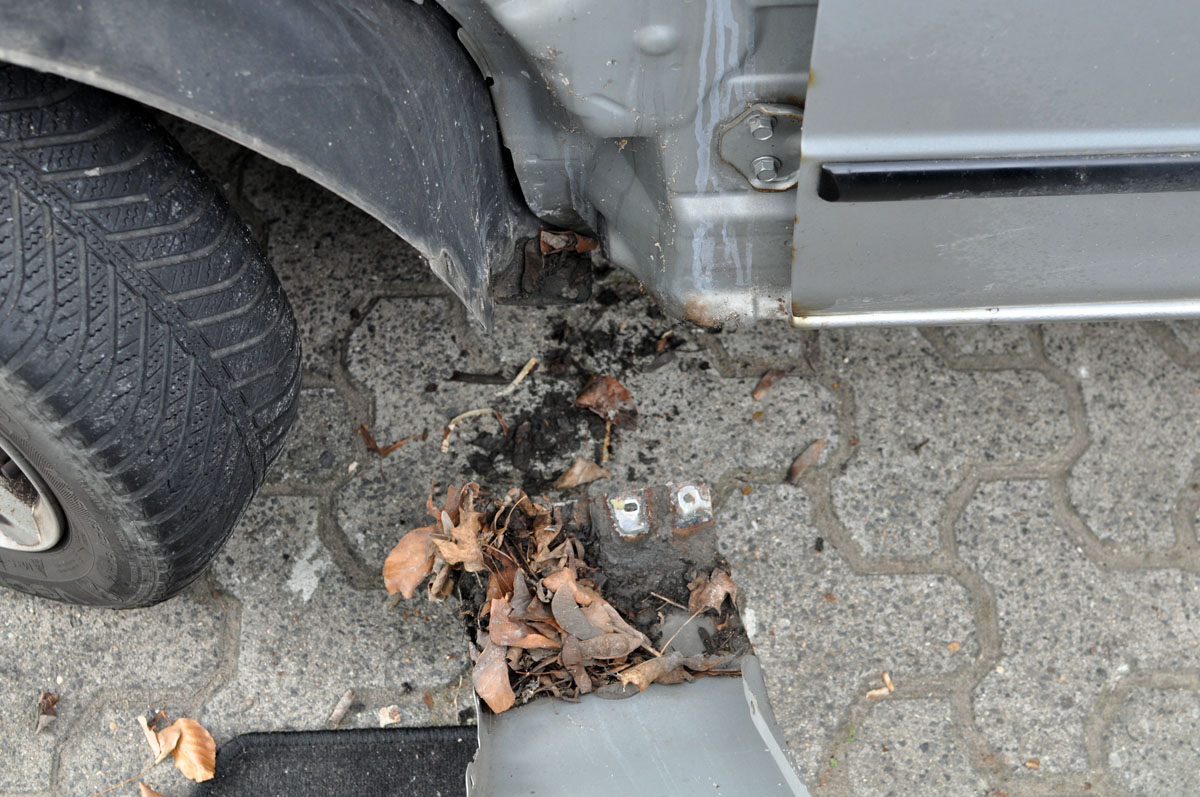
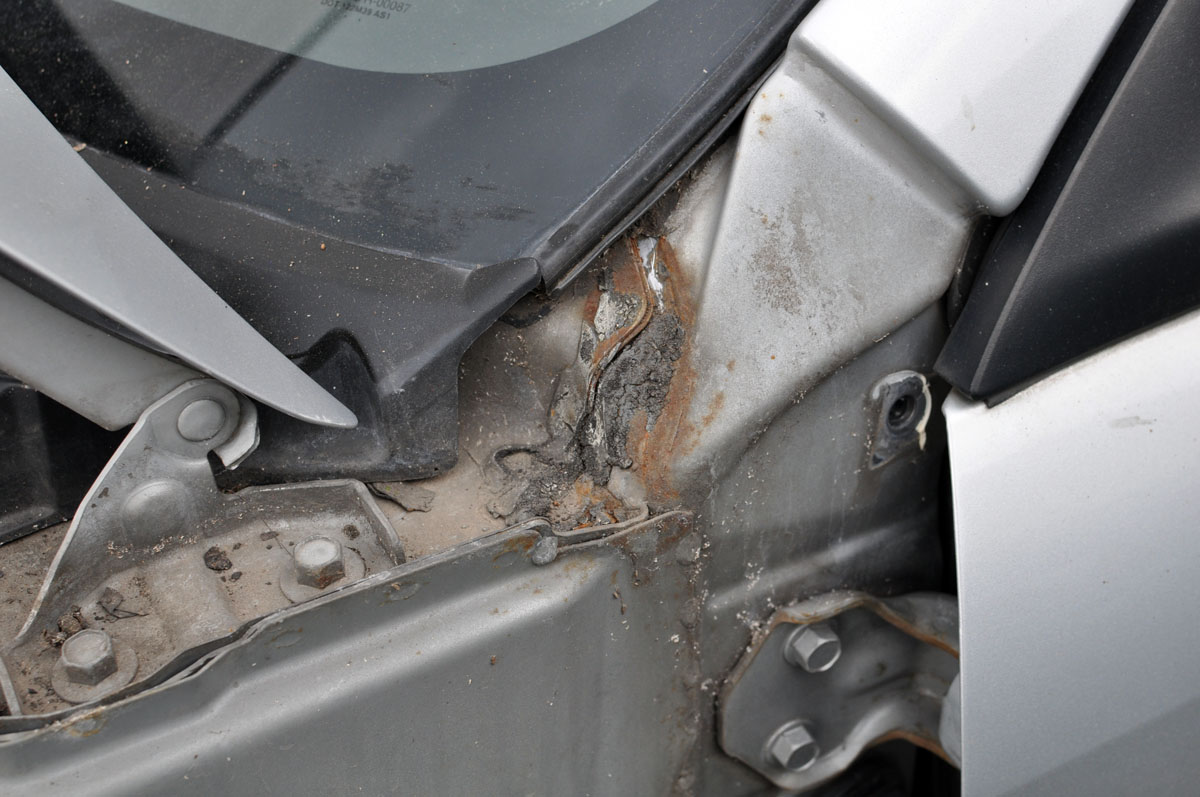
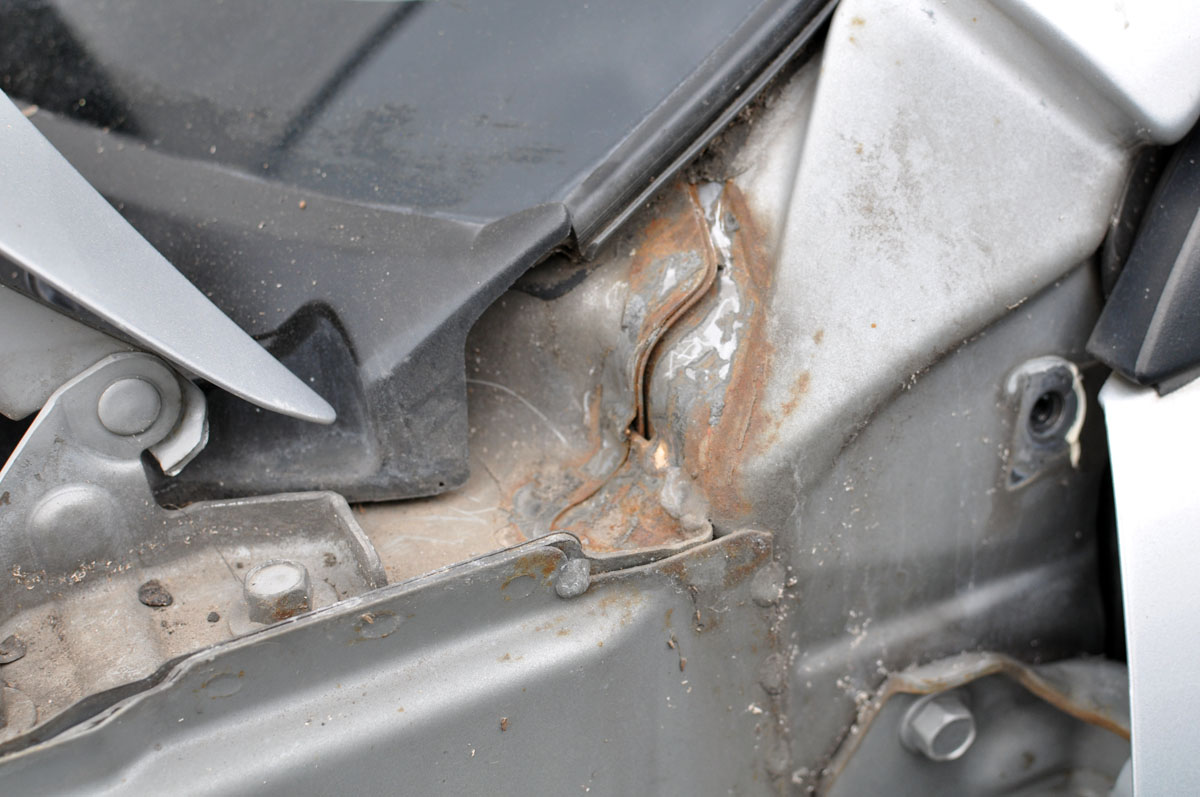
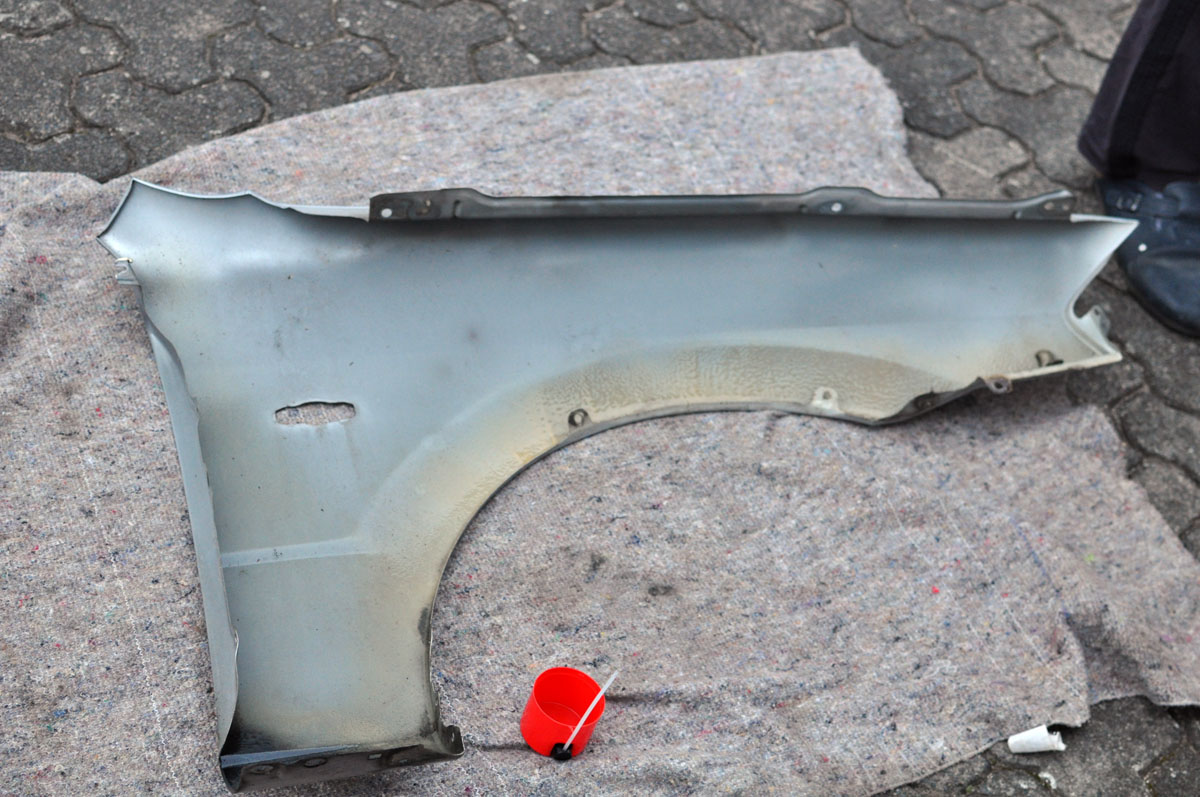
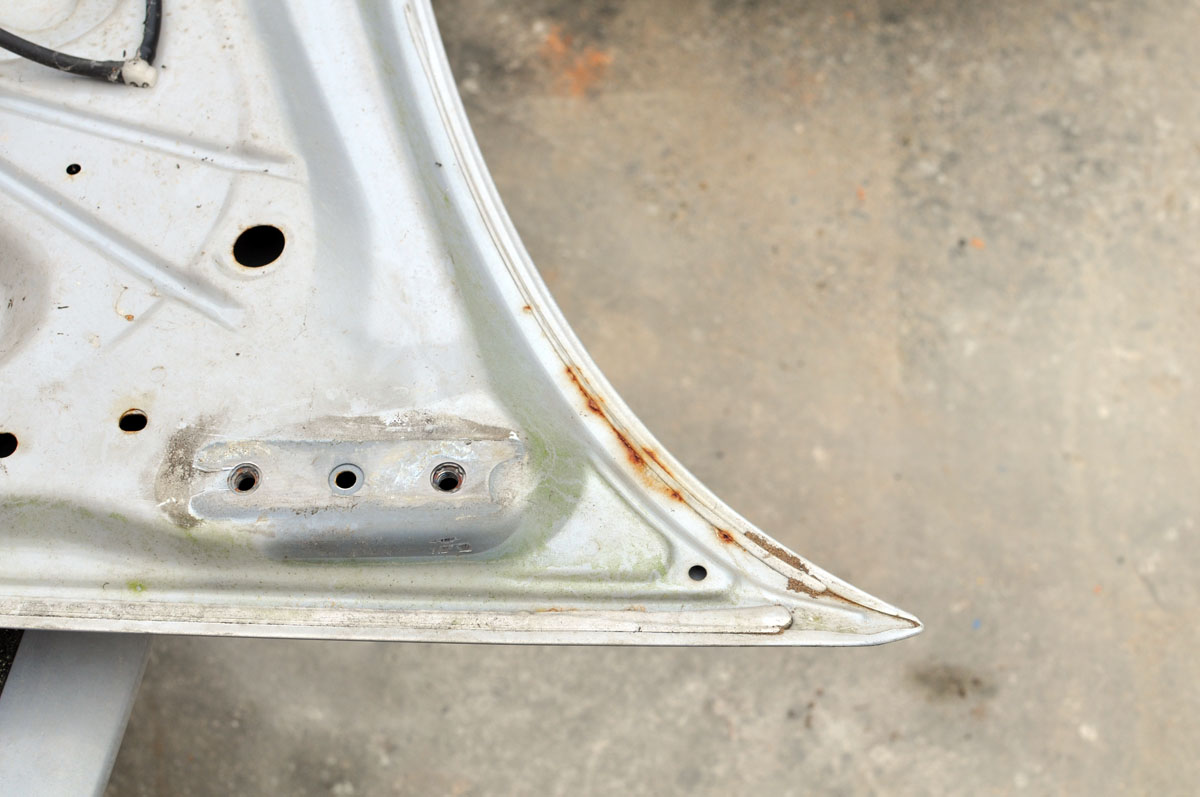
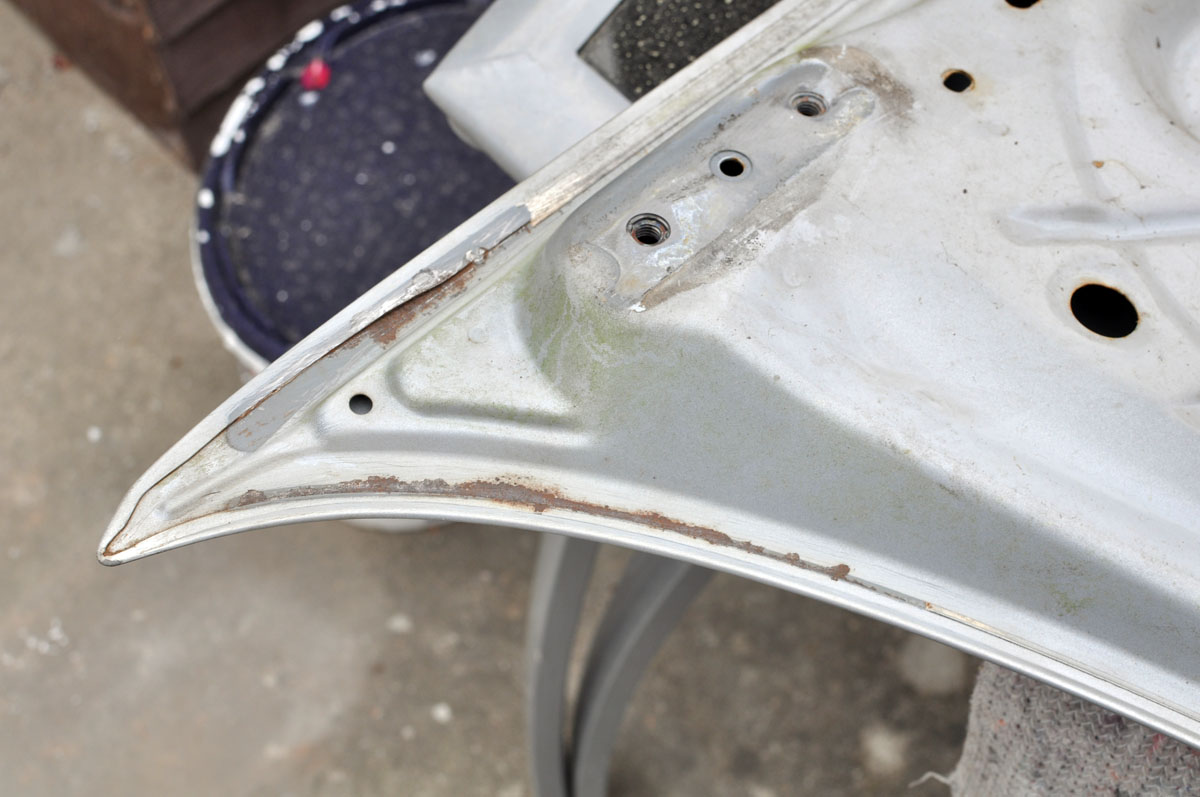
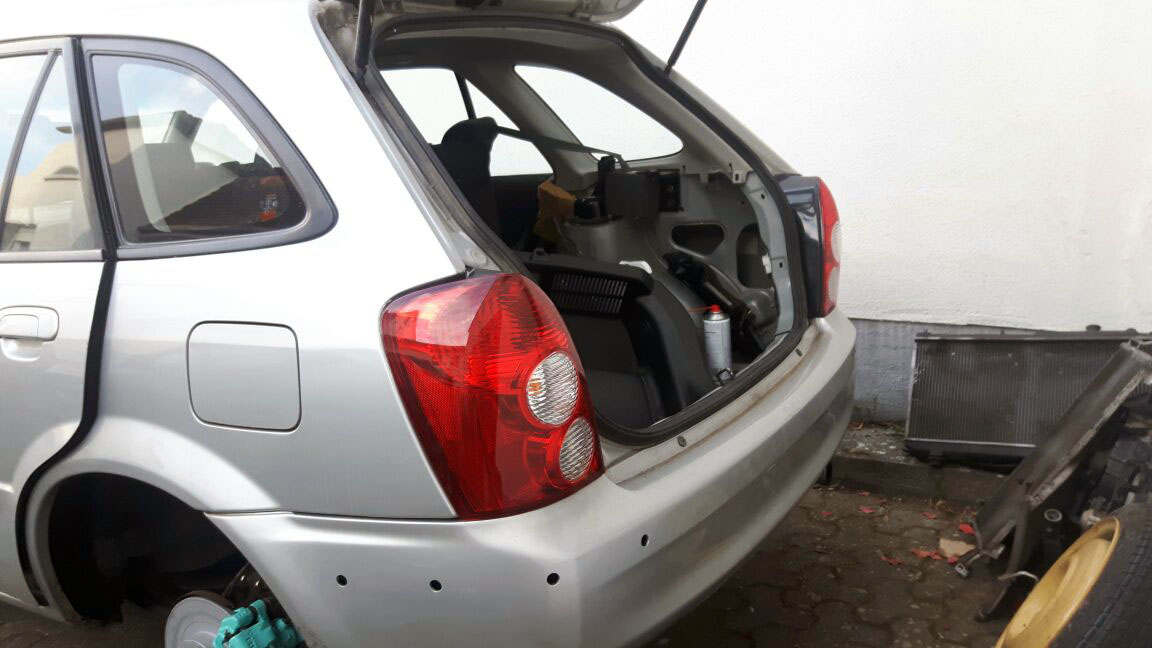
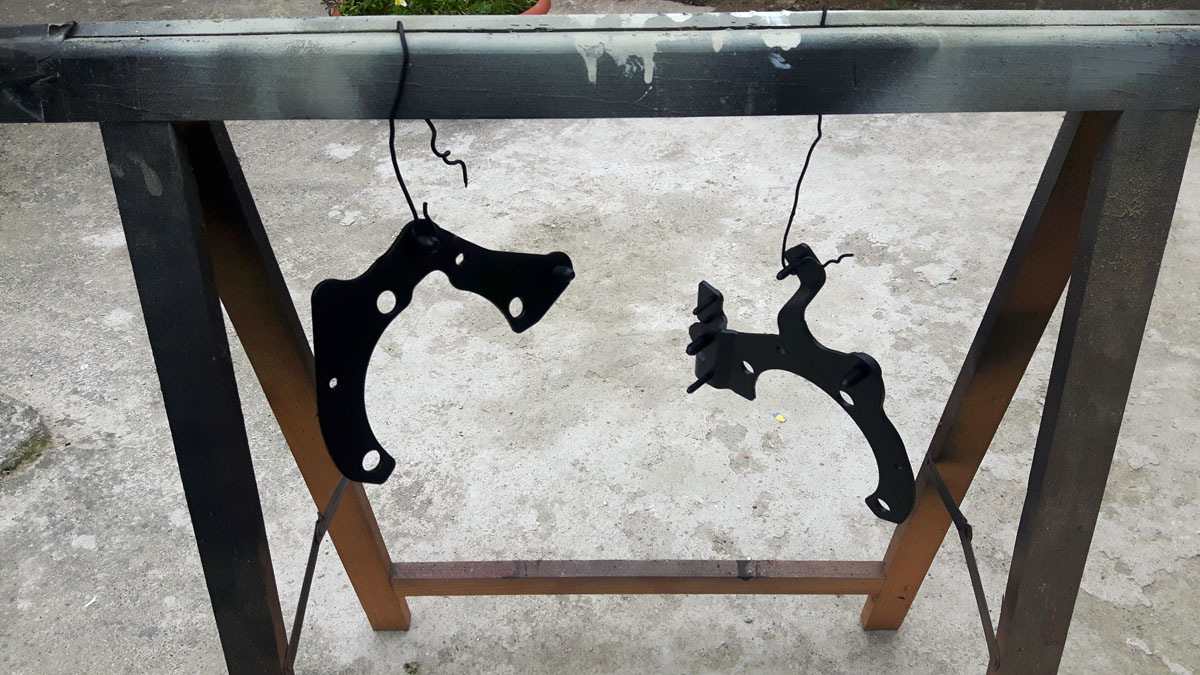
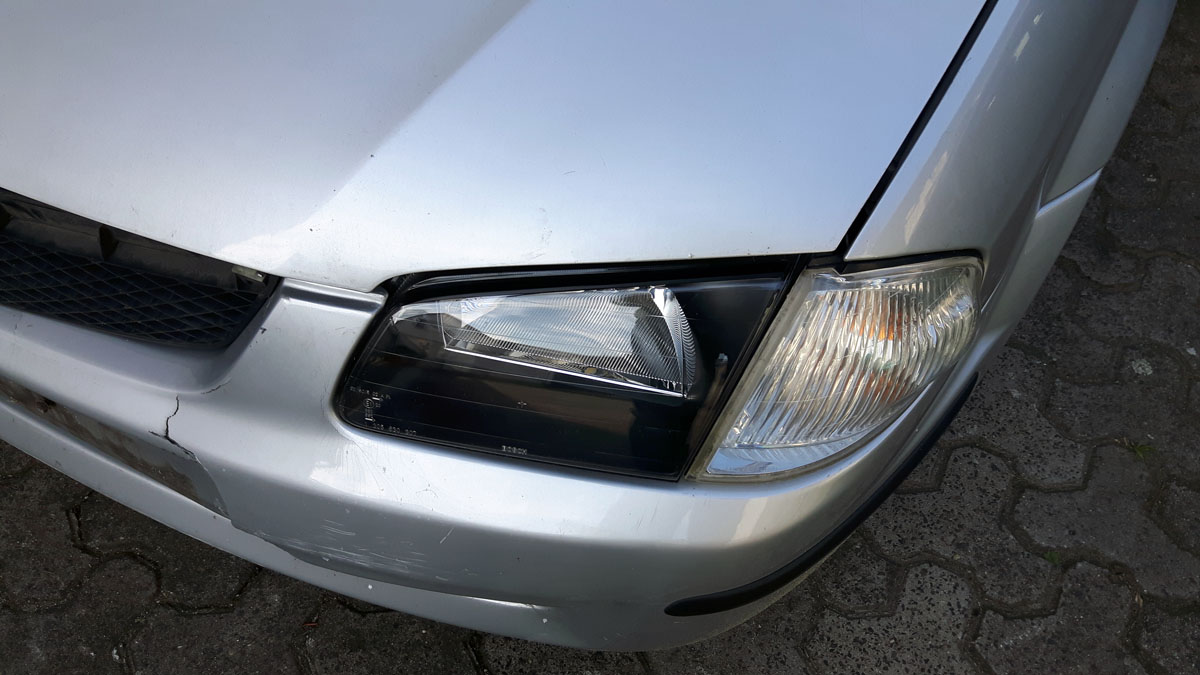
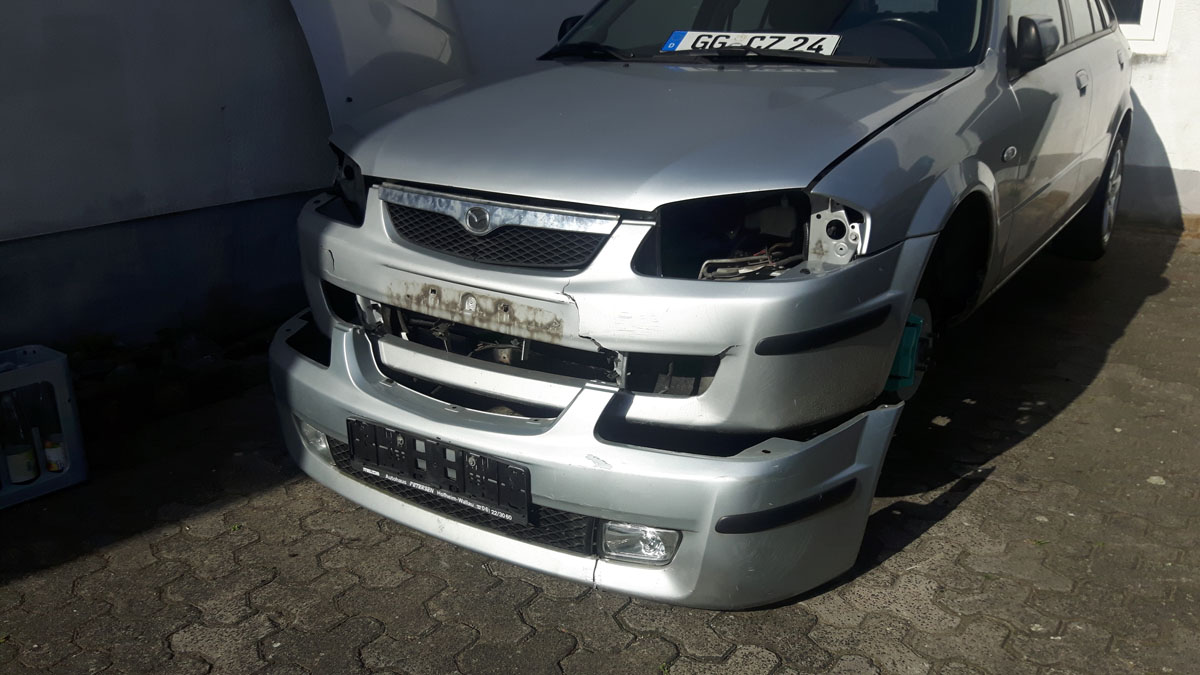
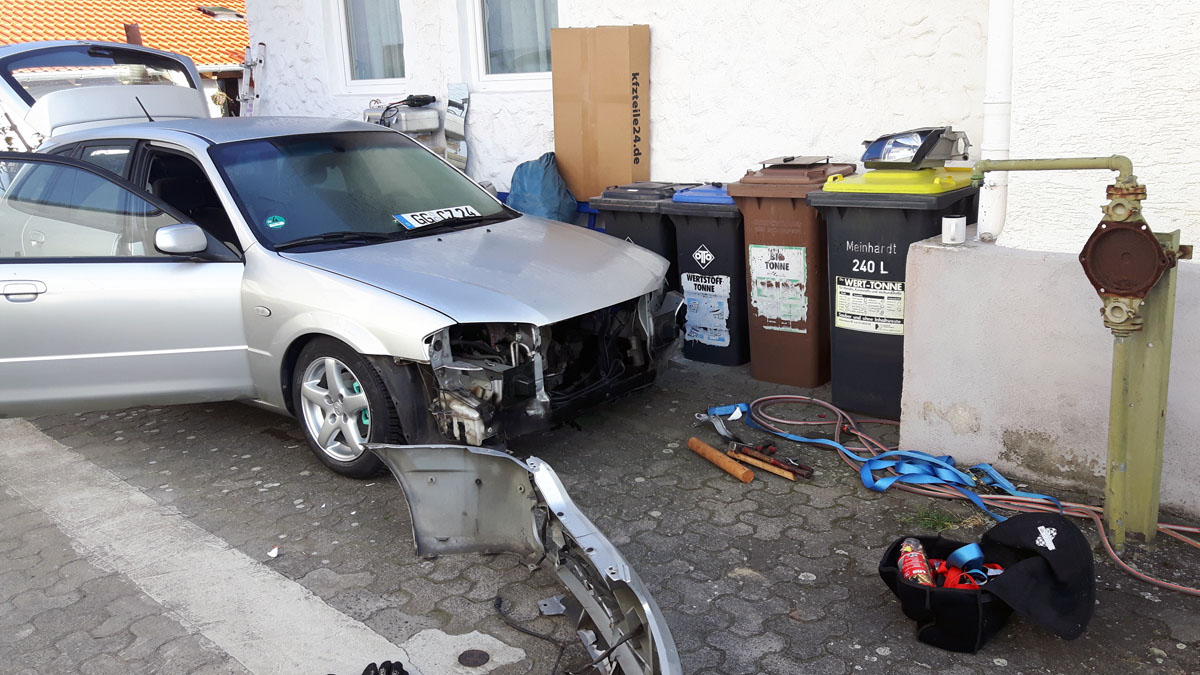
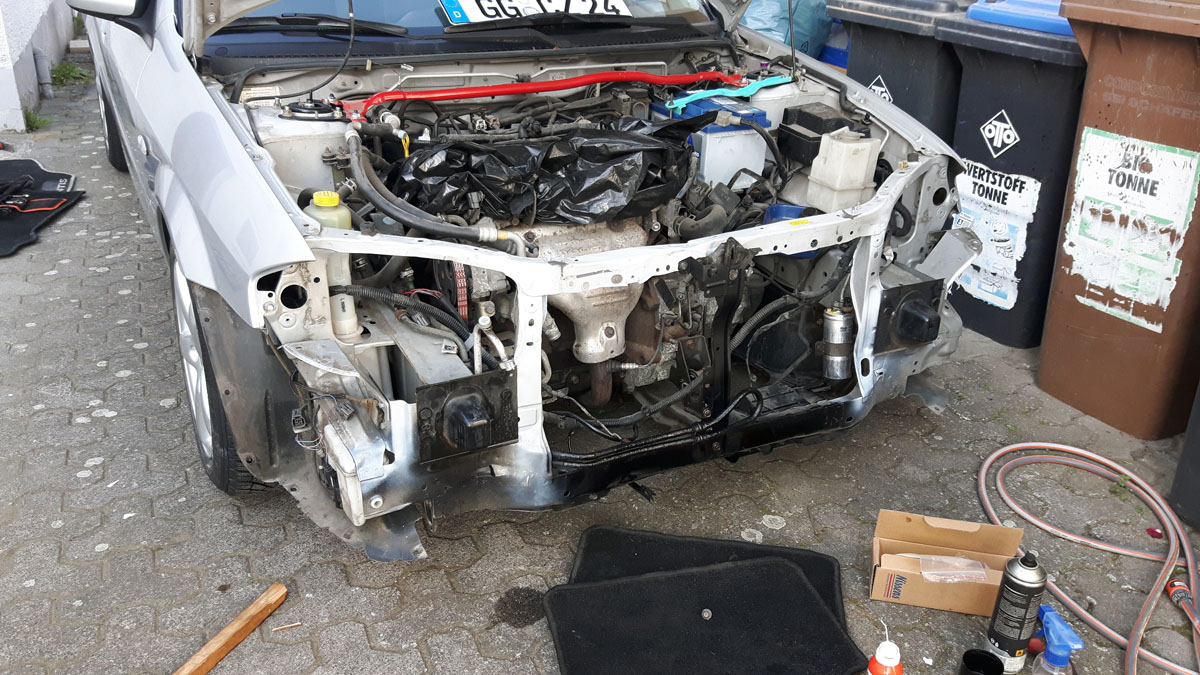
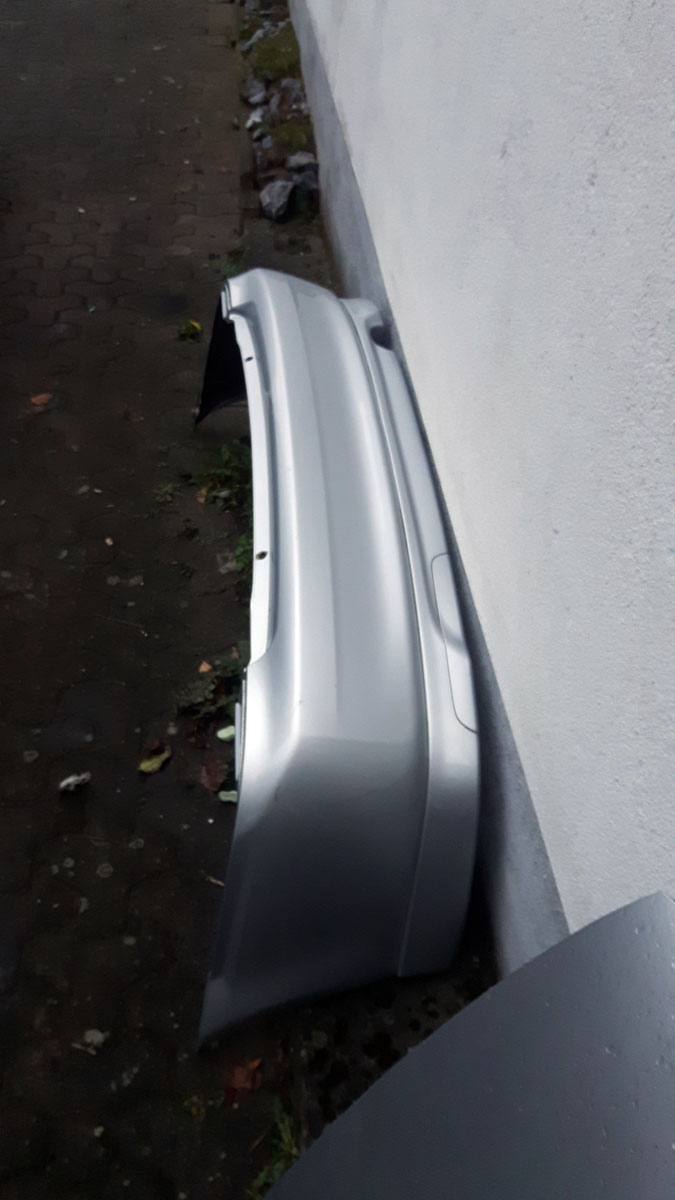
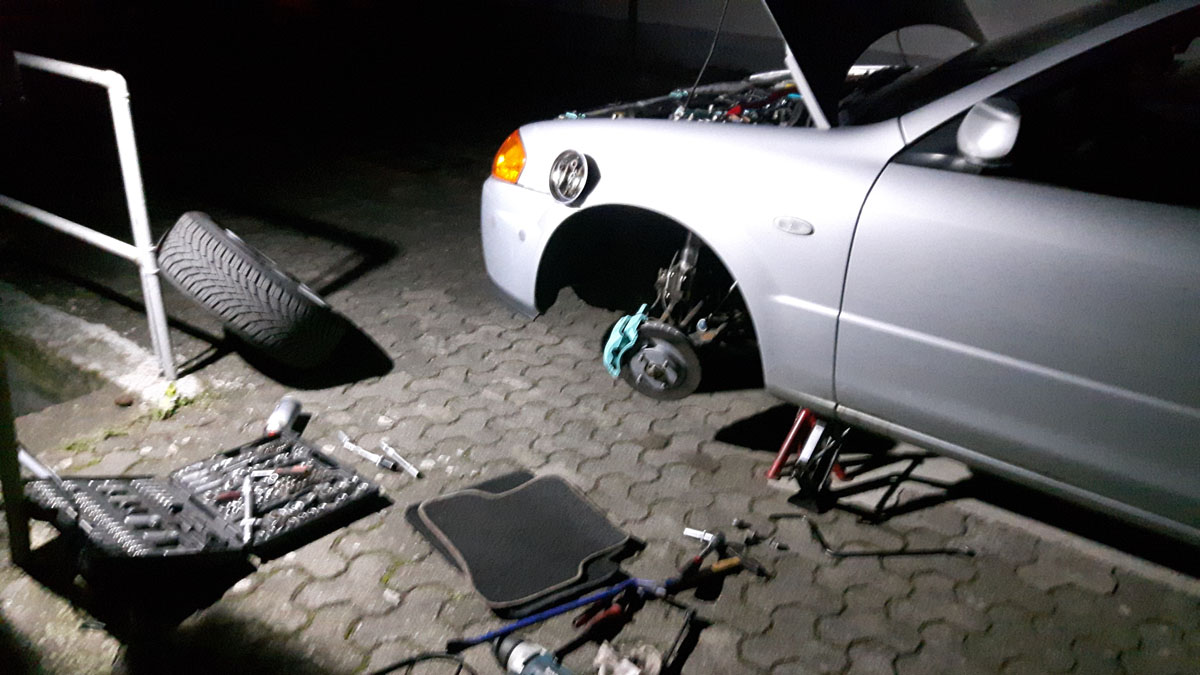
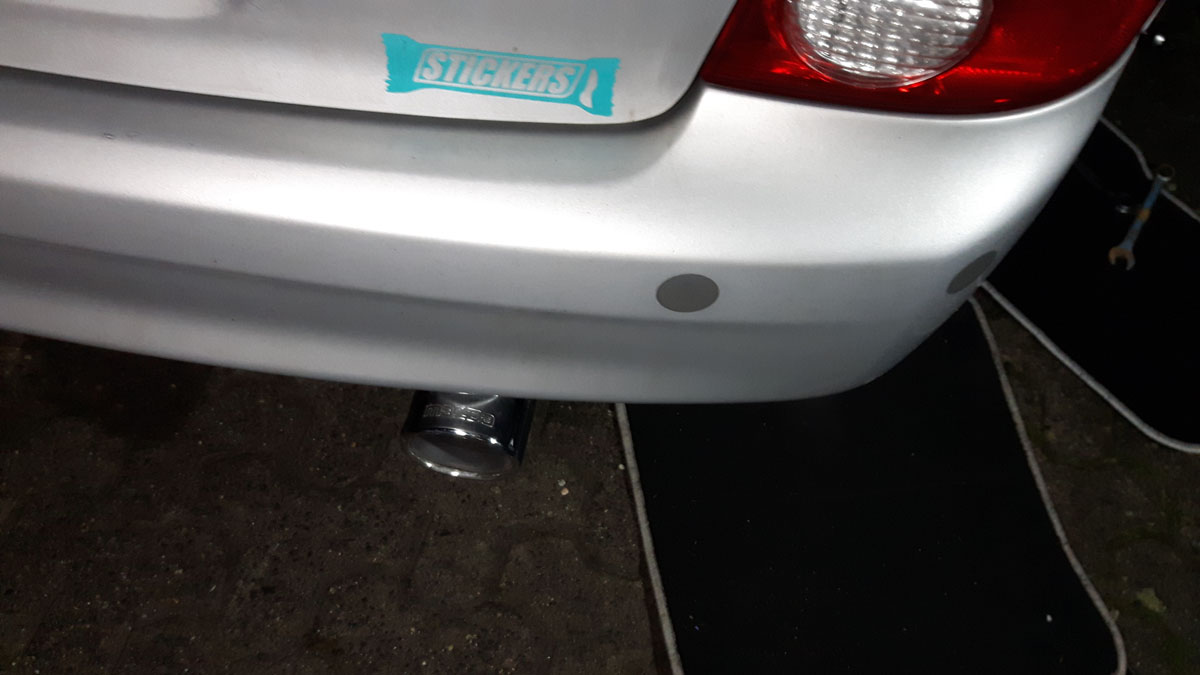
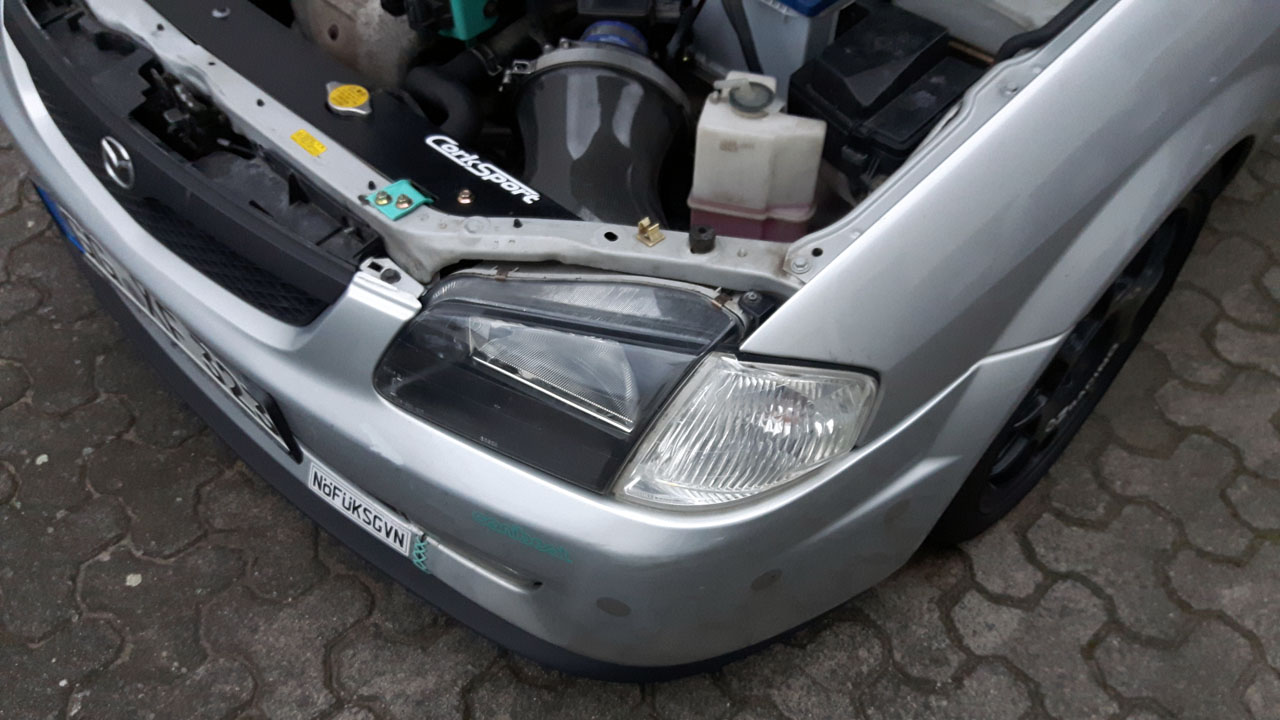
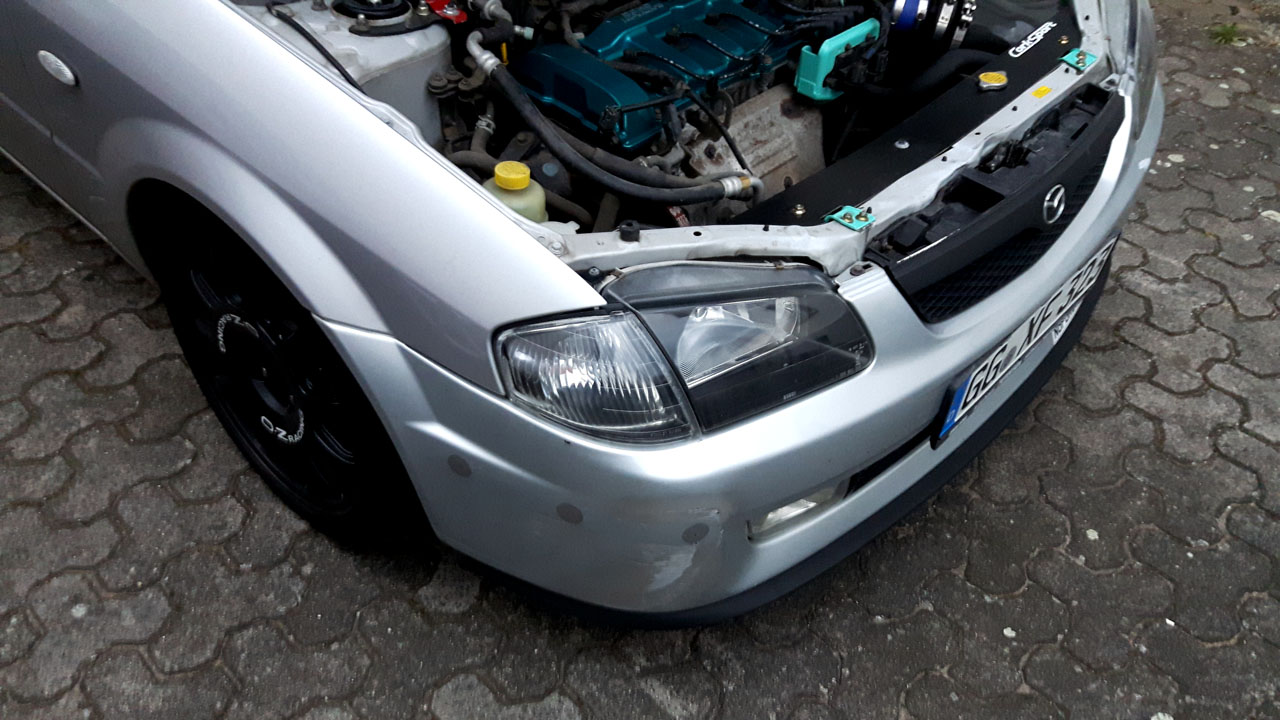
Some accident damage:
After vacuuming the mess on the inside, I quickly put in a 626 wiper stalk with variable interval control.
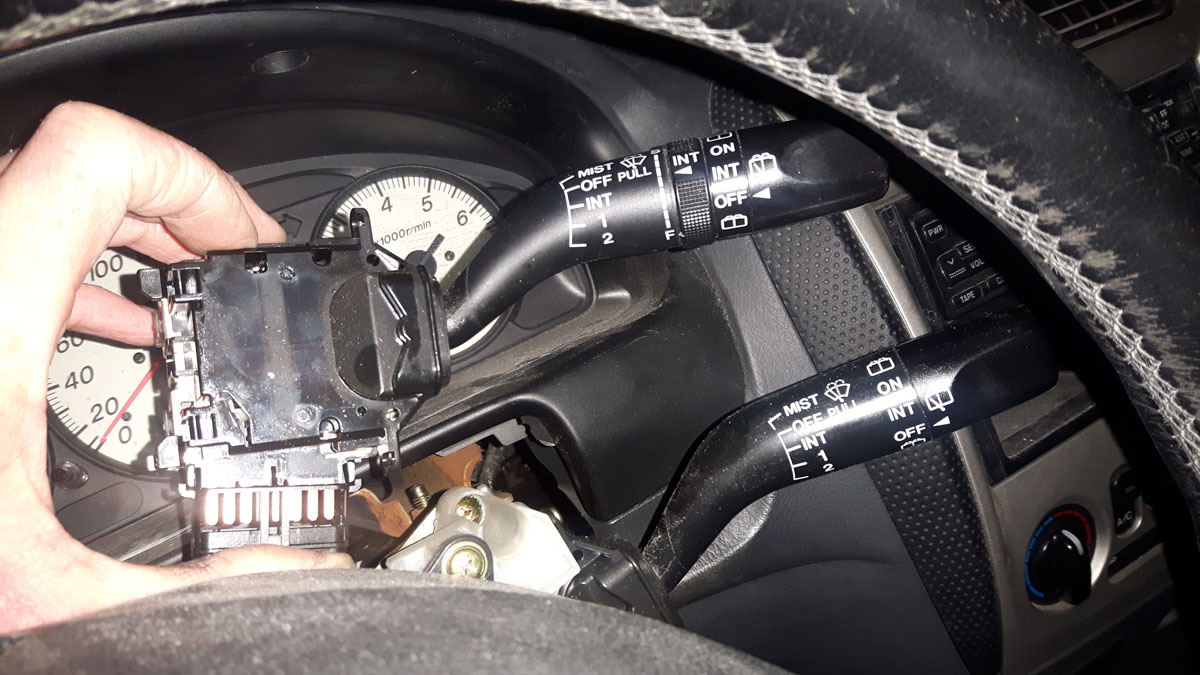
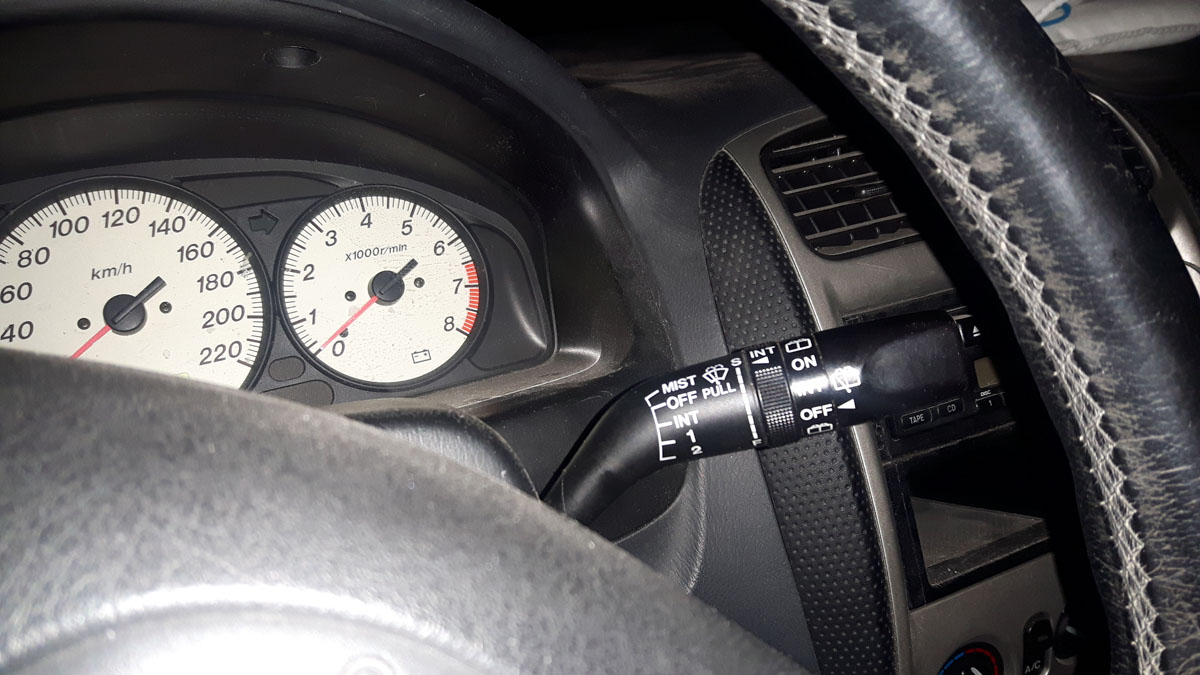
That's actually very useful in german winters.
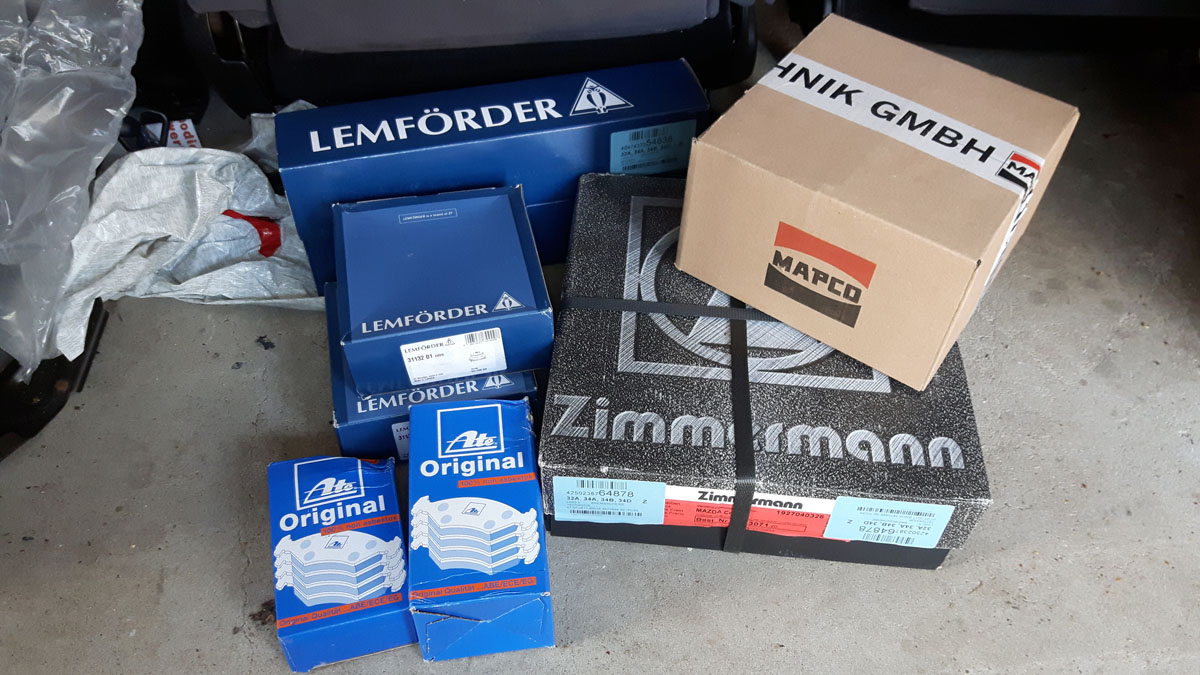
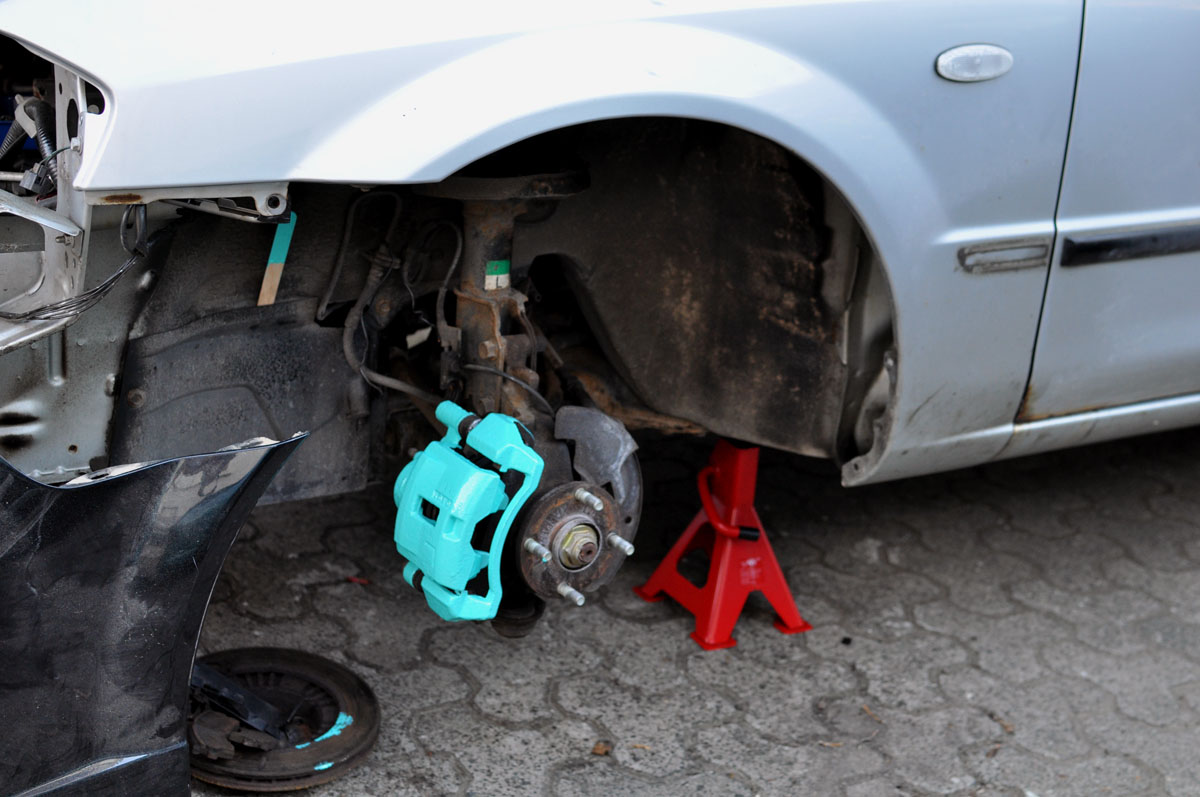
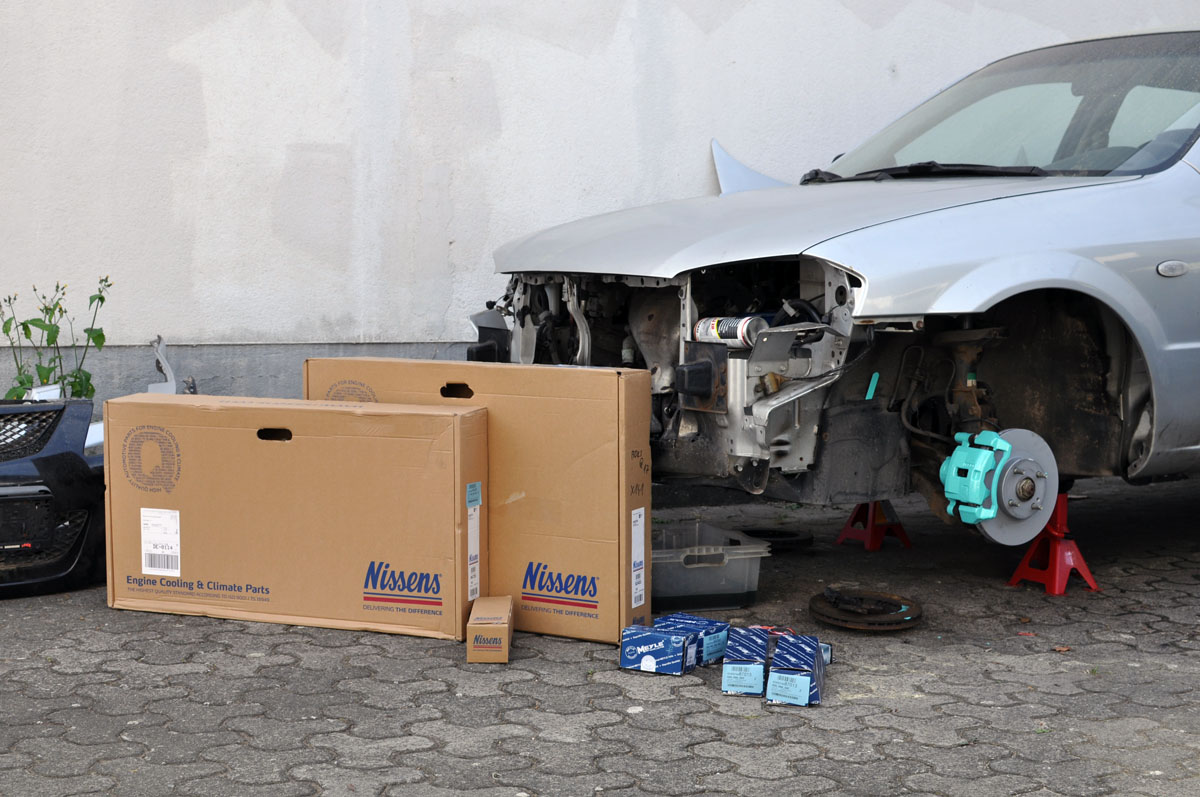
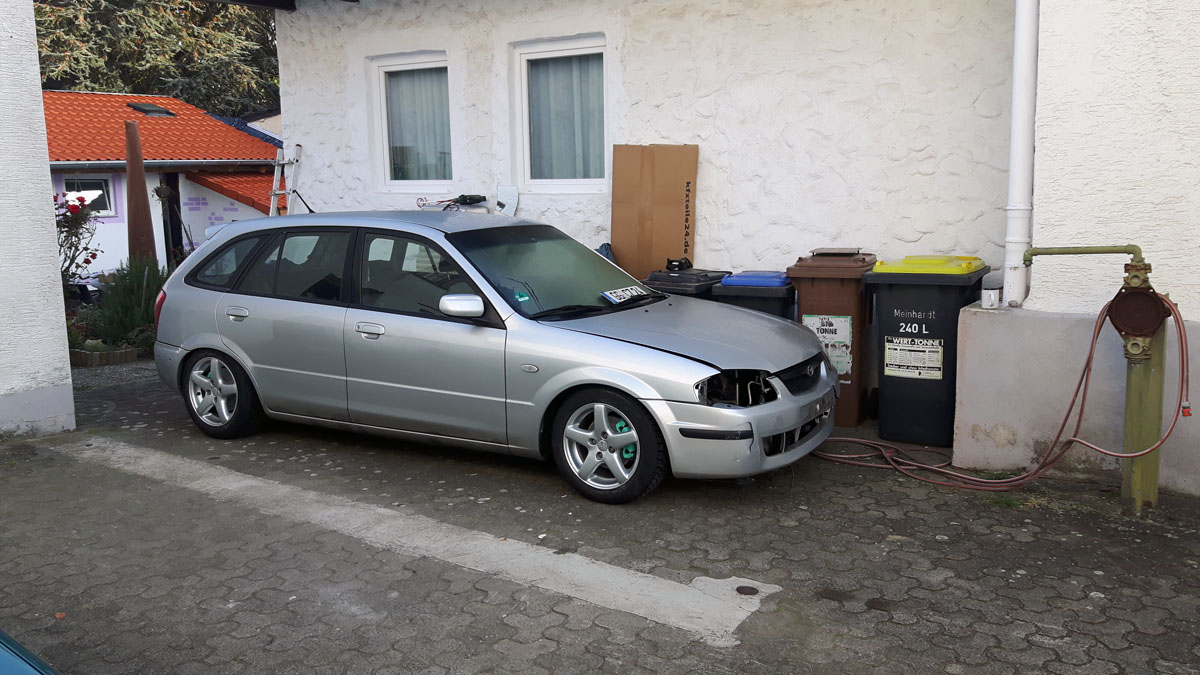
After that we found a space for the car where it would stay for a few weeks during repairs.
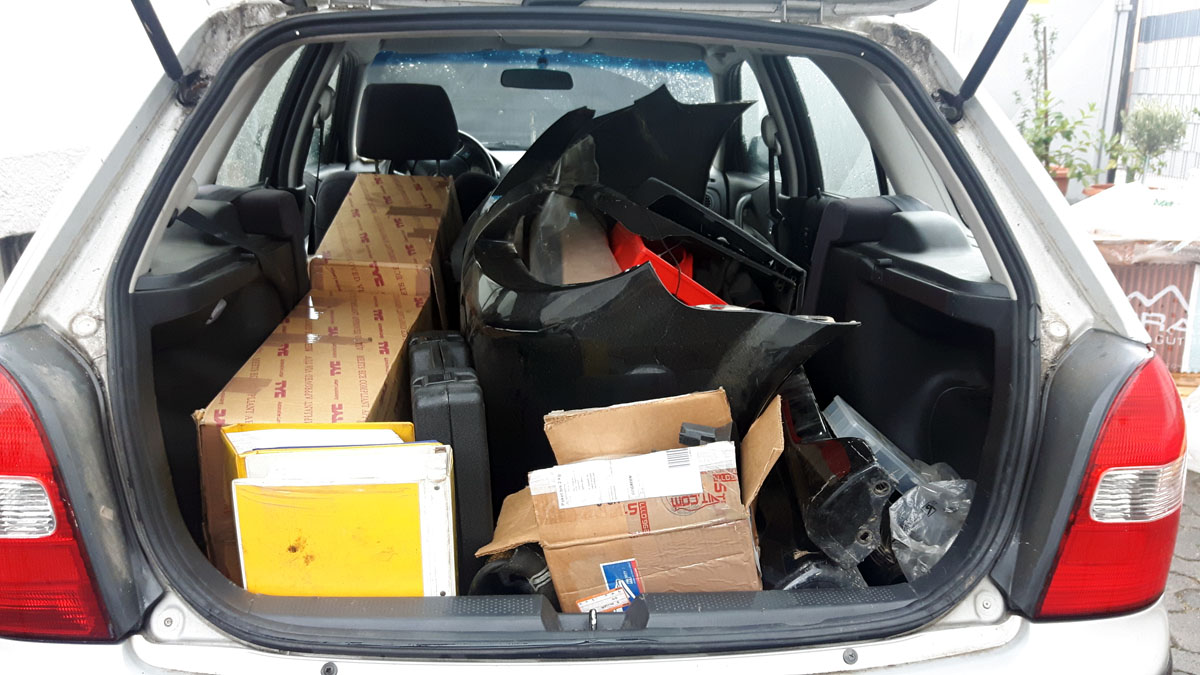
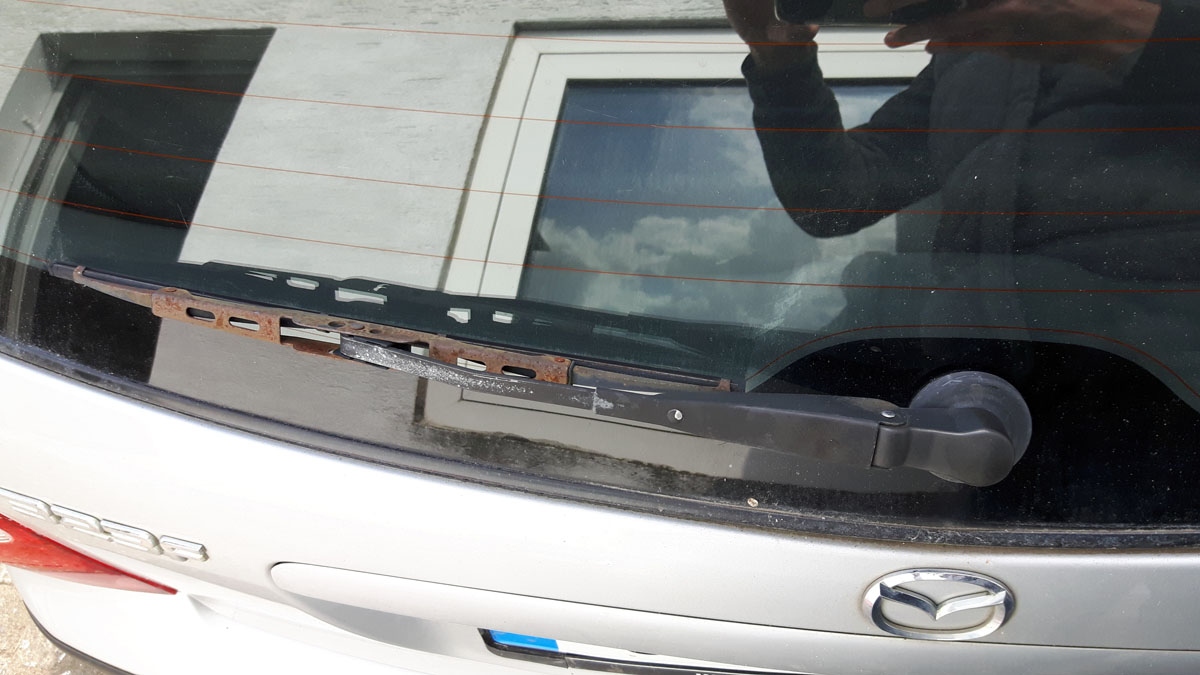
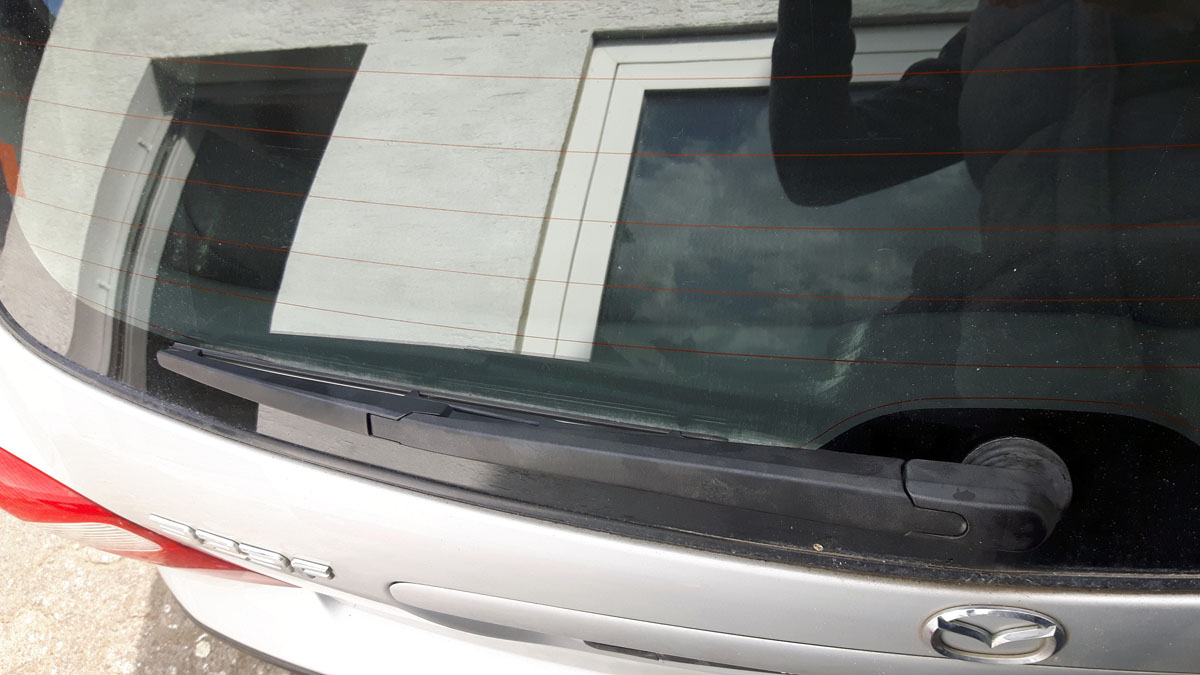
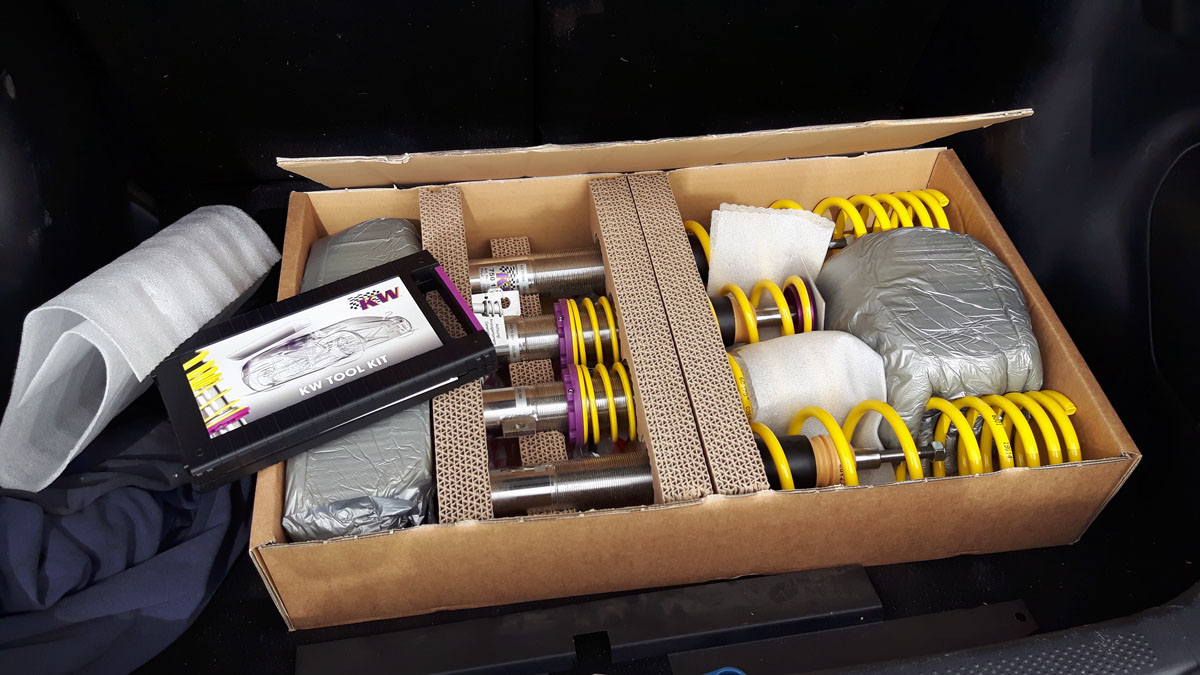
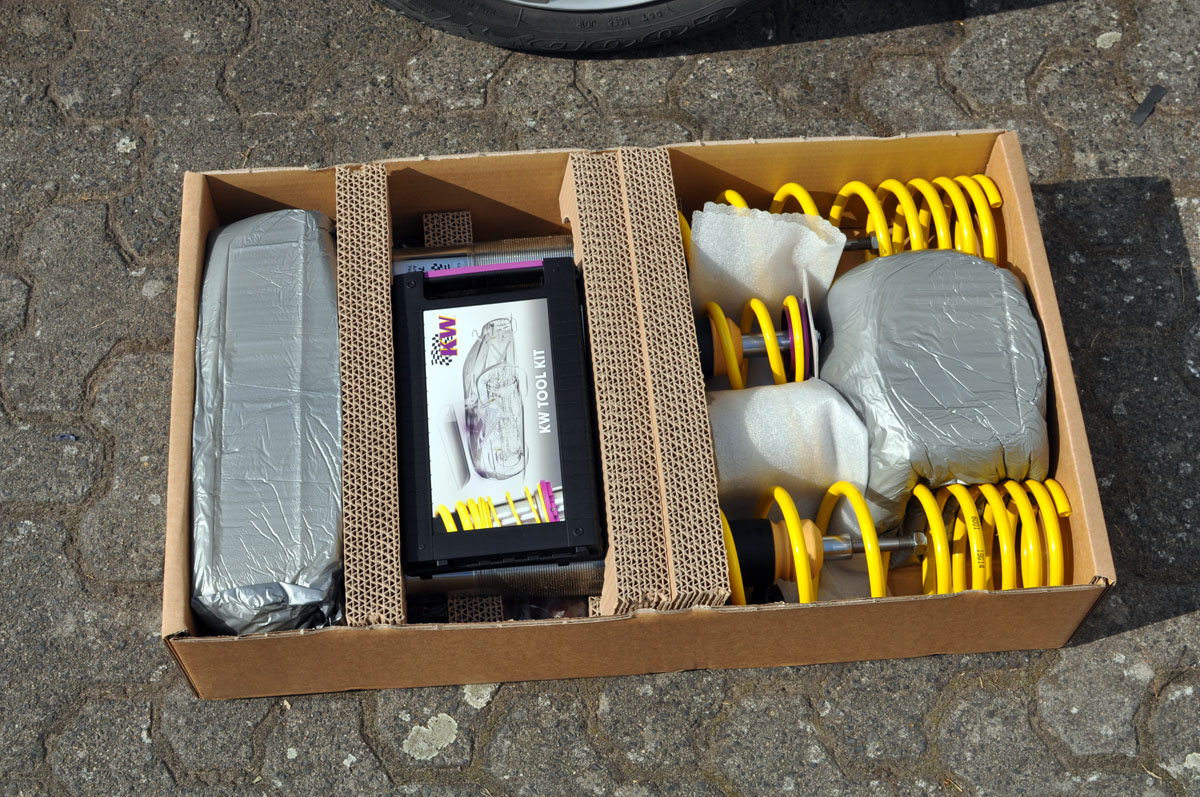
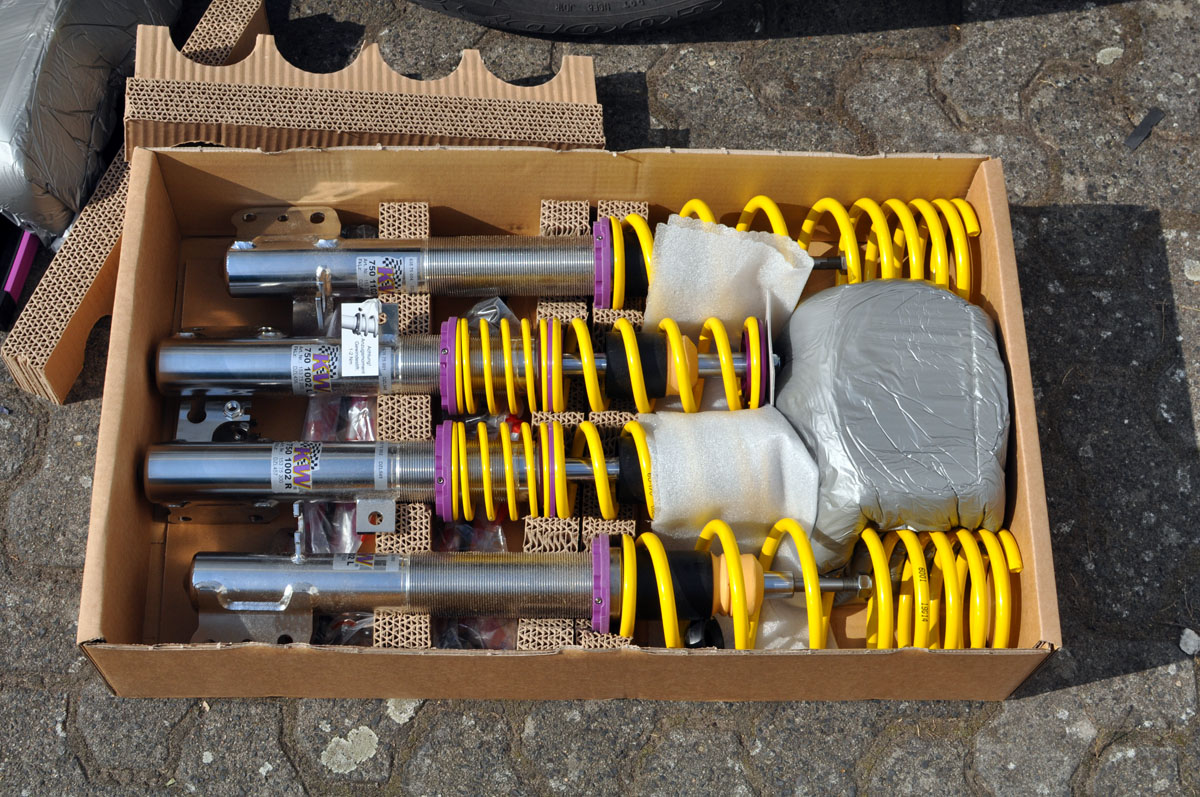
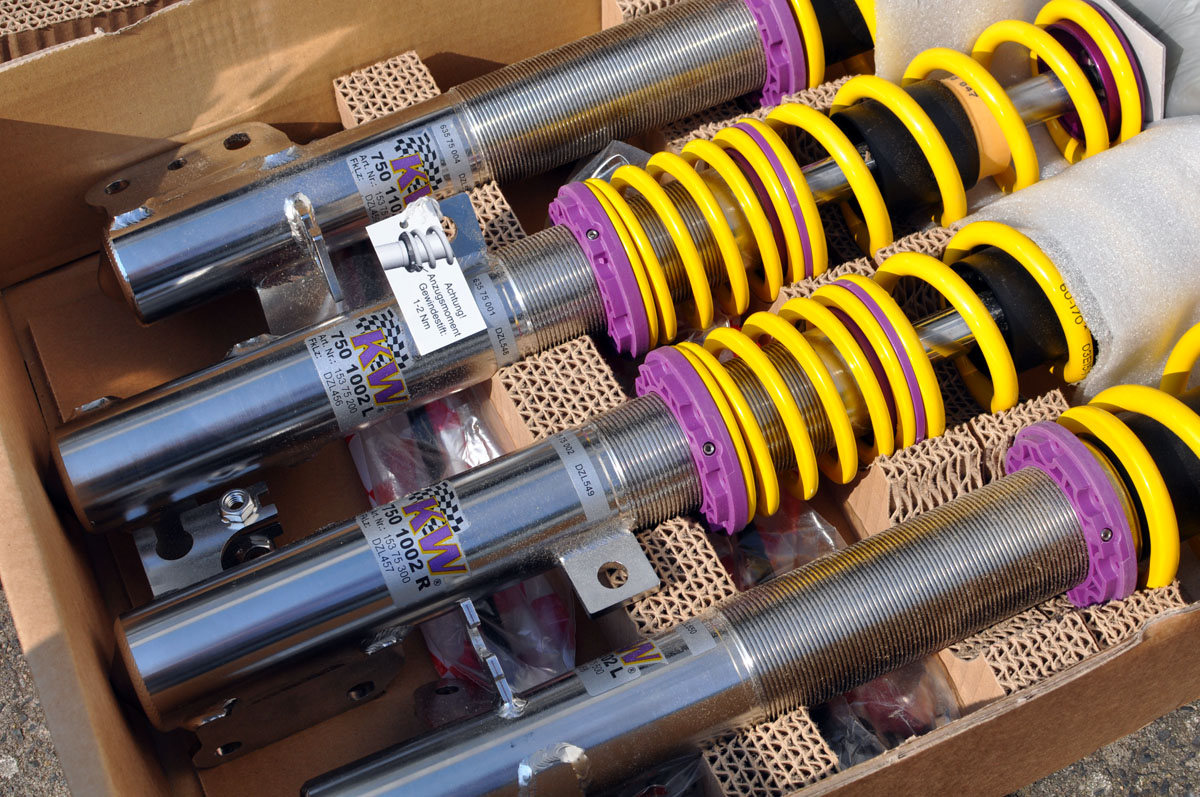
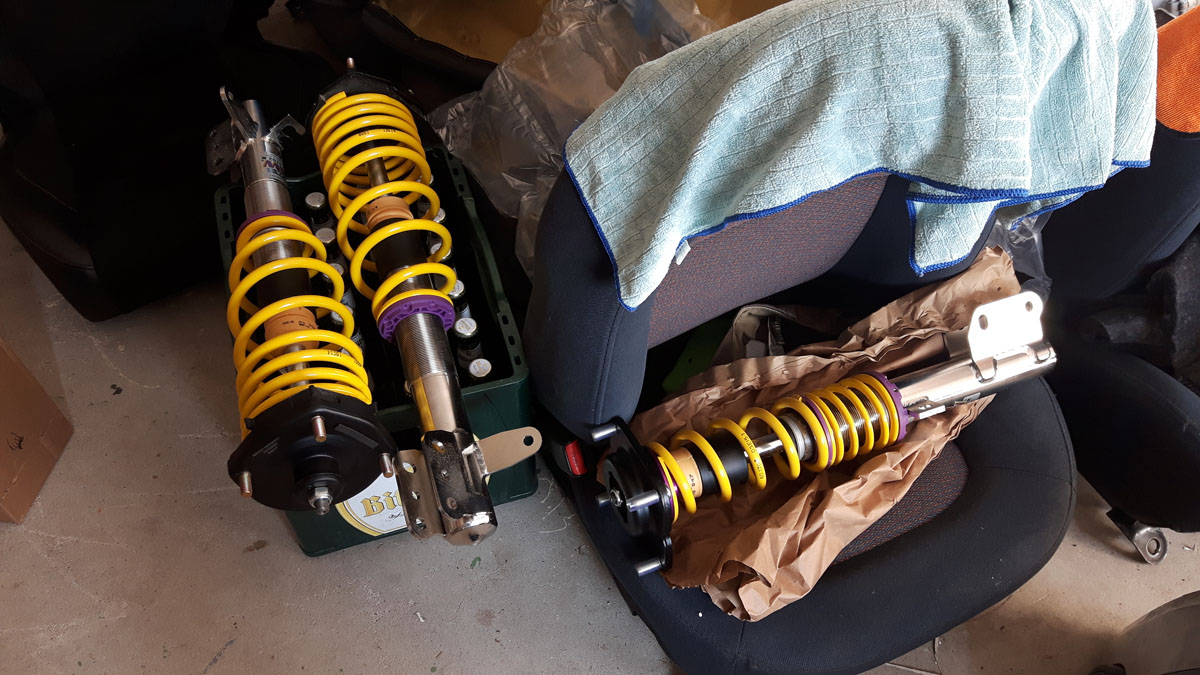
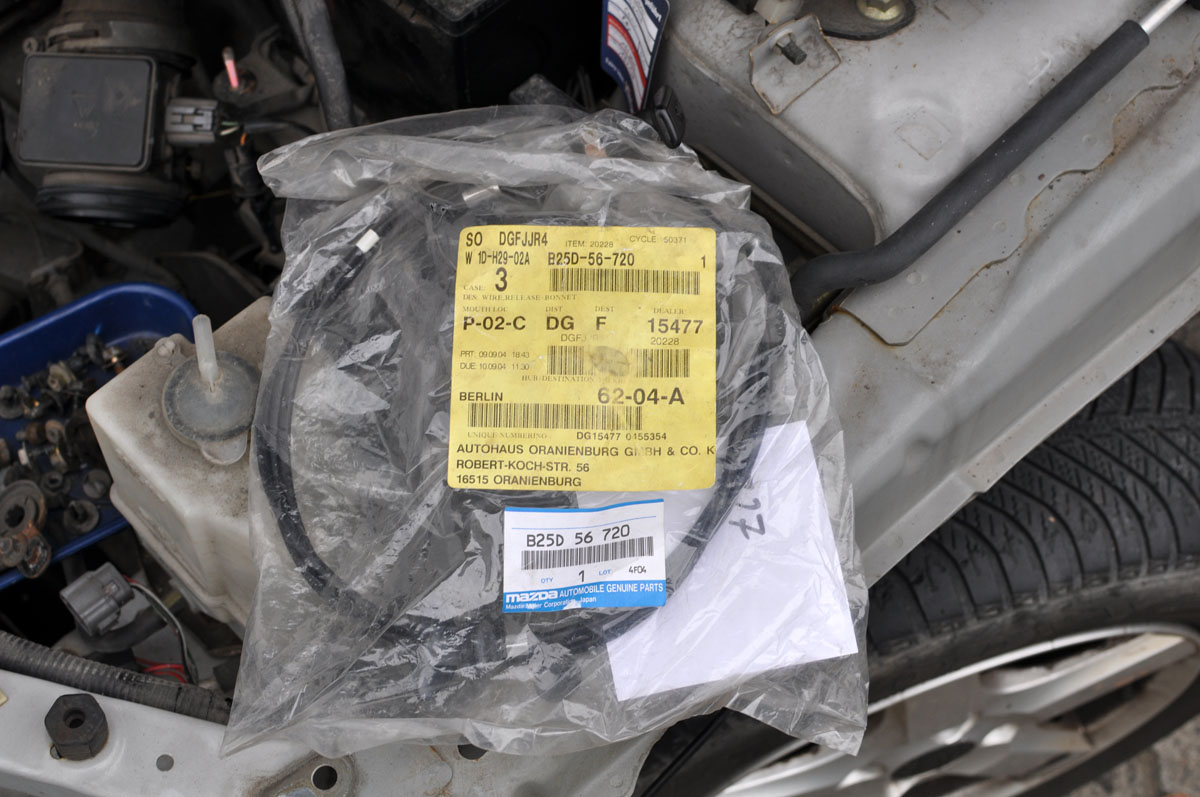
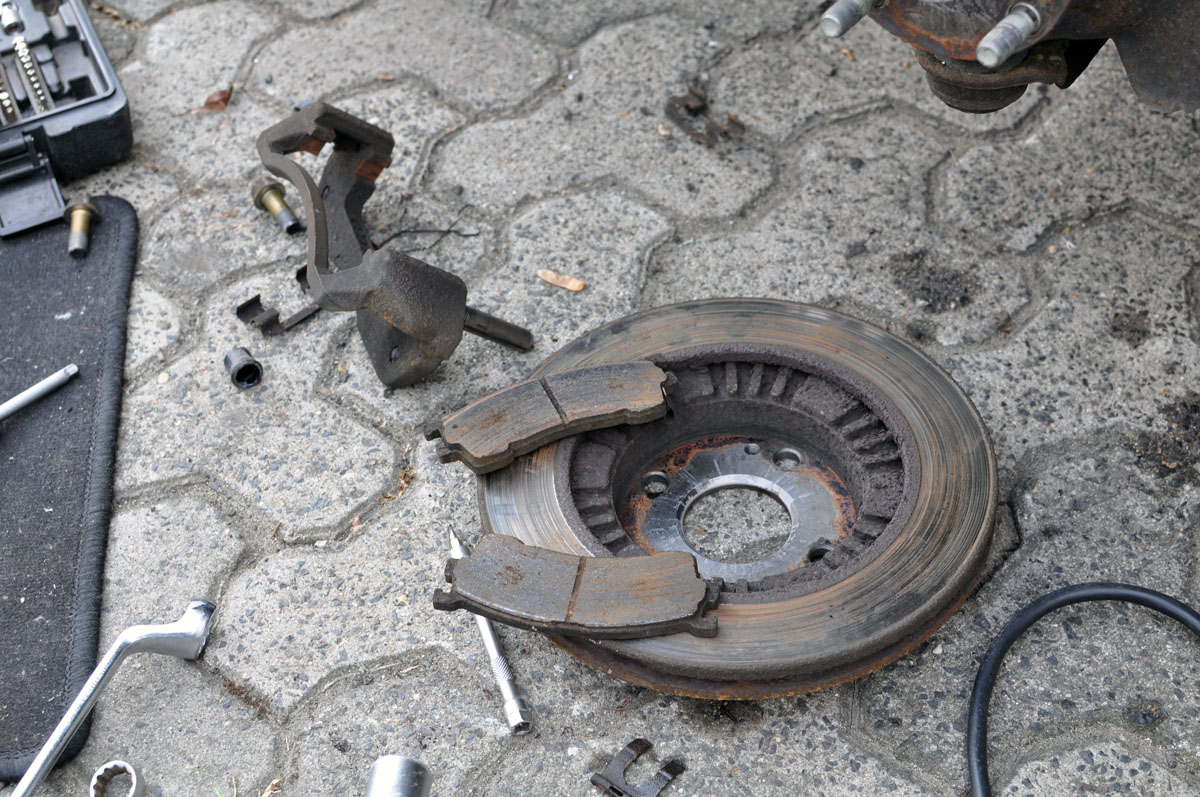
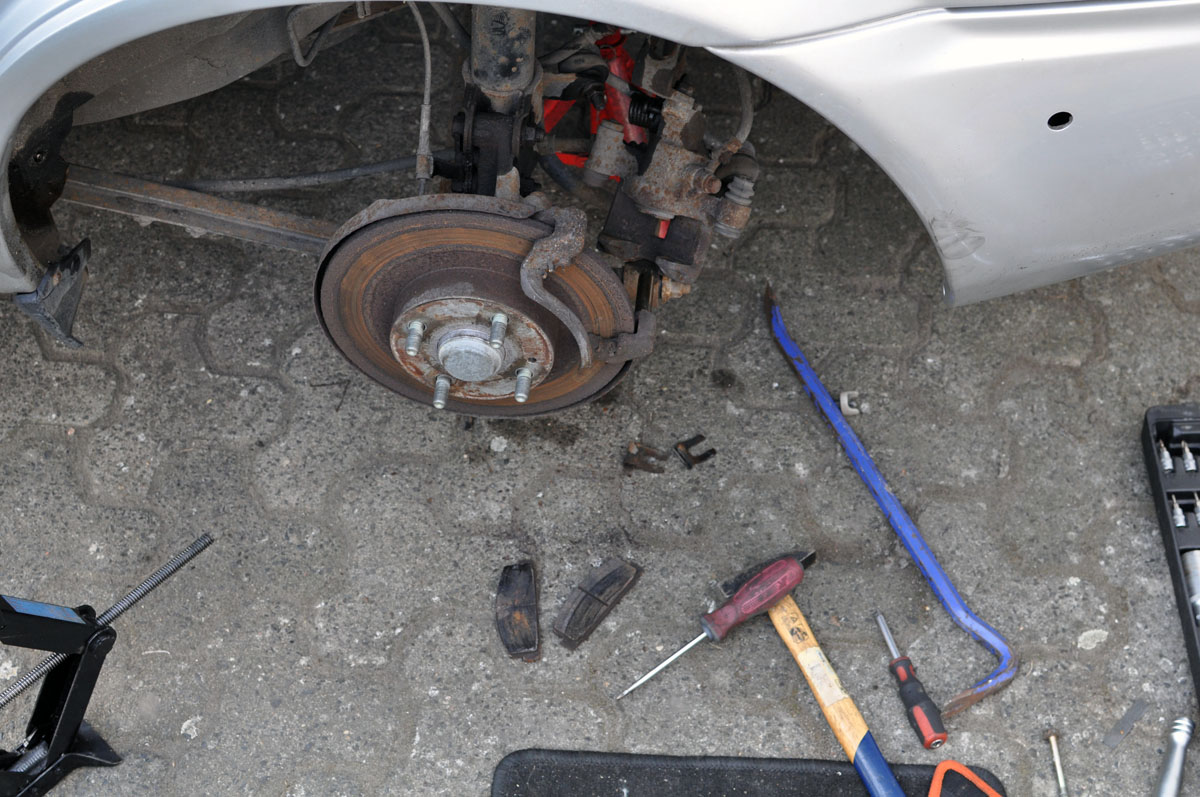
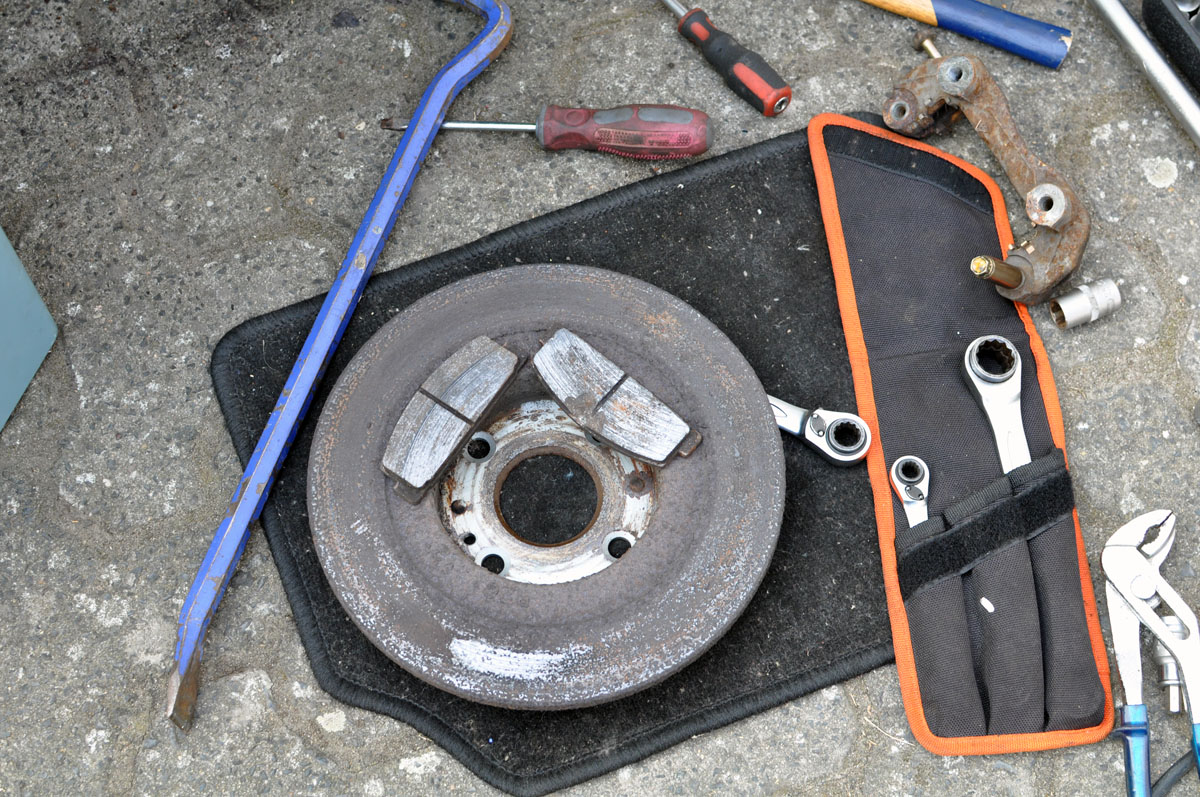
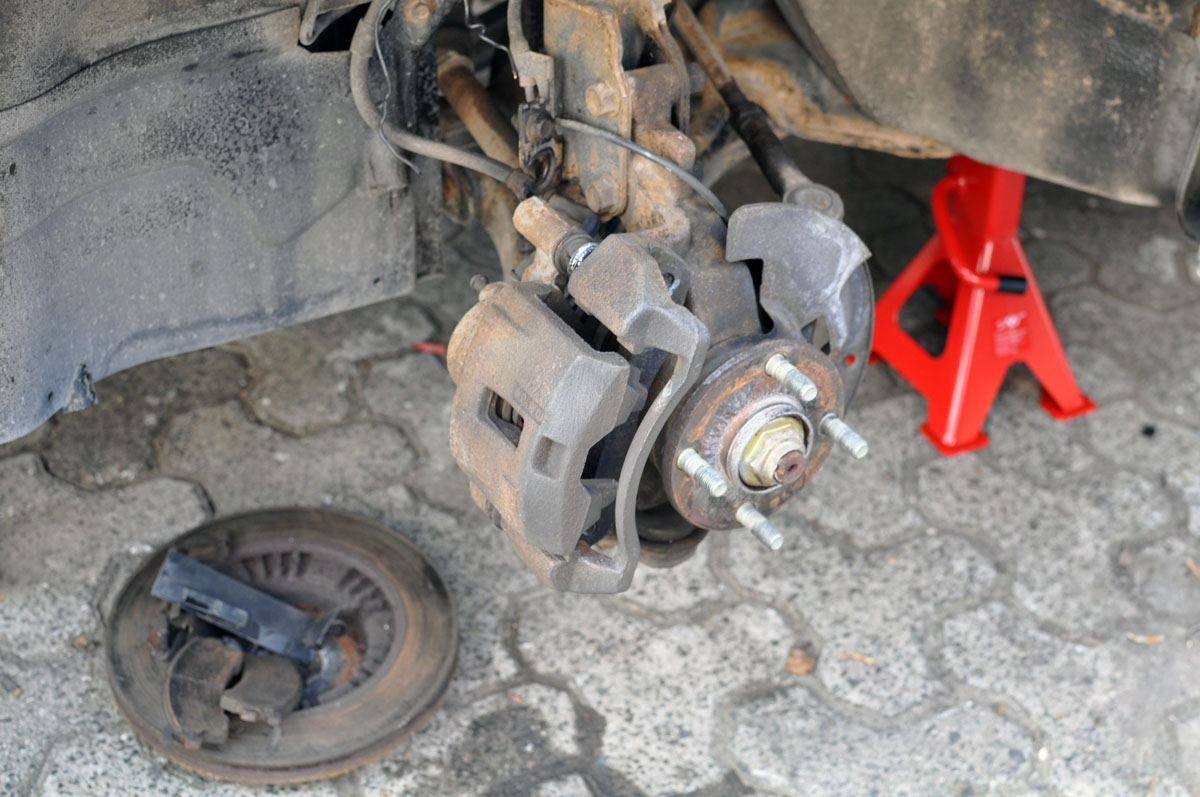
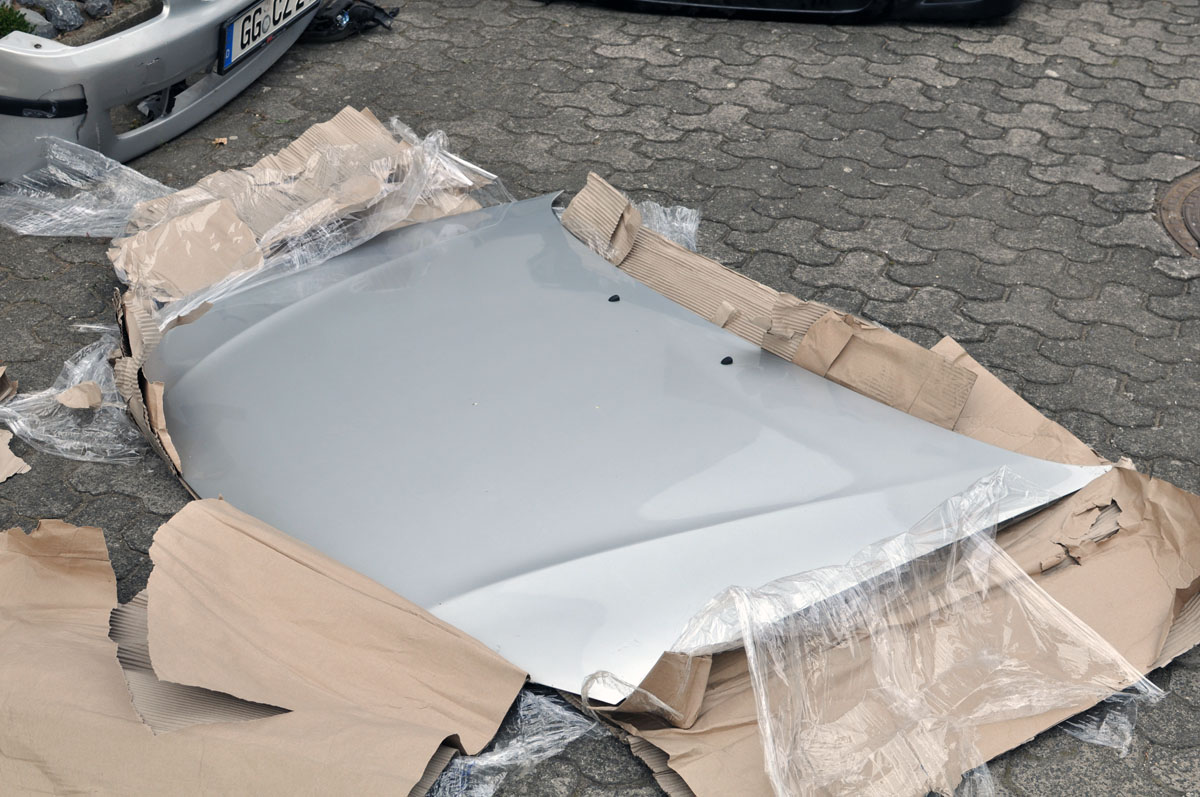
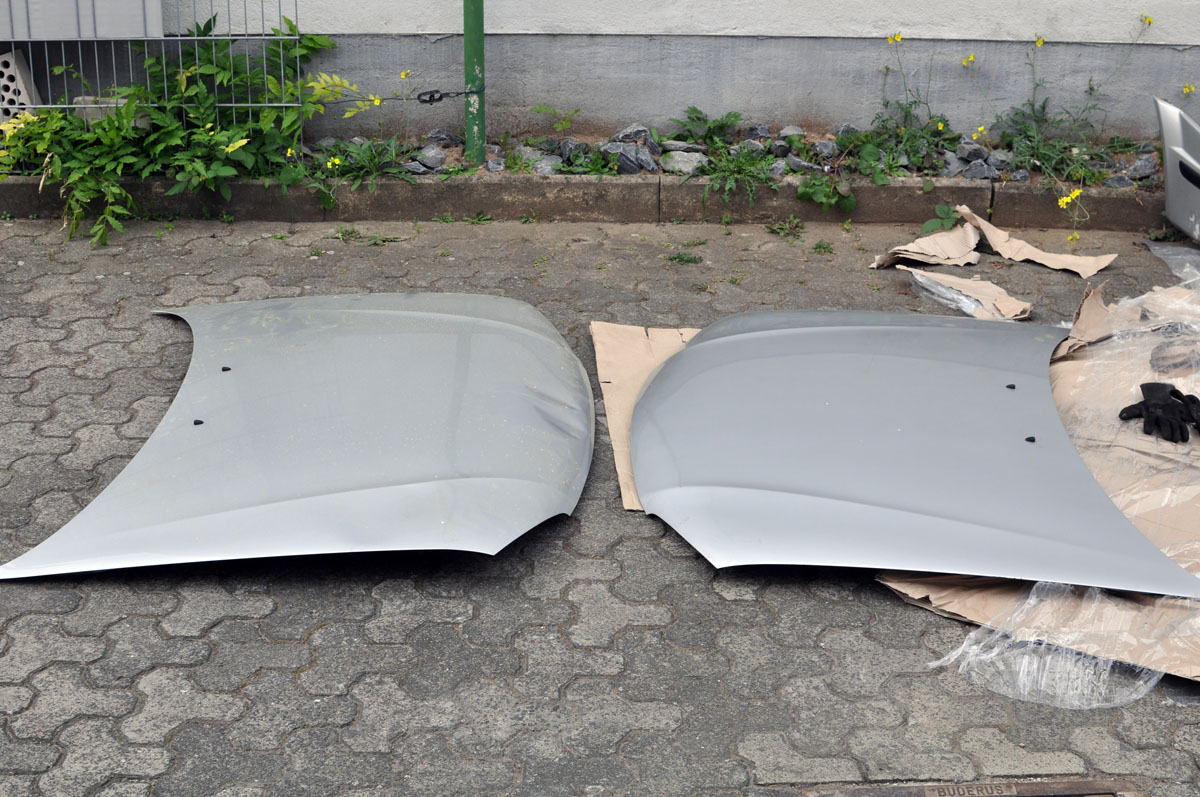
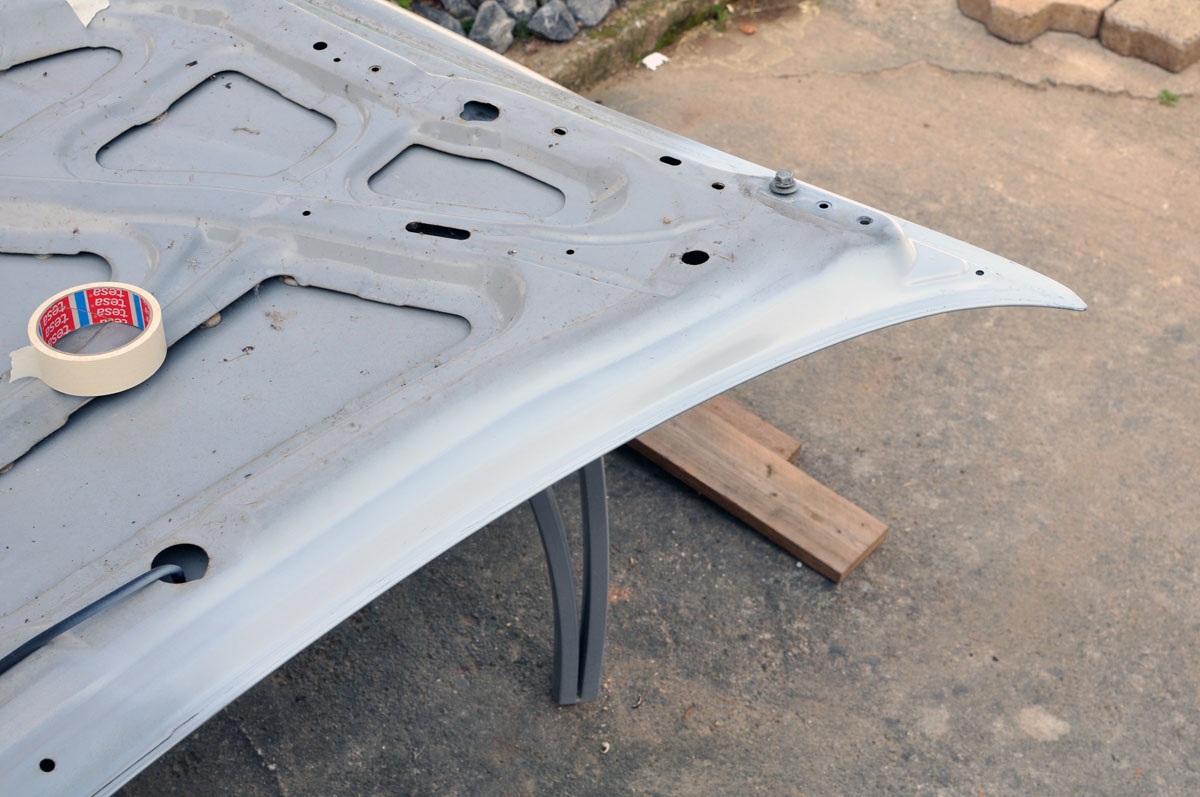
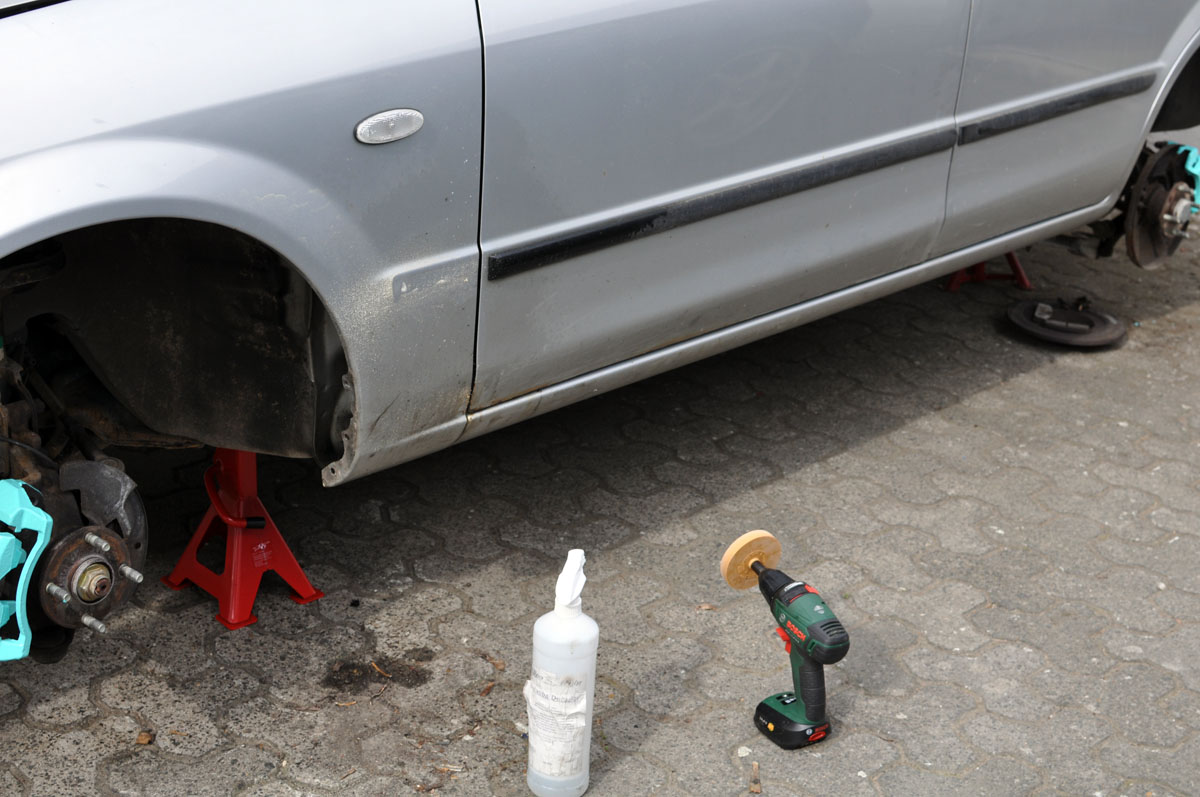
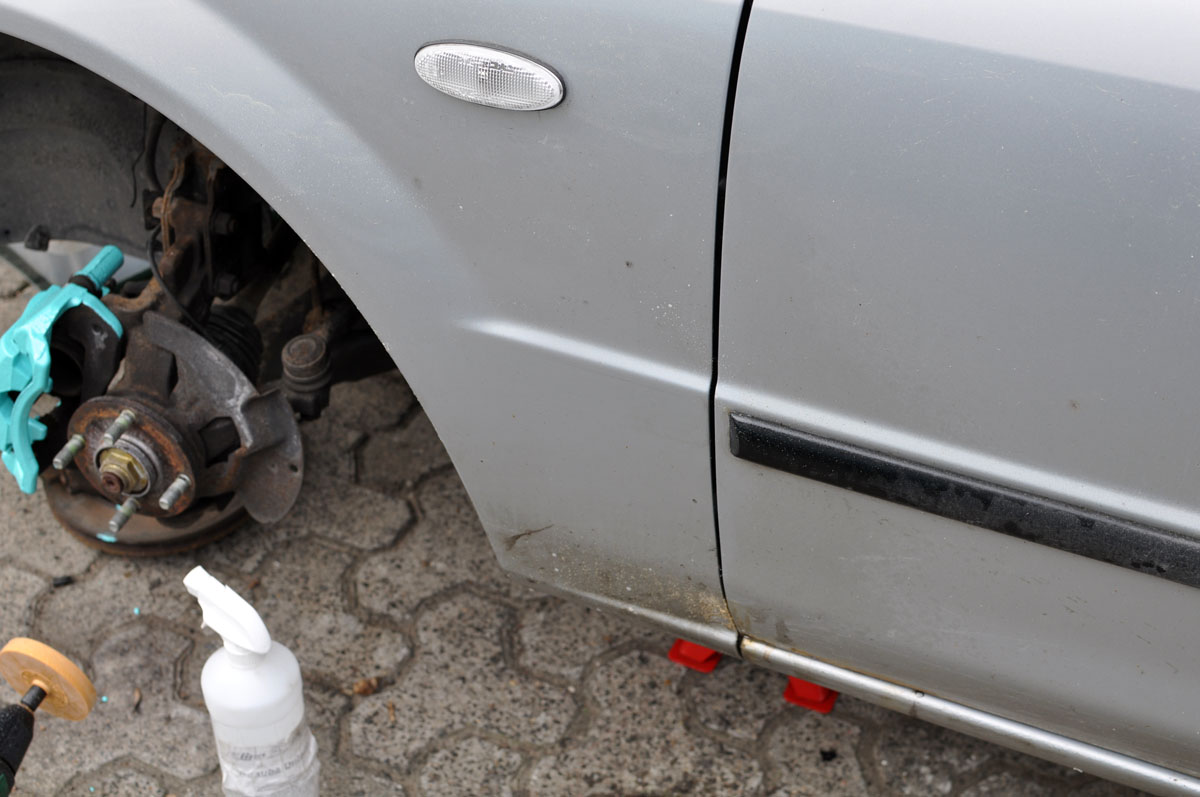
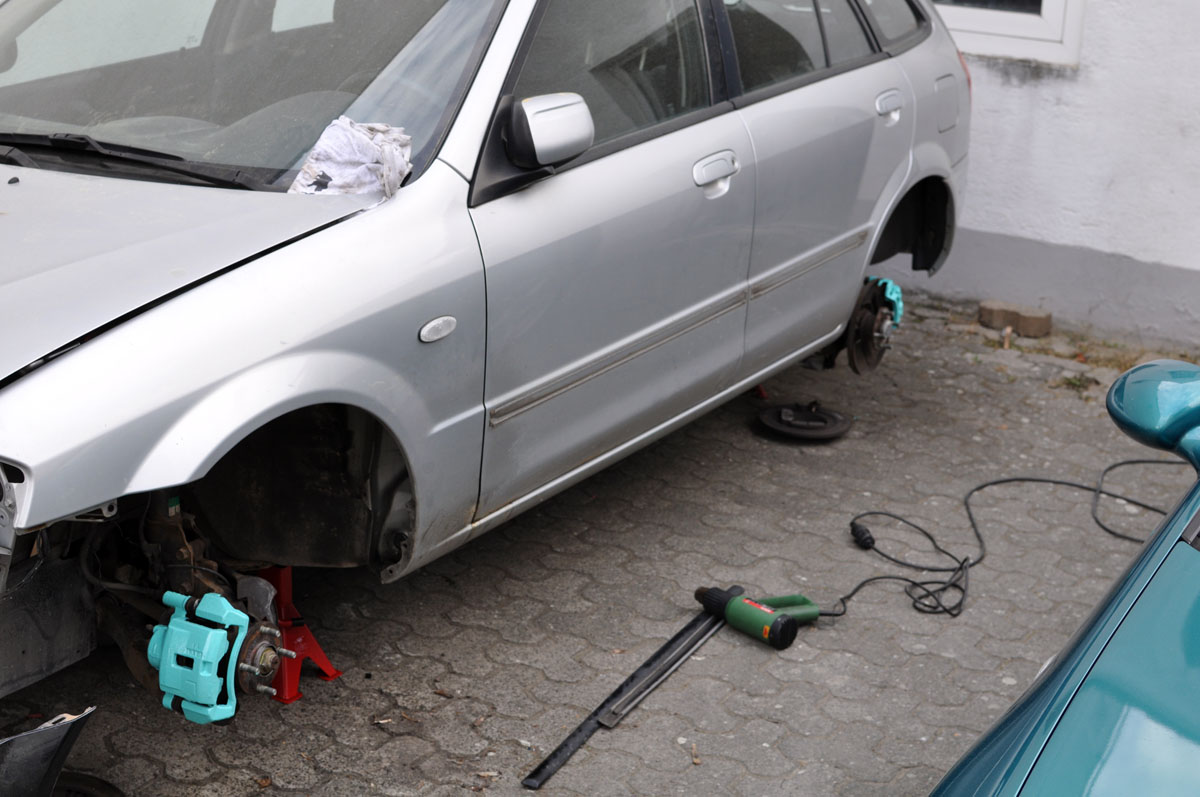
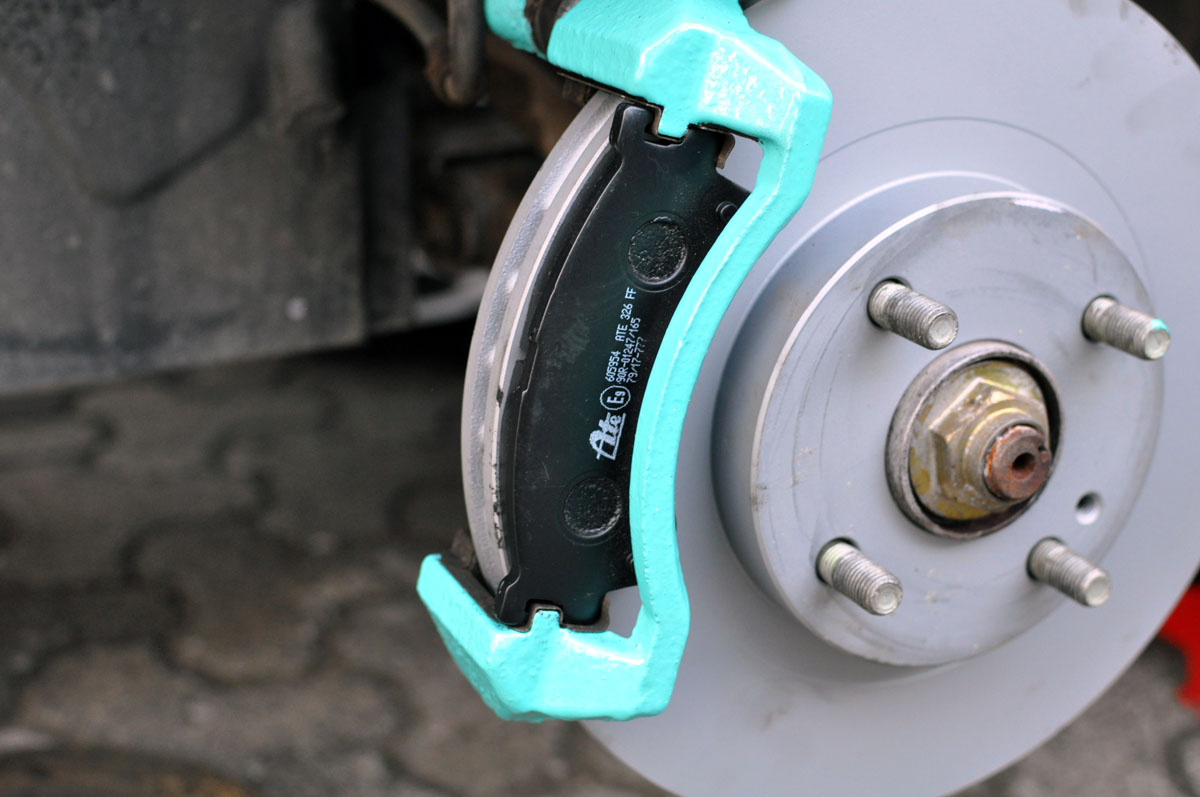
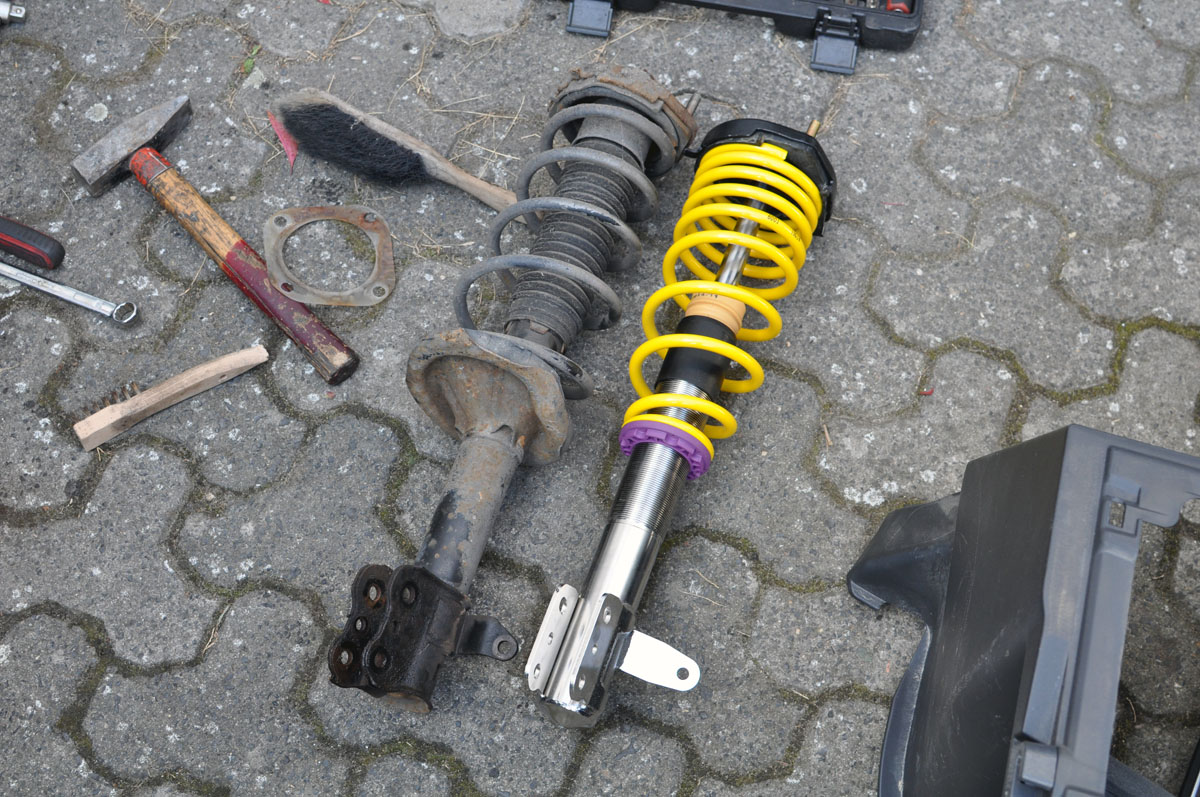
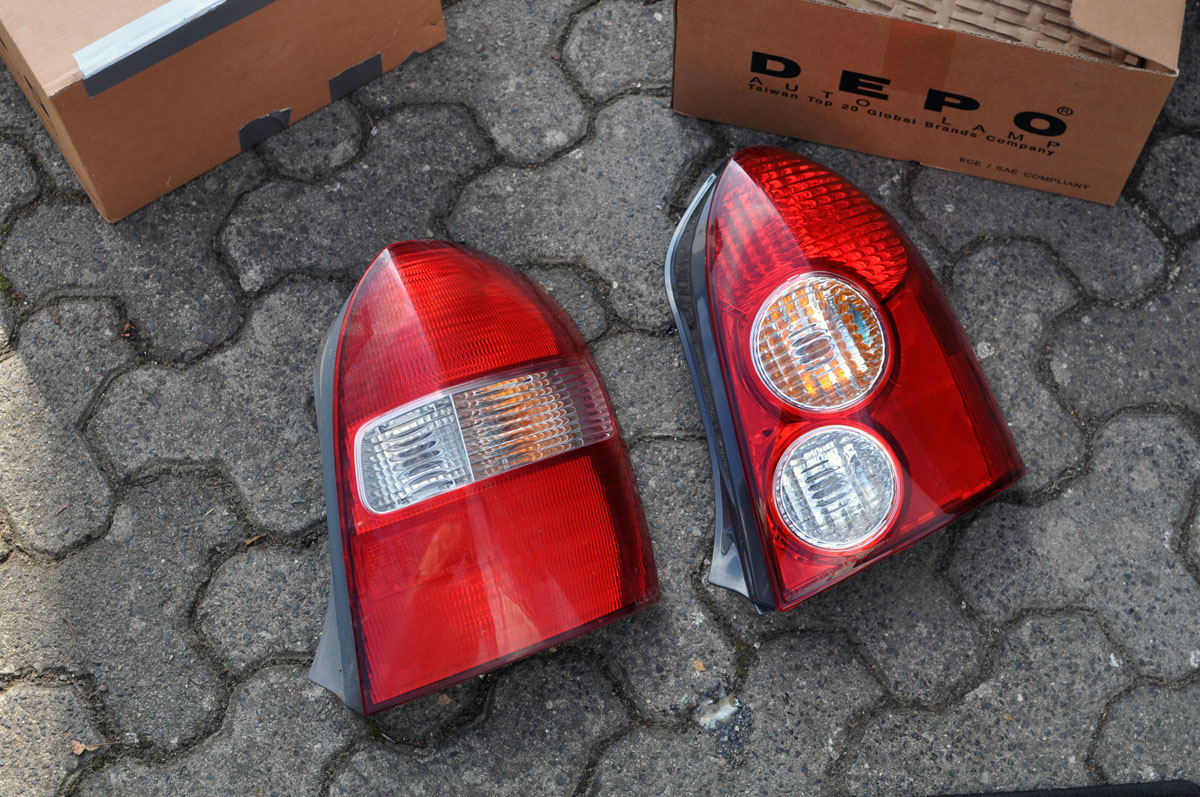
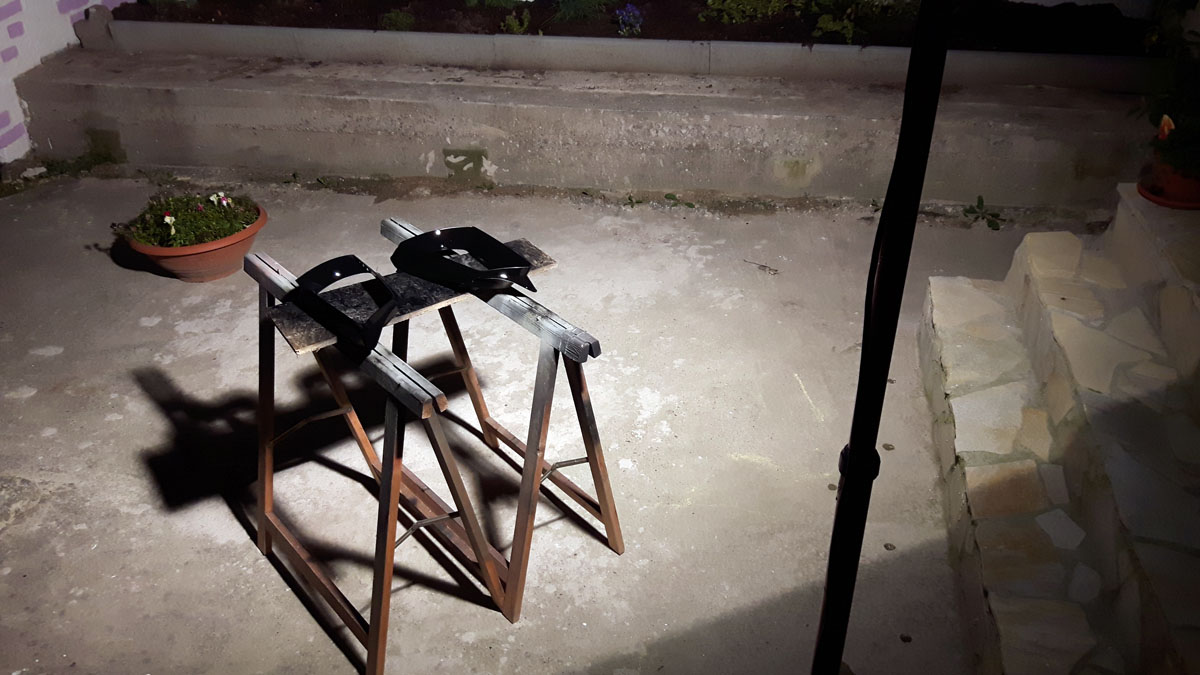
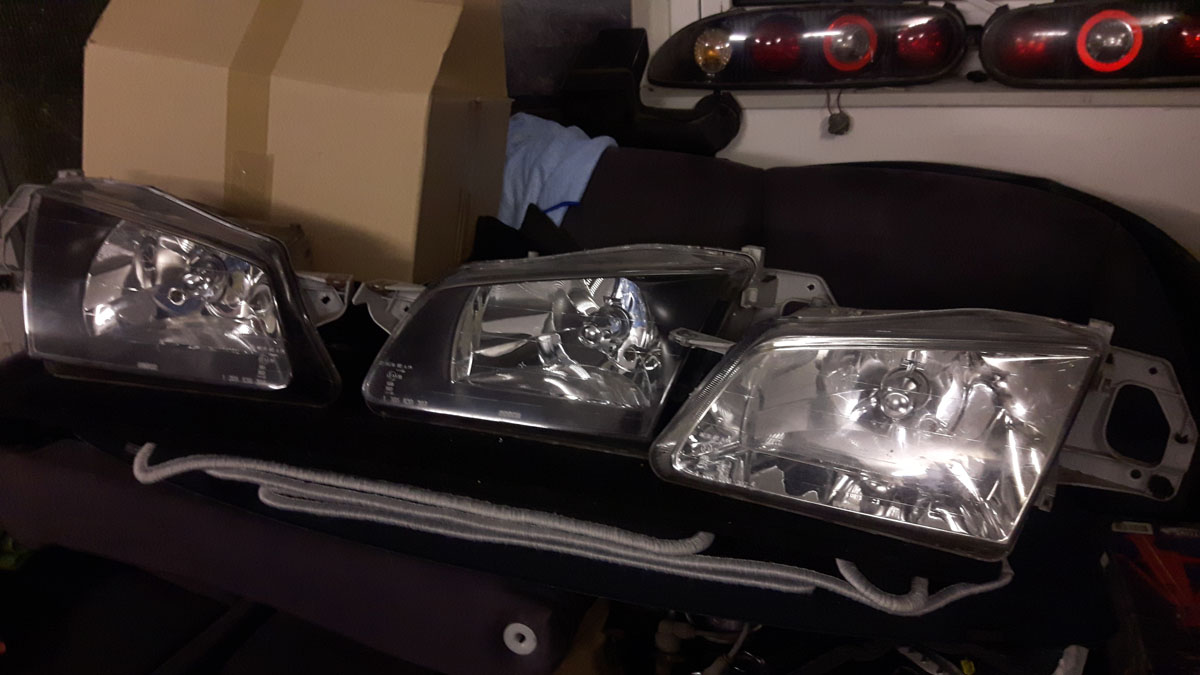
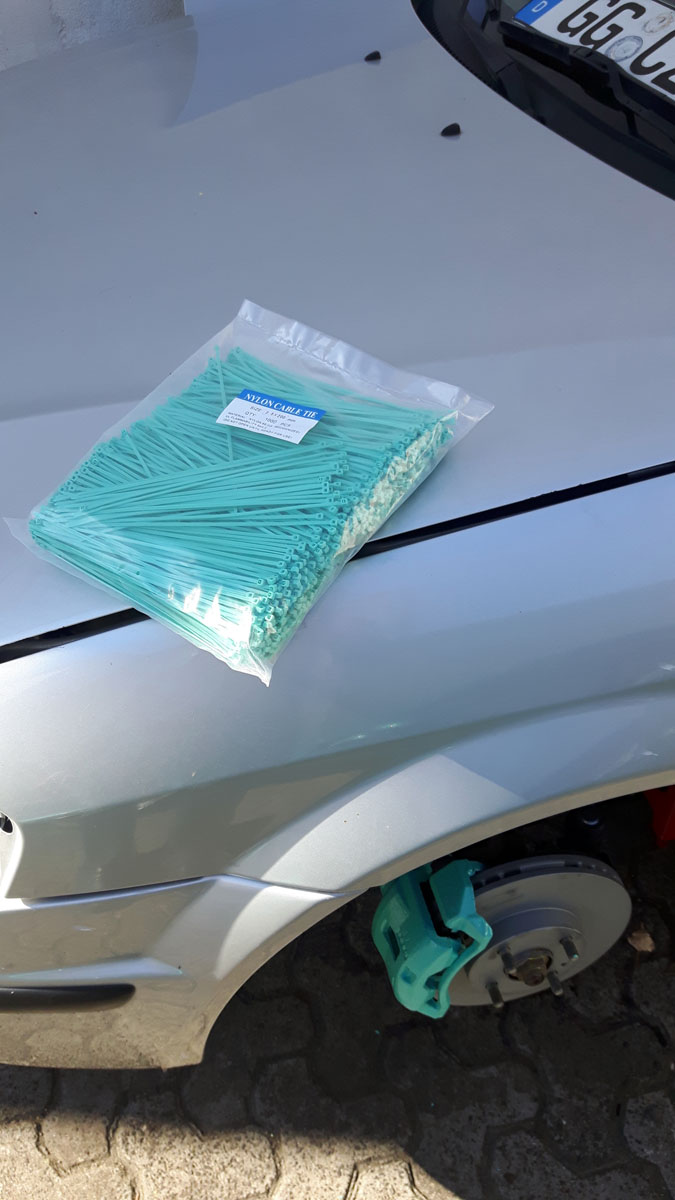
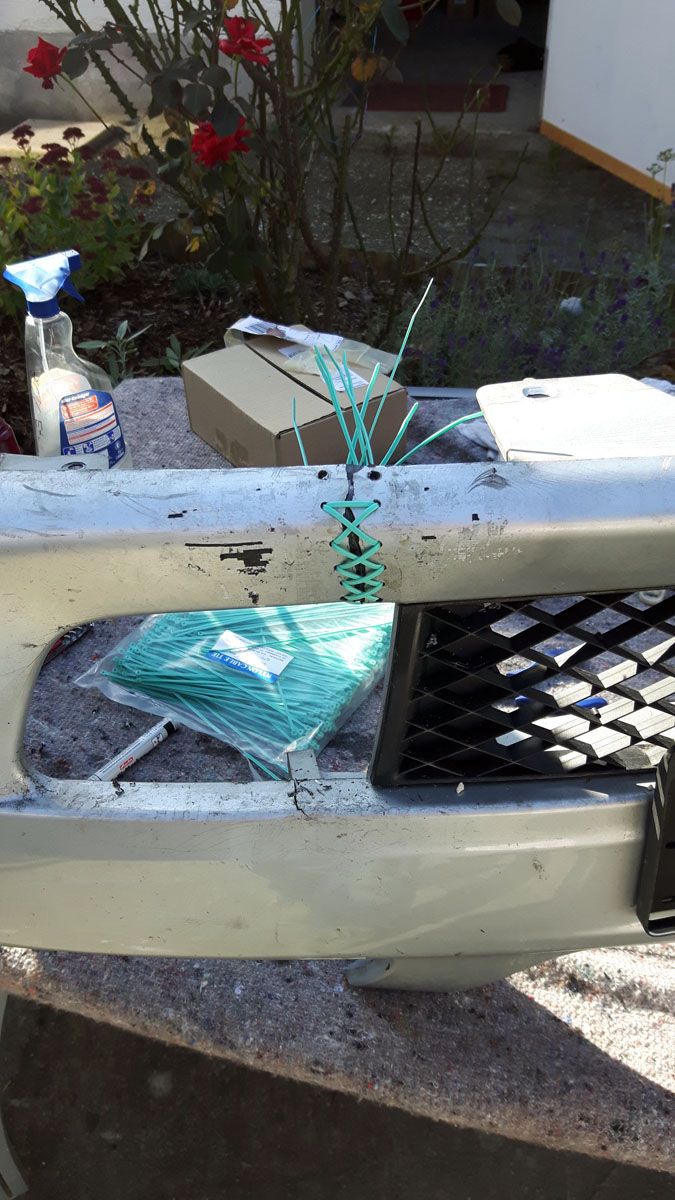
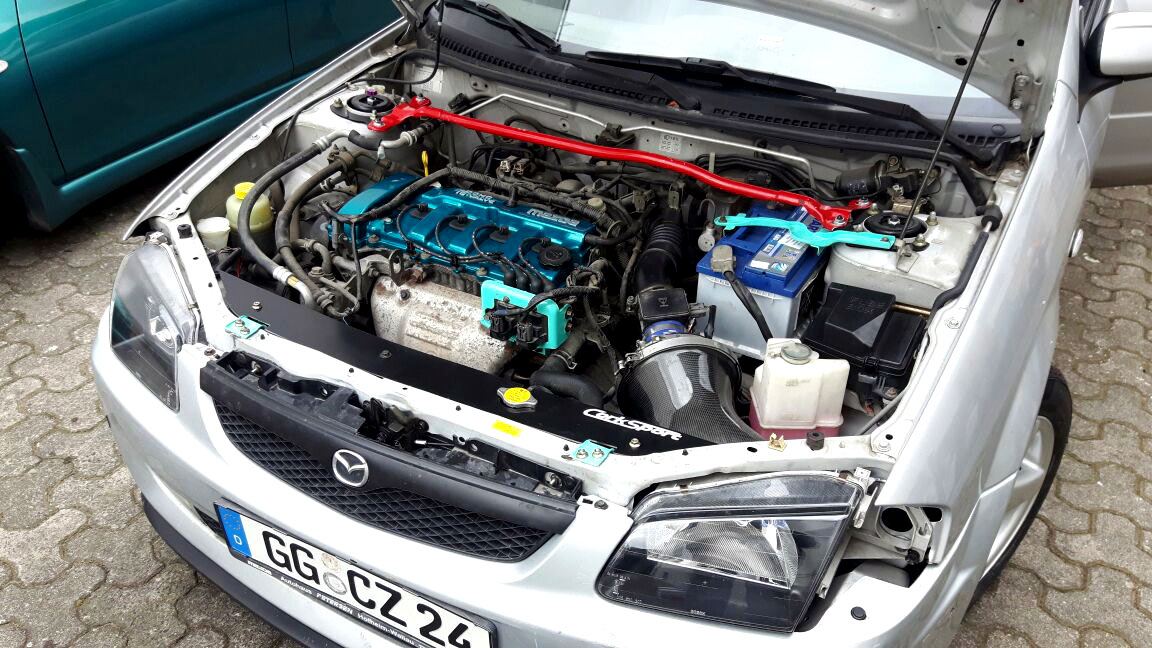
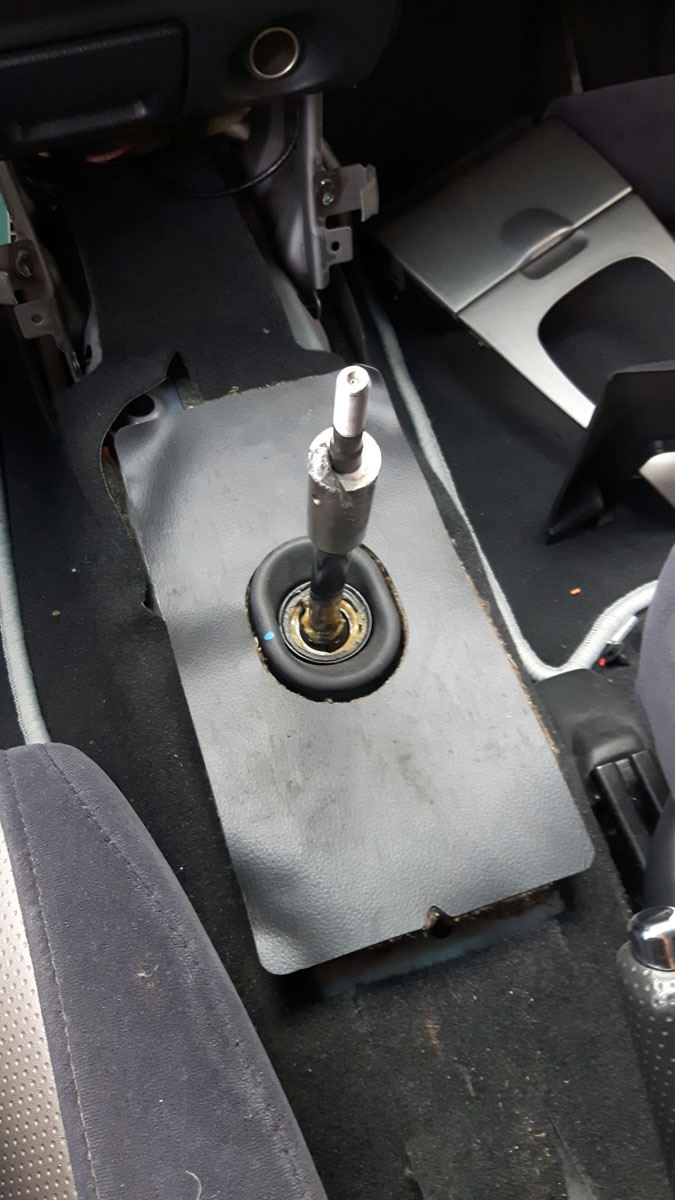
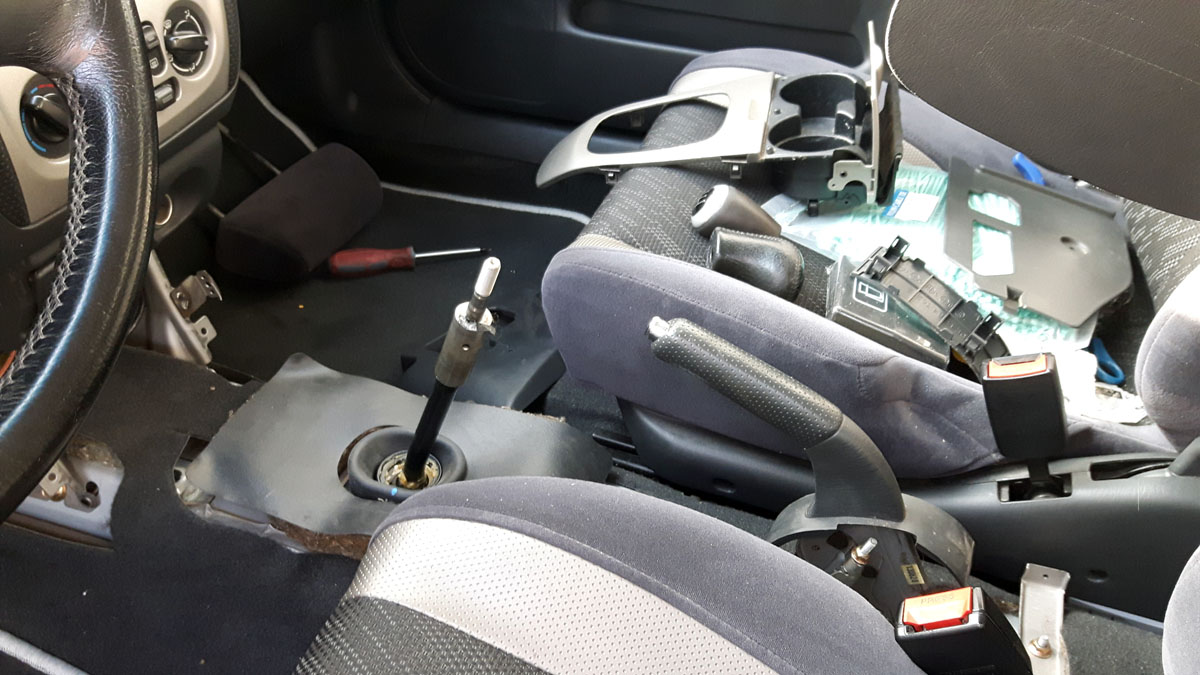
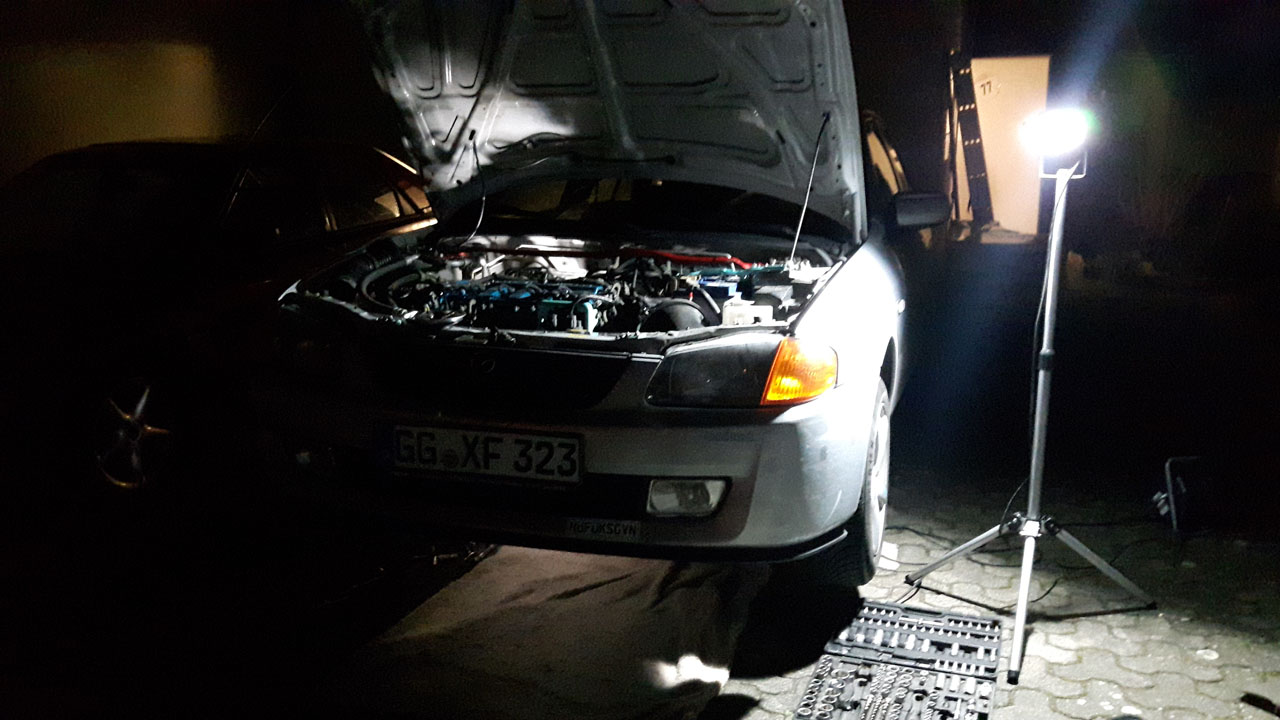
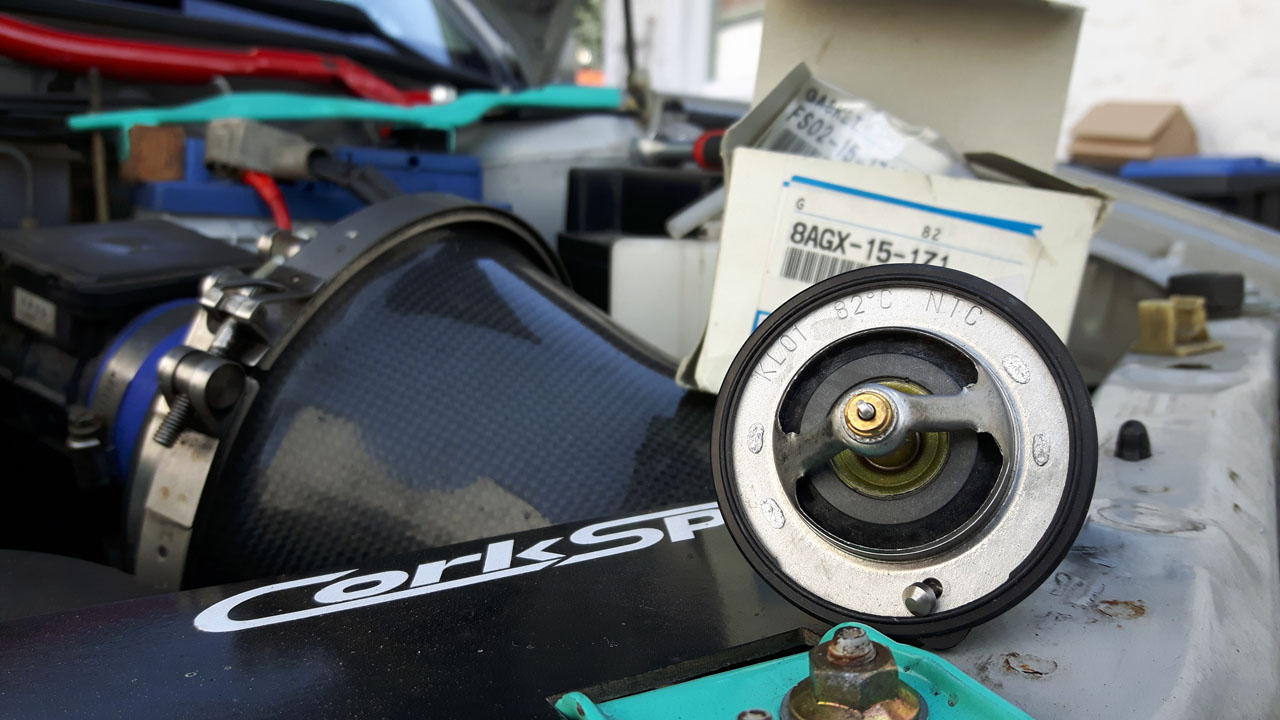
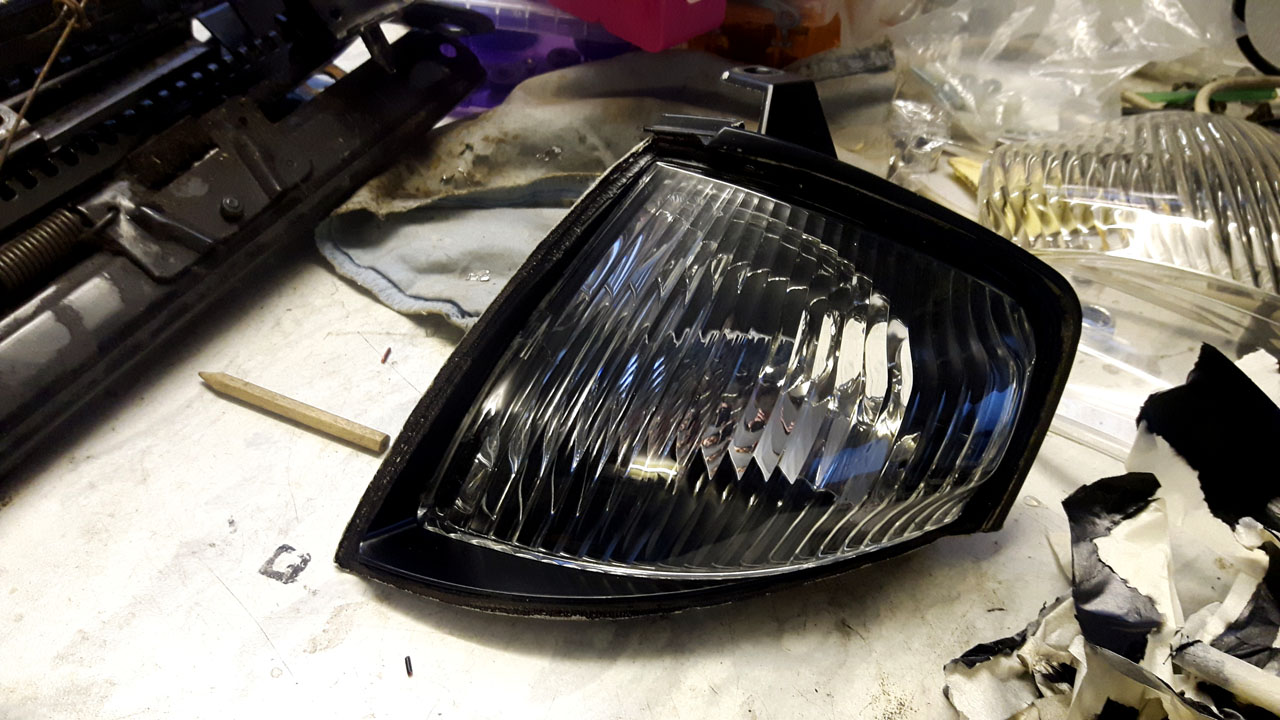
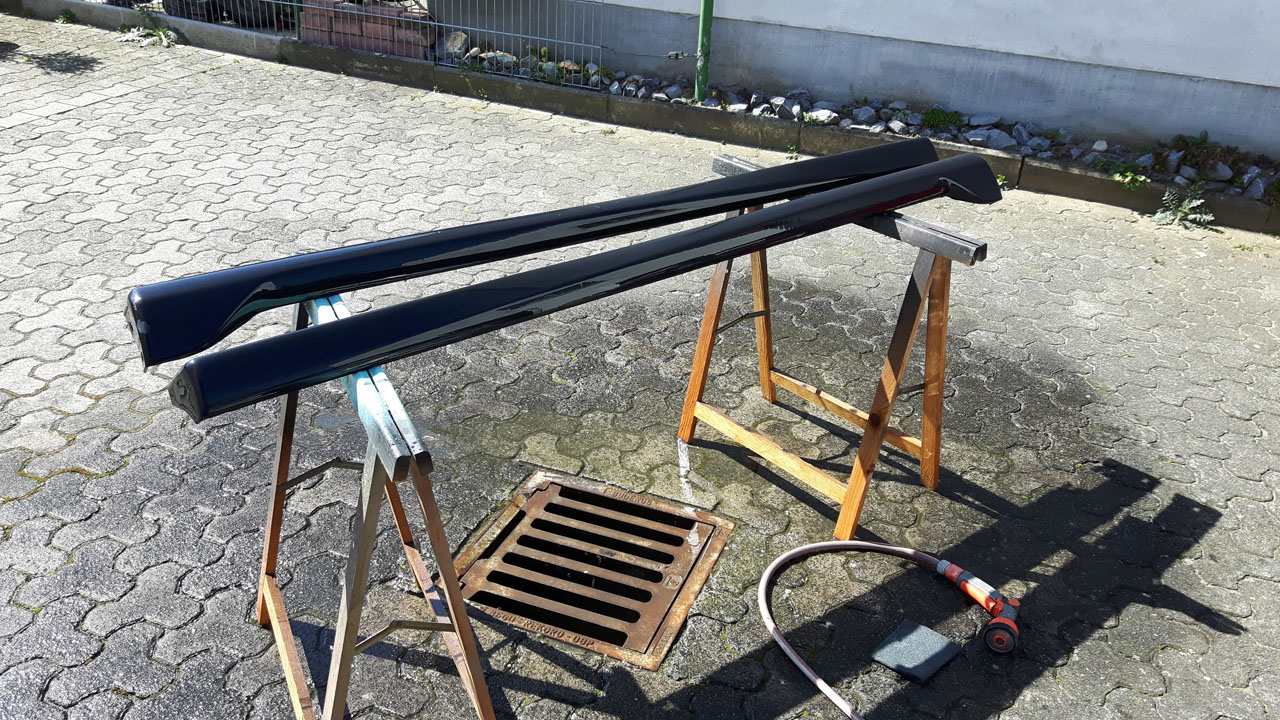
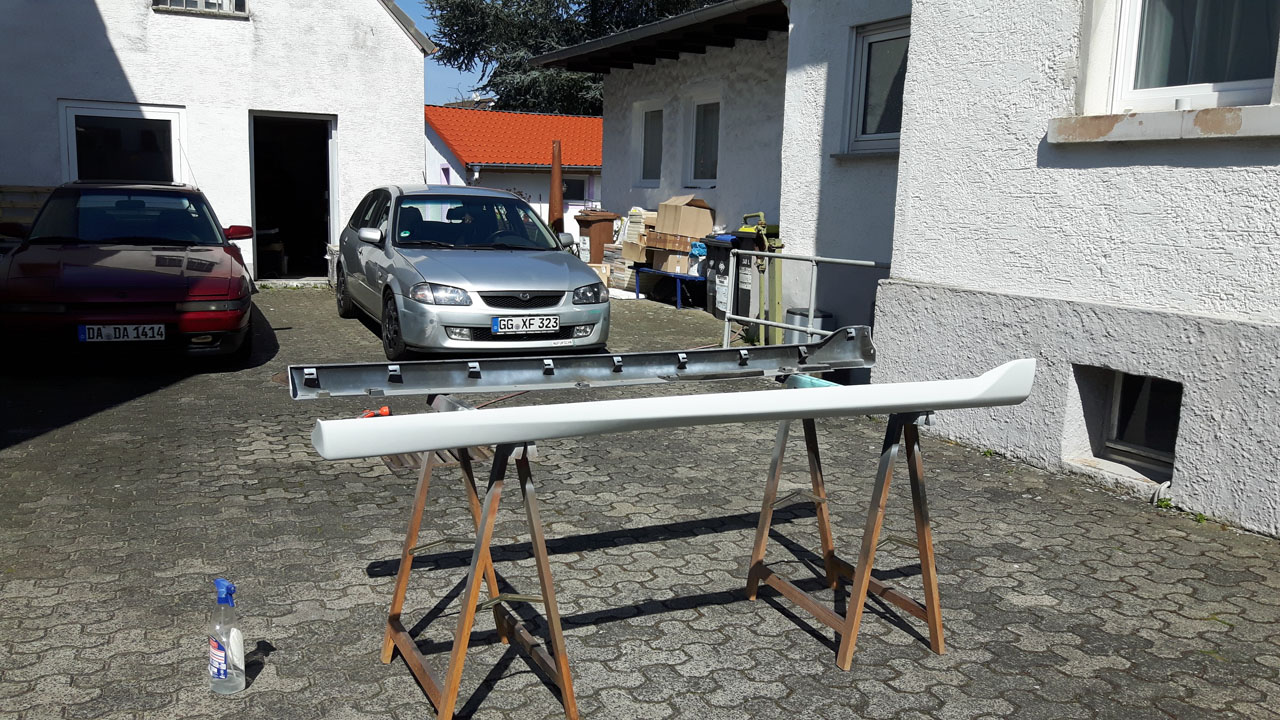
First steps while waiting for spare parts:
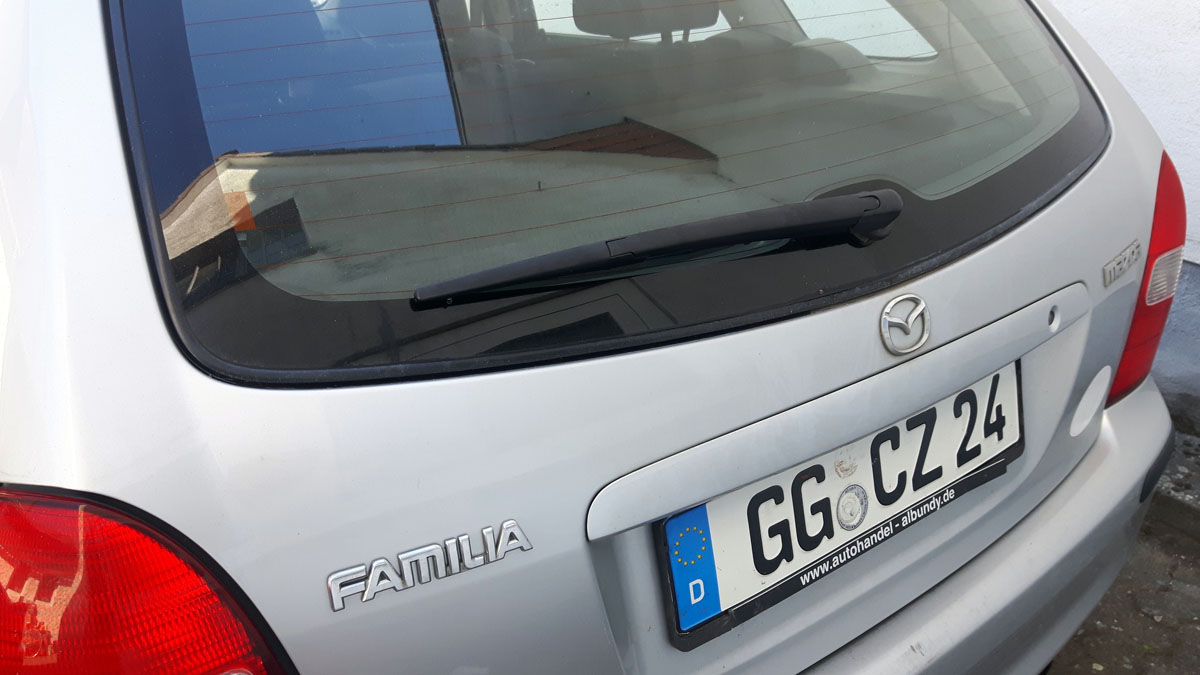
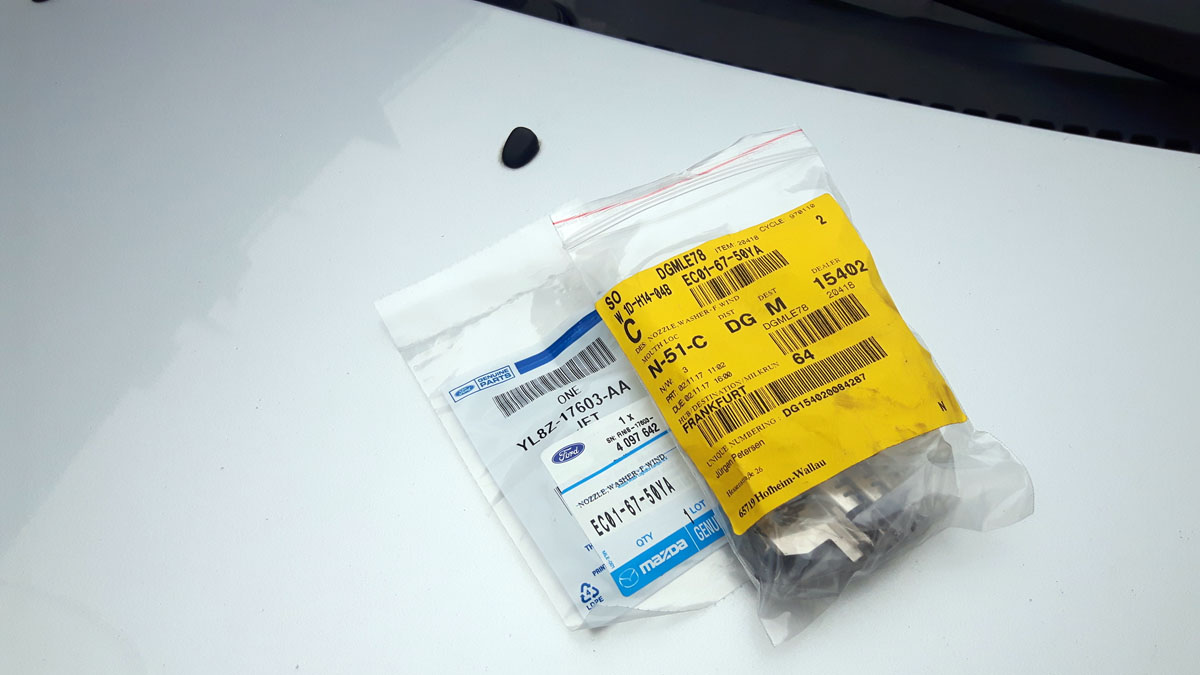
new rear wiper
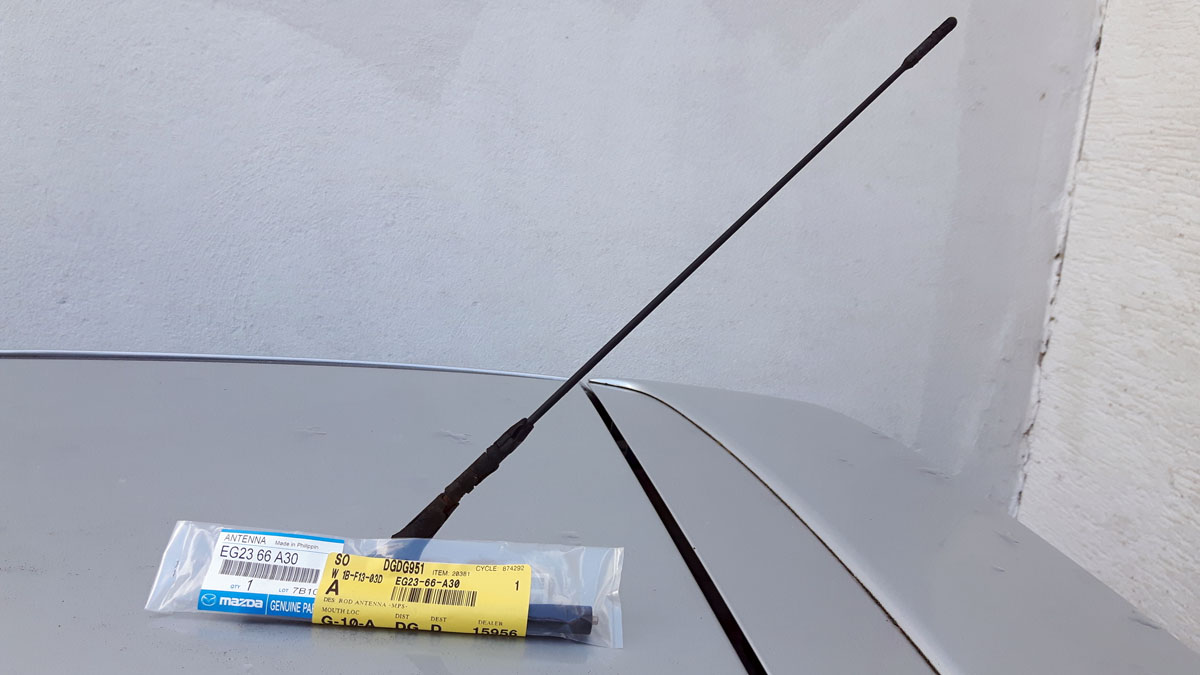
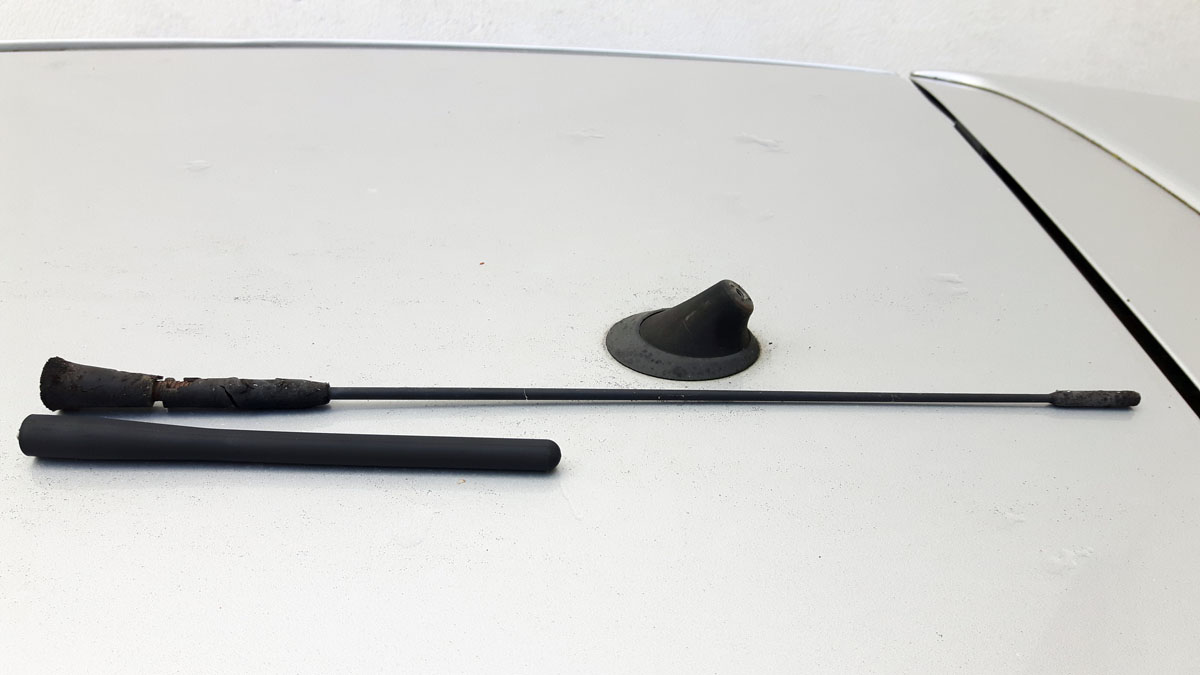
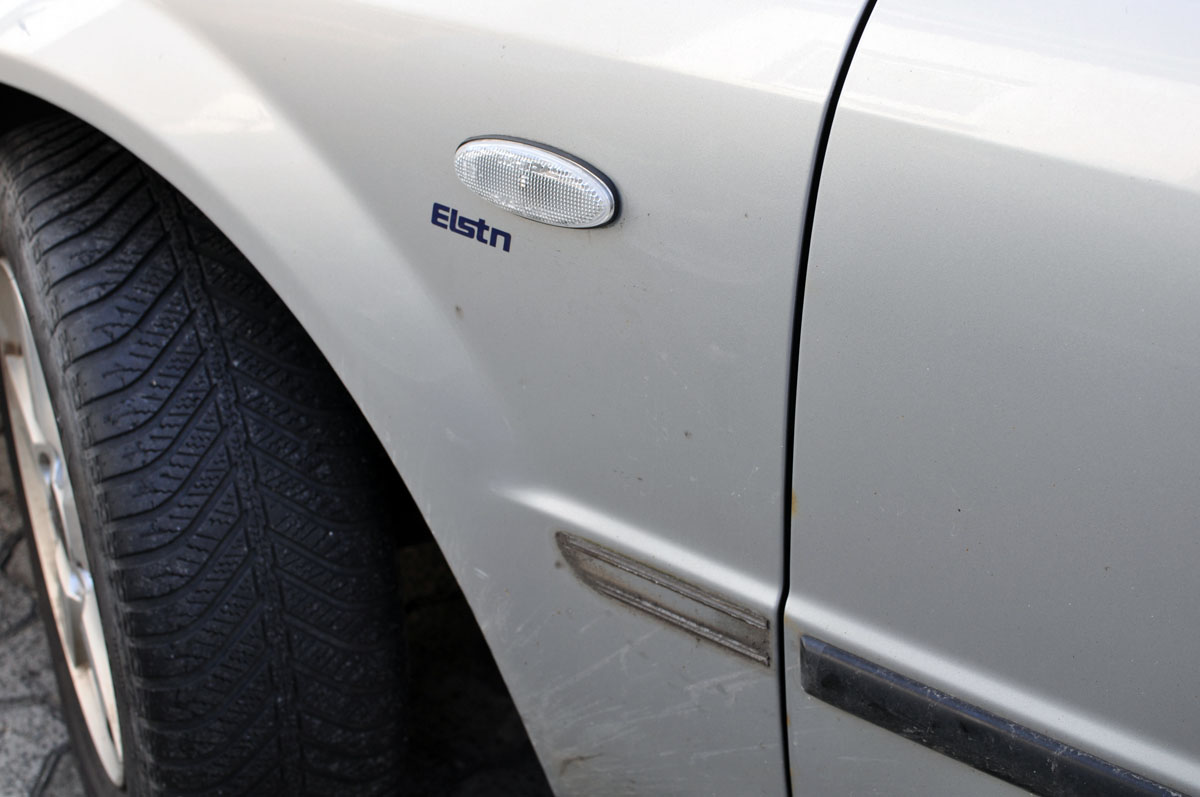
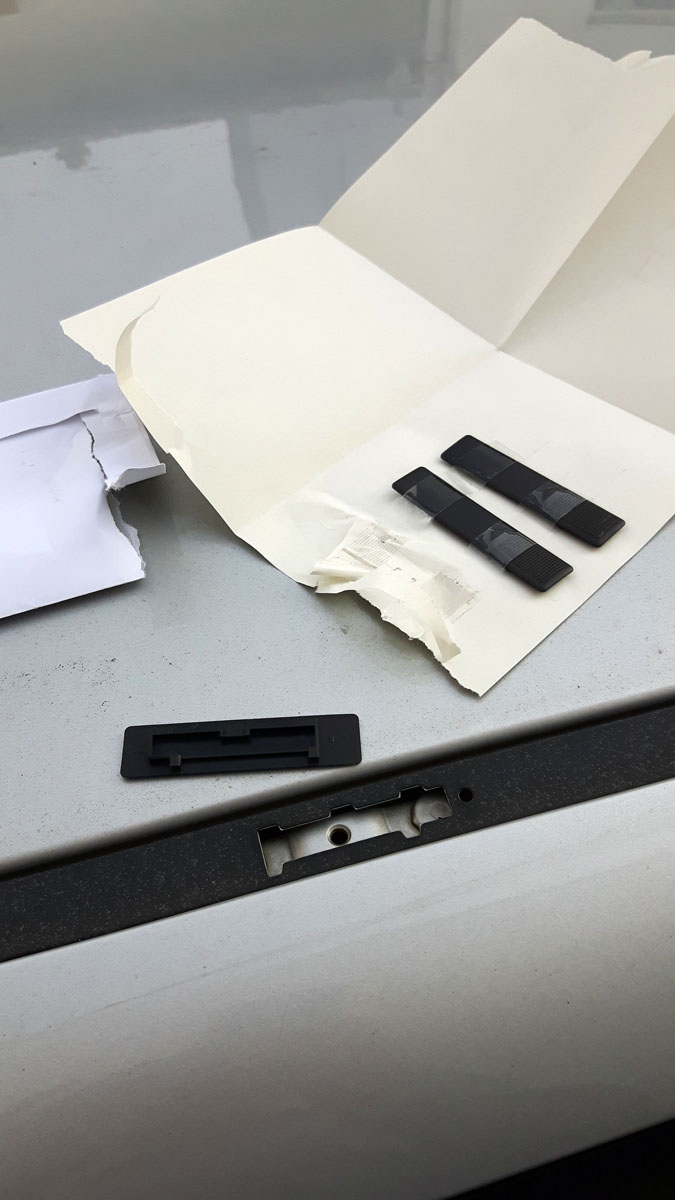
JDM emblem
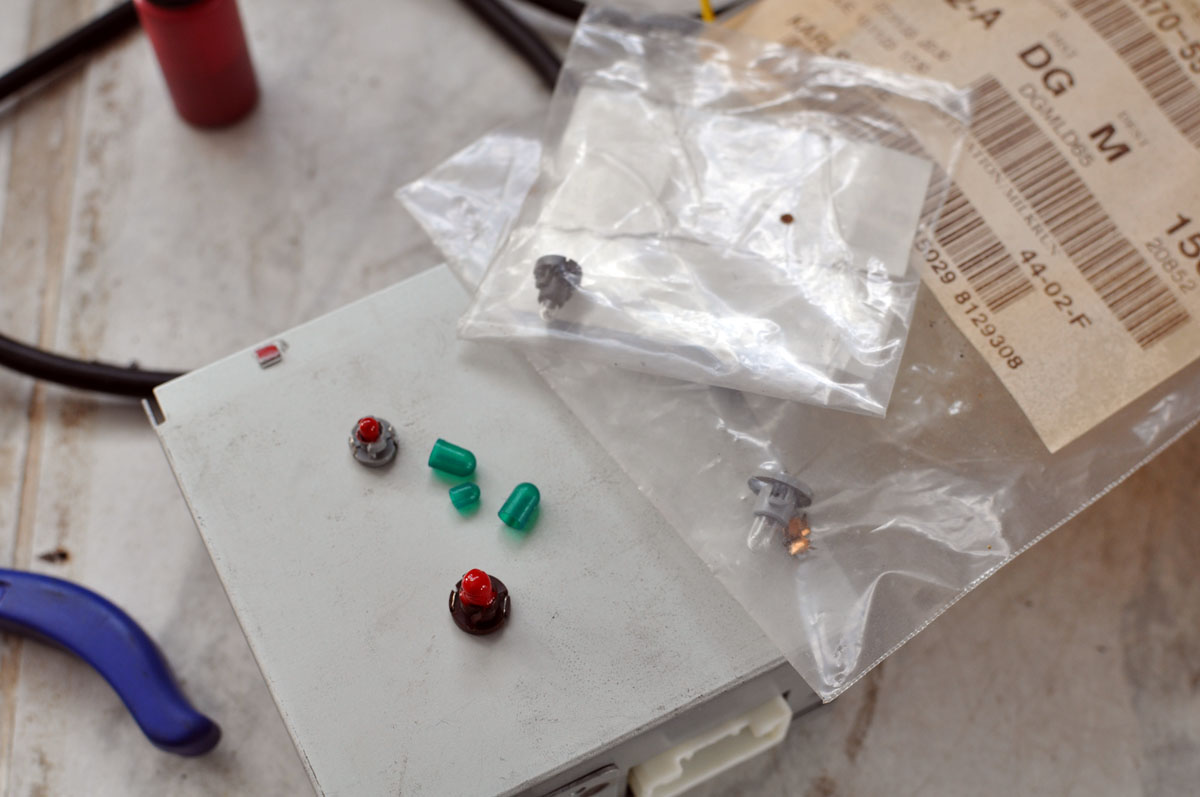
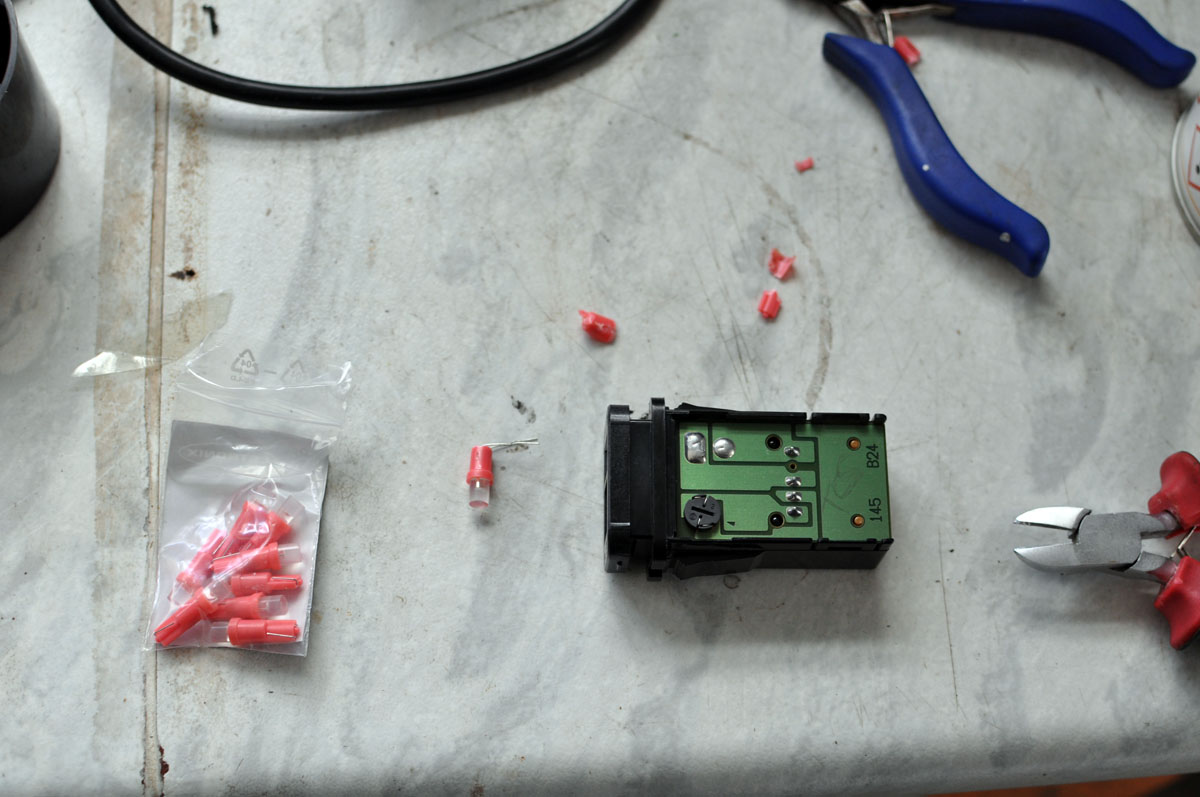
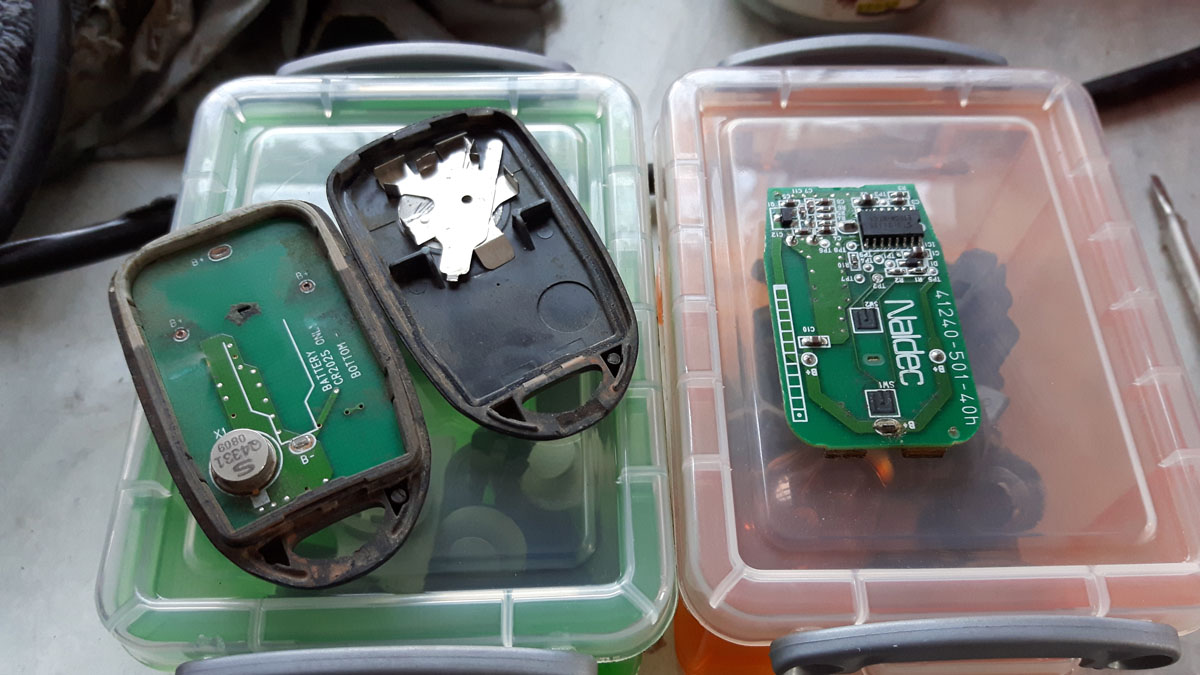
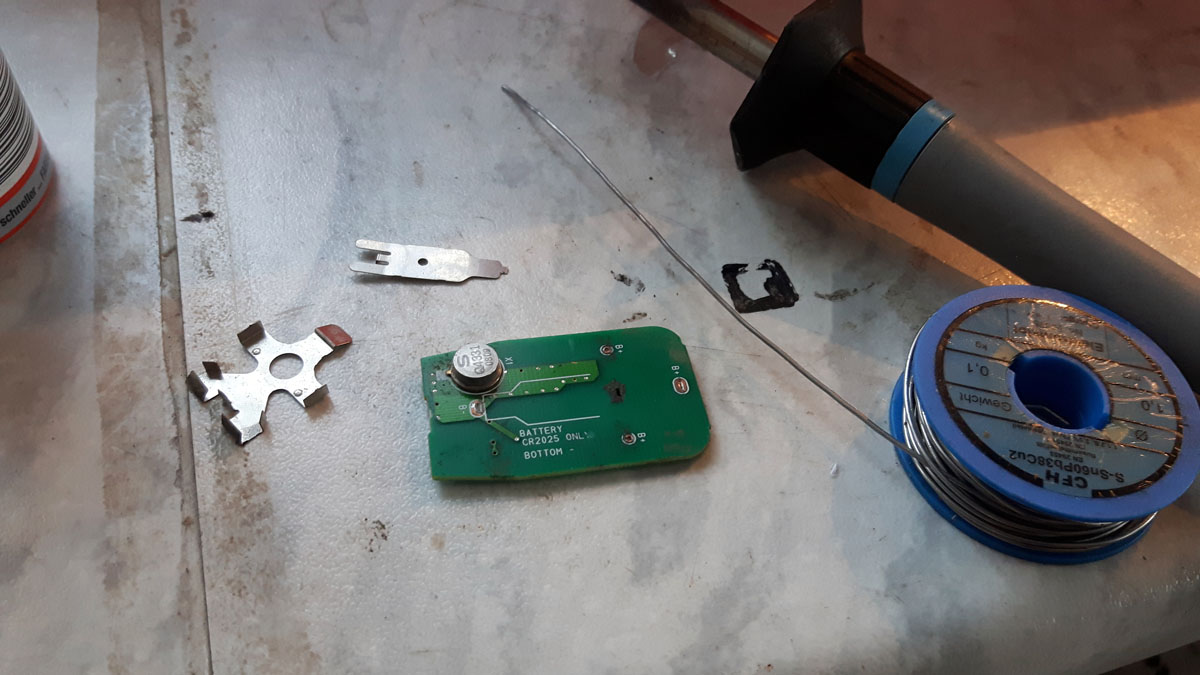
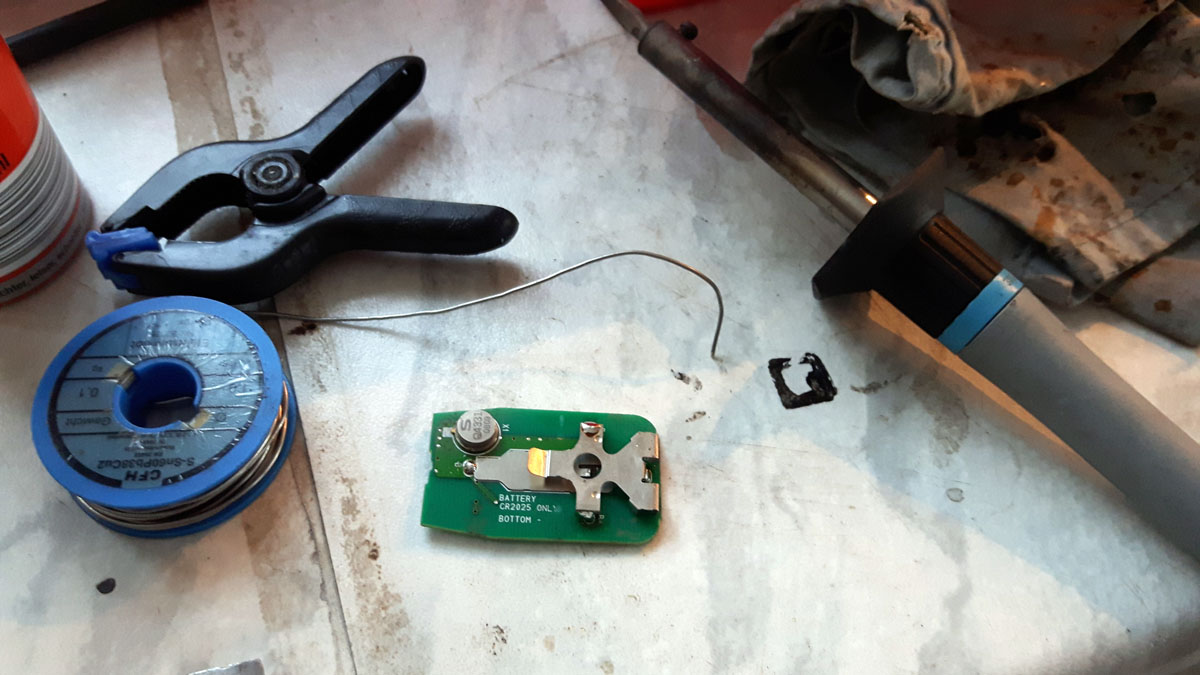
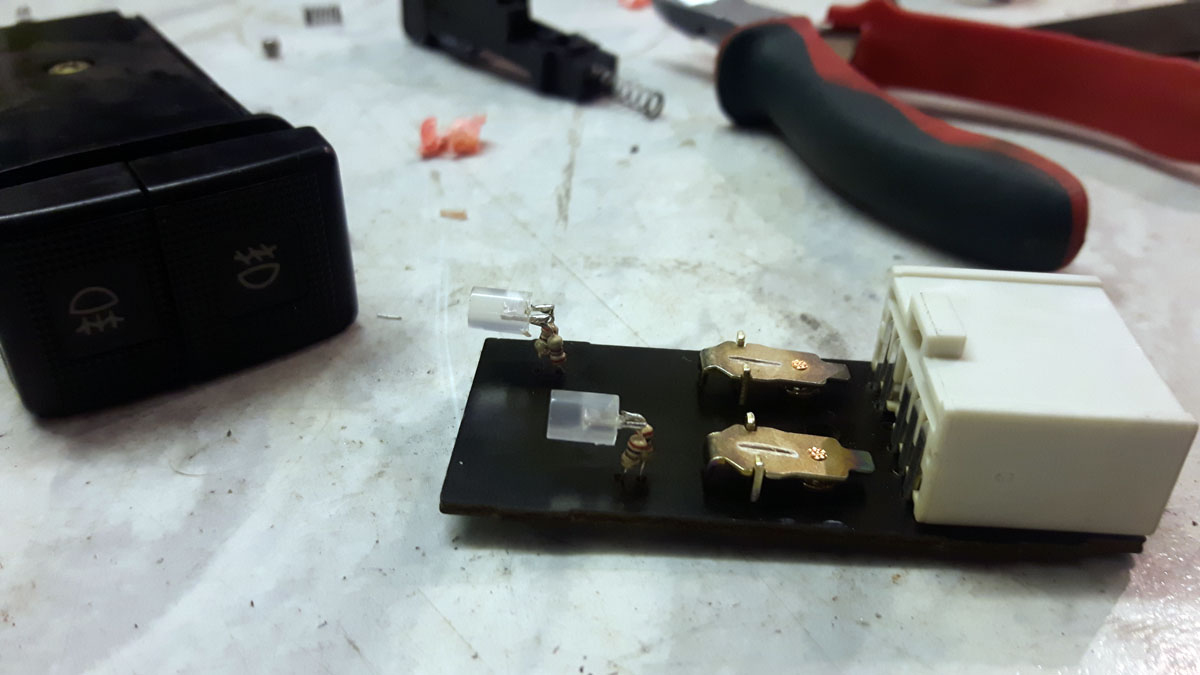
The original remote was completely dead
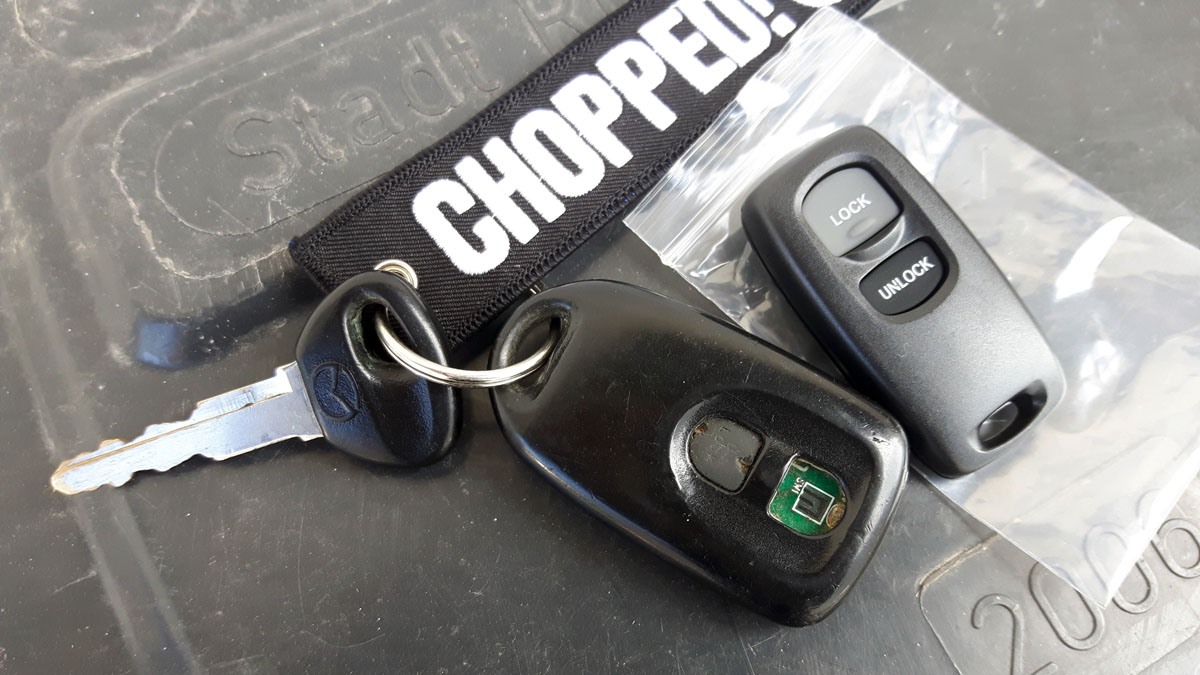
I could restore the connections on the board and pair the remote with the car again. But i still was lacking a case with buttons

Why a BJ in 2017? (the following section is C&P, hence slightly redundant).
Well, I needed a new daily for commute and transport of the offspring as well as the occasional movement of building material.
After buying and selling two Xedos 6 V6s last year (yes, I desperately wanted a V6 in my life), I decided I'd go for the practical compact kinda hot kinda hatch that is the 323F BJ Sportive. I chose the 2000 model year because it combined the JDM interieur with a less rusty shell than the later years. Still, it took me months to track down a suitably candidate and actually the best I could come up with was silver (omg) a beat up unloved thing of ugliness which I acquired for the sum of 250€. I stress again, this was the best i could find including all offers up to 4000€.
Oh, i should mention that I had to travel about 200 miles one way (twice actually, so a total of 800) to buy it and bring it home two weeks later. Makes sense, right?
I only drove a few miles like this towards a mates garage where i picked up a bunch of parts and ghettofixed the front end a bit.
The trip home took about 4 hours due to the worst weather conditions and a somewhat limited top speed because accident damage and dead tires. Still, we made it. Safe to say, my wife was a bit underwhelmed with my purchase ^^
But this was the least rusty 323f BJ I could come up with, that has an engine that's not terribly slow (i.e. no 1.5 or 1.6), has a nice interior and the variable passenger seat and rear bench option, which is really awesome.
The morning after:
A few more detail shots.
Apart from all the filth, the interior was actually really nice.
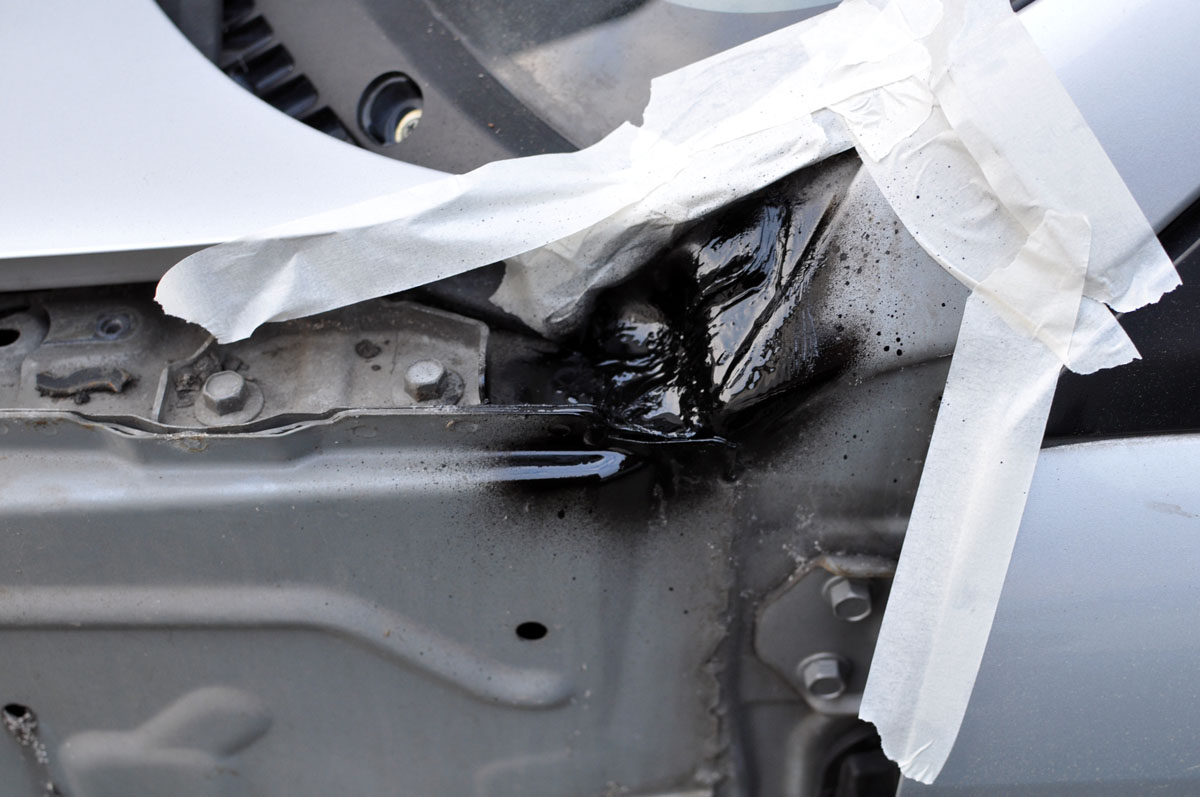
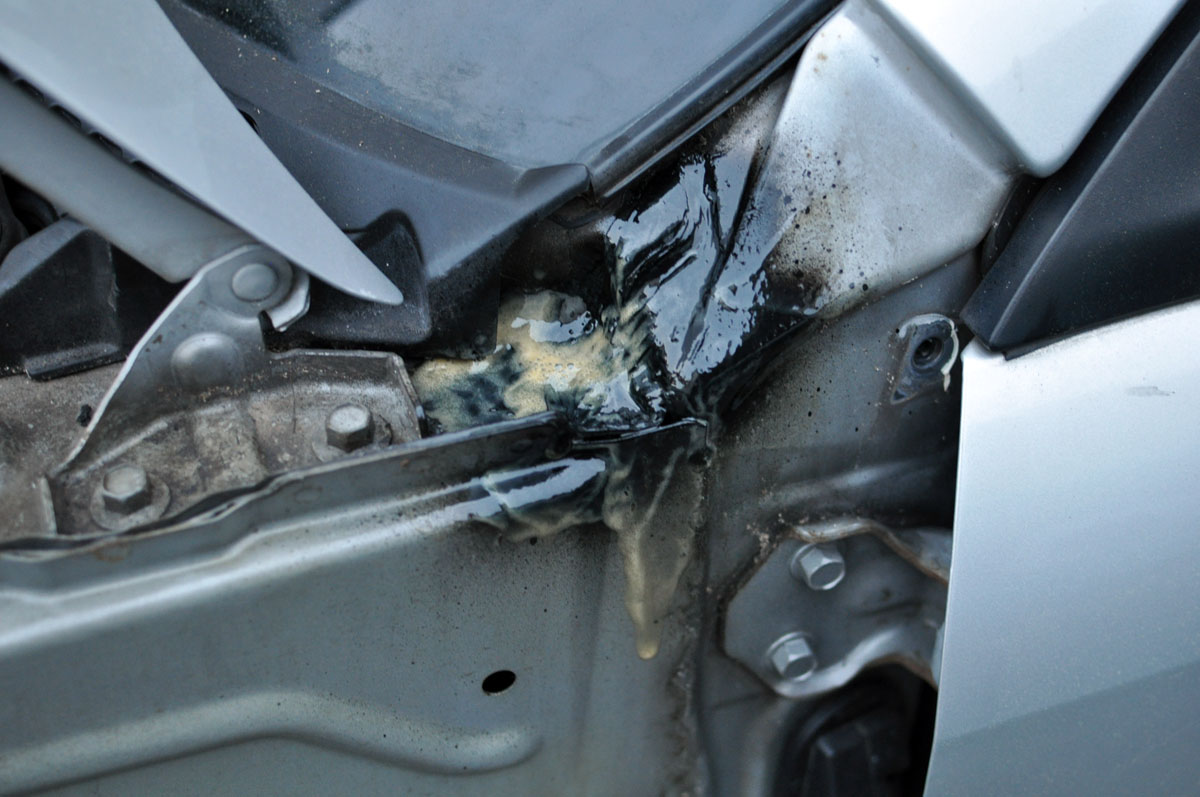
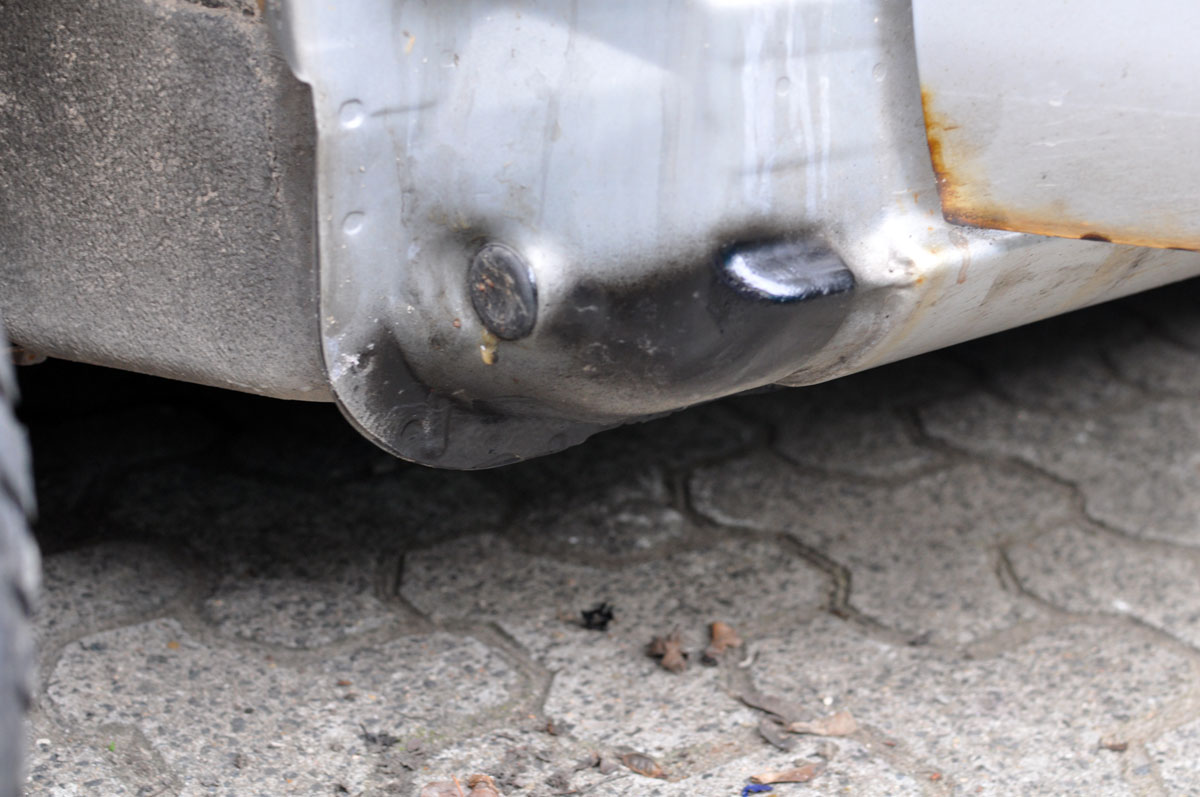
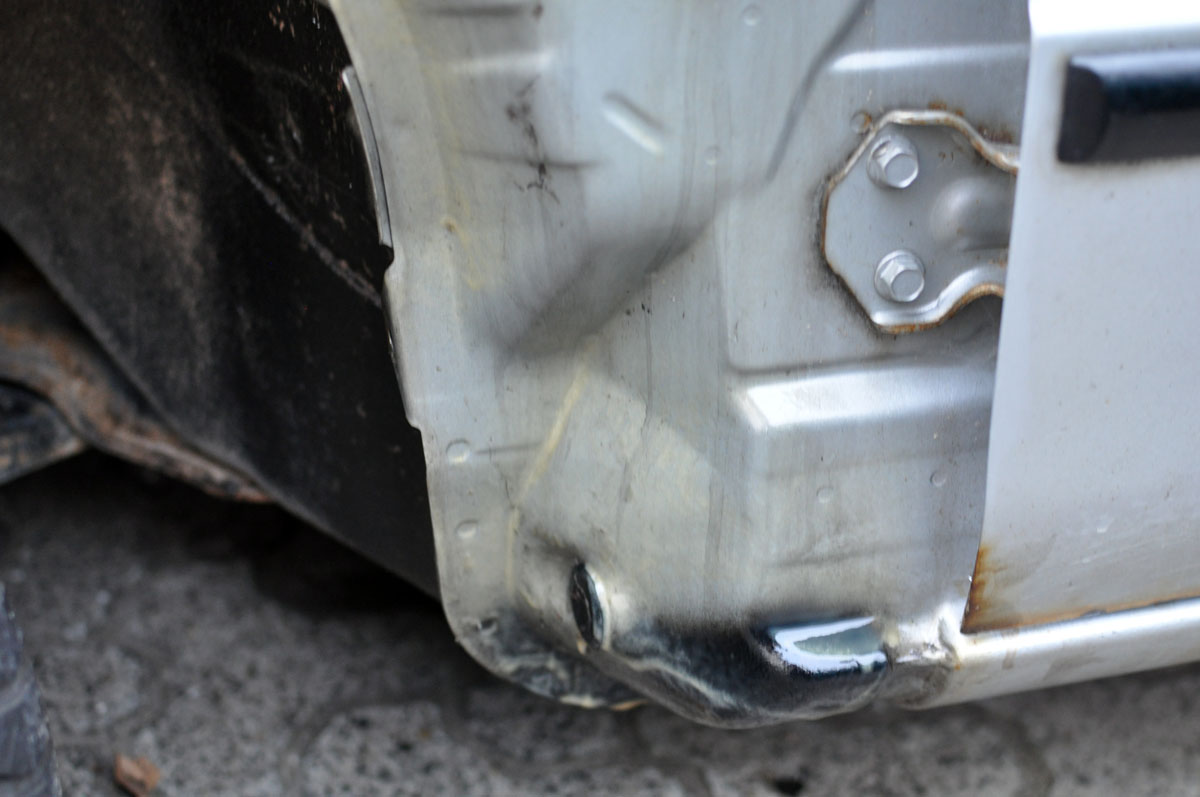
Some accident damage:
After vacuuming the mess on the inside, I quickly put in a 626 wiper stalk with variable interval control.
That's actually very useful in german winters.
After that we found a space for the car where it would stay for a few weeks during repairs.
First steps while waiting for spare parts:
new rear wiper
JDM emblem
The original remote was completely dead
I could restore the connections on the board and pair the remote with the car again. But i still was lacking a case with buttons


Comment